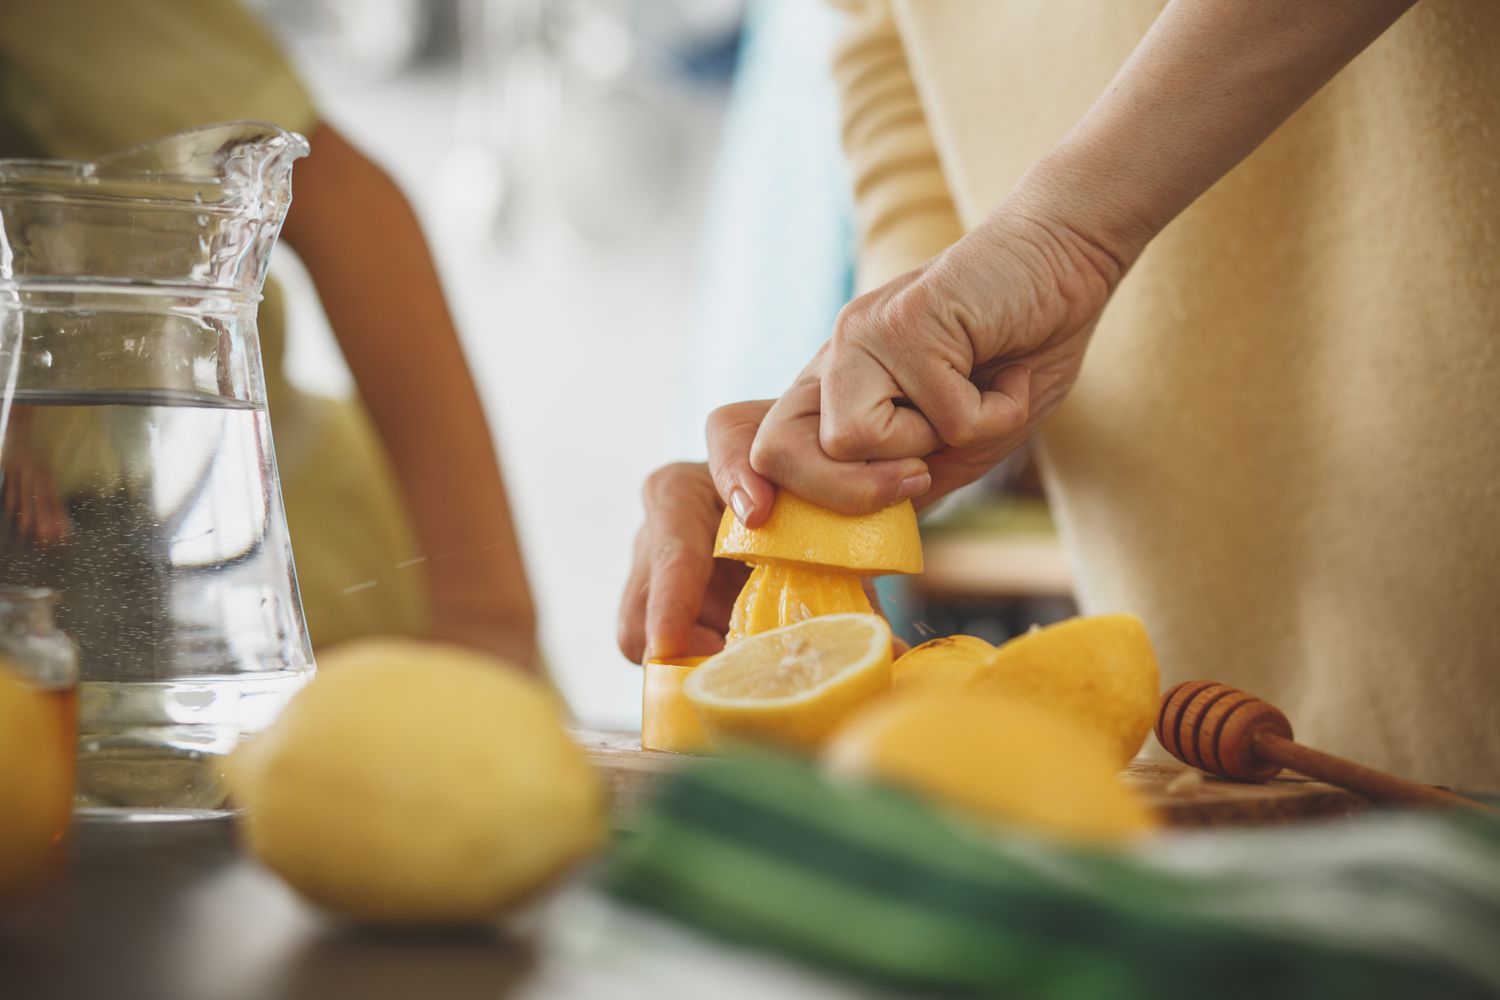
Read my new recipes


How to make a cocktail Hot toddy


Hot toddy is a classic drink that will warm you up in cold weather and help you relax after a long day. It is also used for healing, the Hot Toddy drink, tastes great and saturates the body with vitamin C. This tea with whiskey, honey, and lemon is the British equivalent of the more popular grog, punch, and mulled wine, but is easier and faster to make.


How to make coffee without a coffee maker


Coffee is one of the most popular drinks in the world. It invigorates us and helps us get in the mood for a productive day. But what if you don’t have a coffee maker but really want to enjoy this aromatic beverage? No problem! In this article, I will tell you how to make great coffee without a coffee maker. So, here are a few methods of making coffee.


How to make sun tea


Solar tea is a great way to make tea without using electricity or gas. Instead, it uses energy from the sun to brew the tea, making it more environmentally friendly and healthy. On a sunny summer day, try making Solar Tea. You won’t need to boil water or use the microwave, you actually don’t even need a teapot. A regular glass jar and 1 spoonful of tea leaves and sun of course is enough.


How to make lemon water


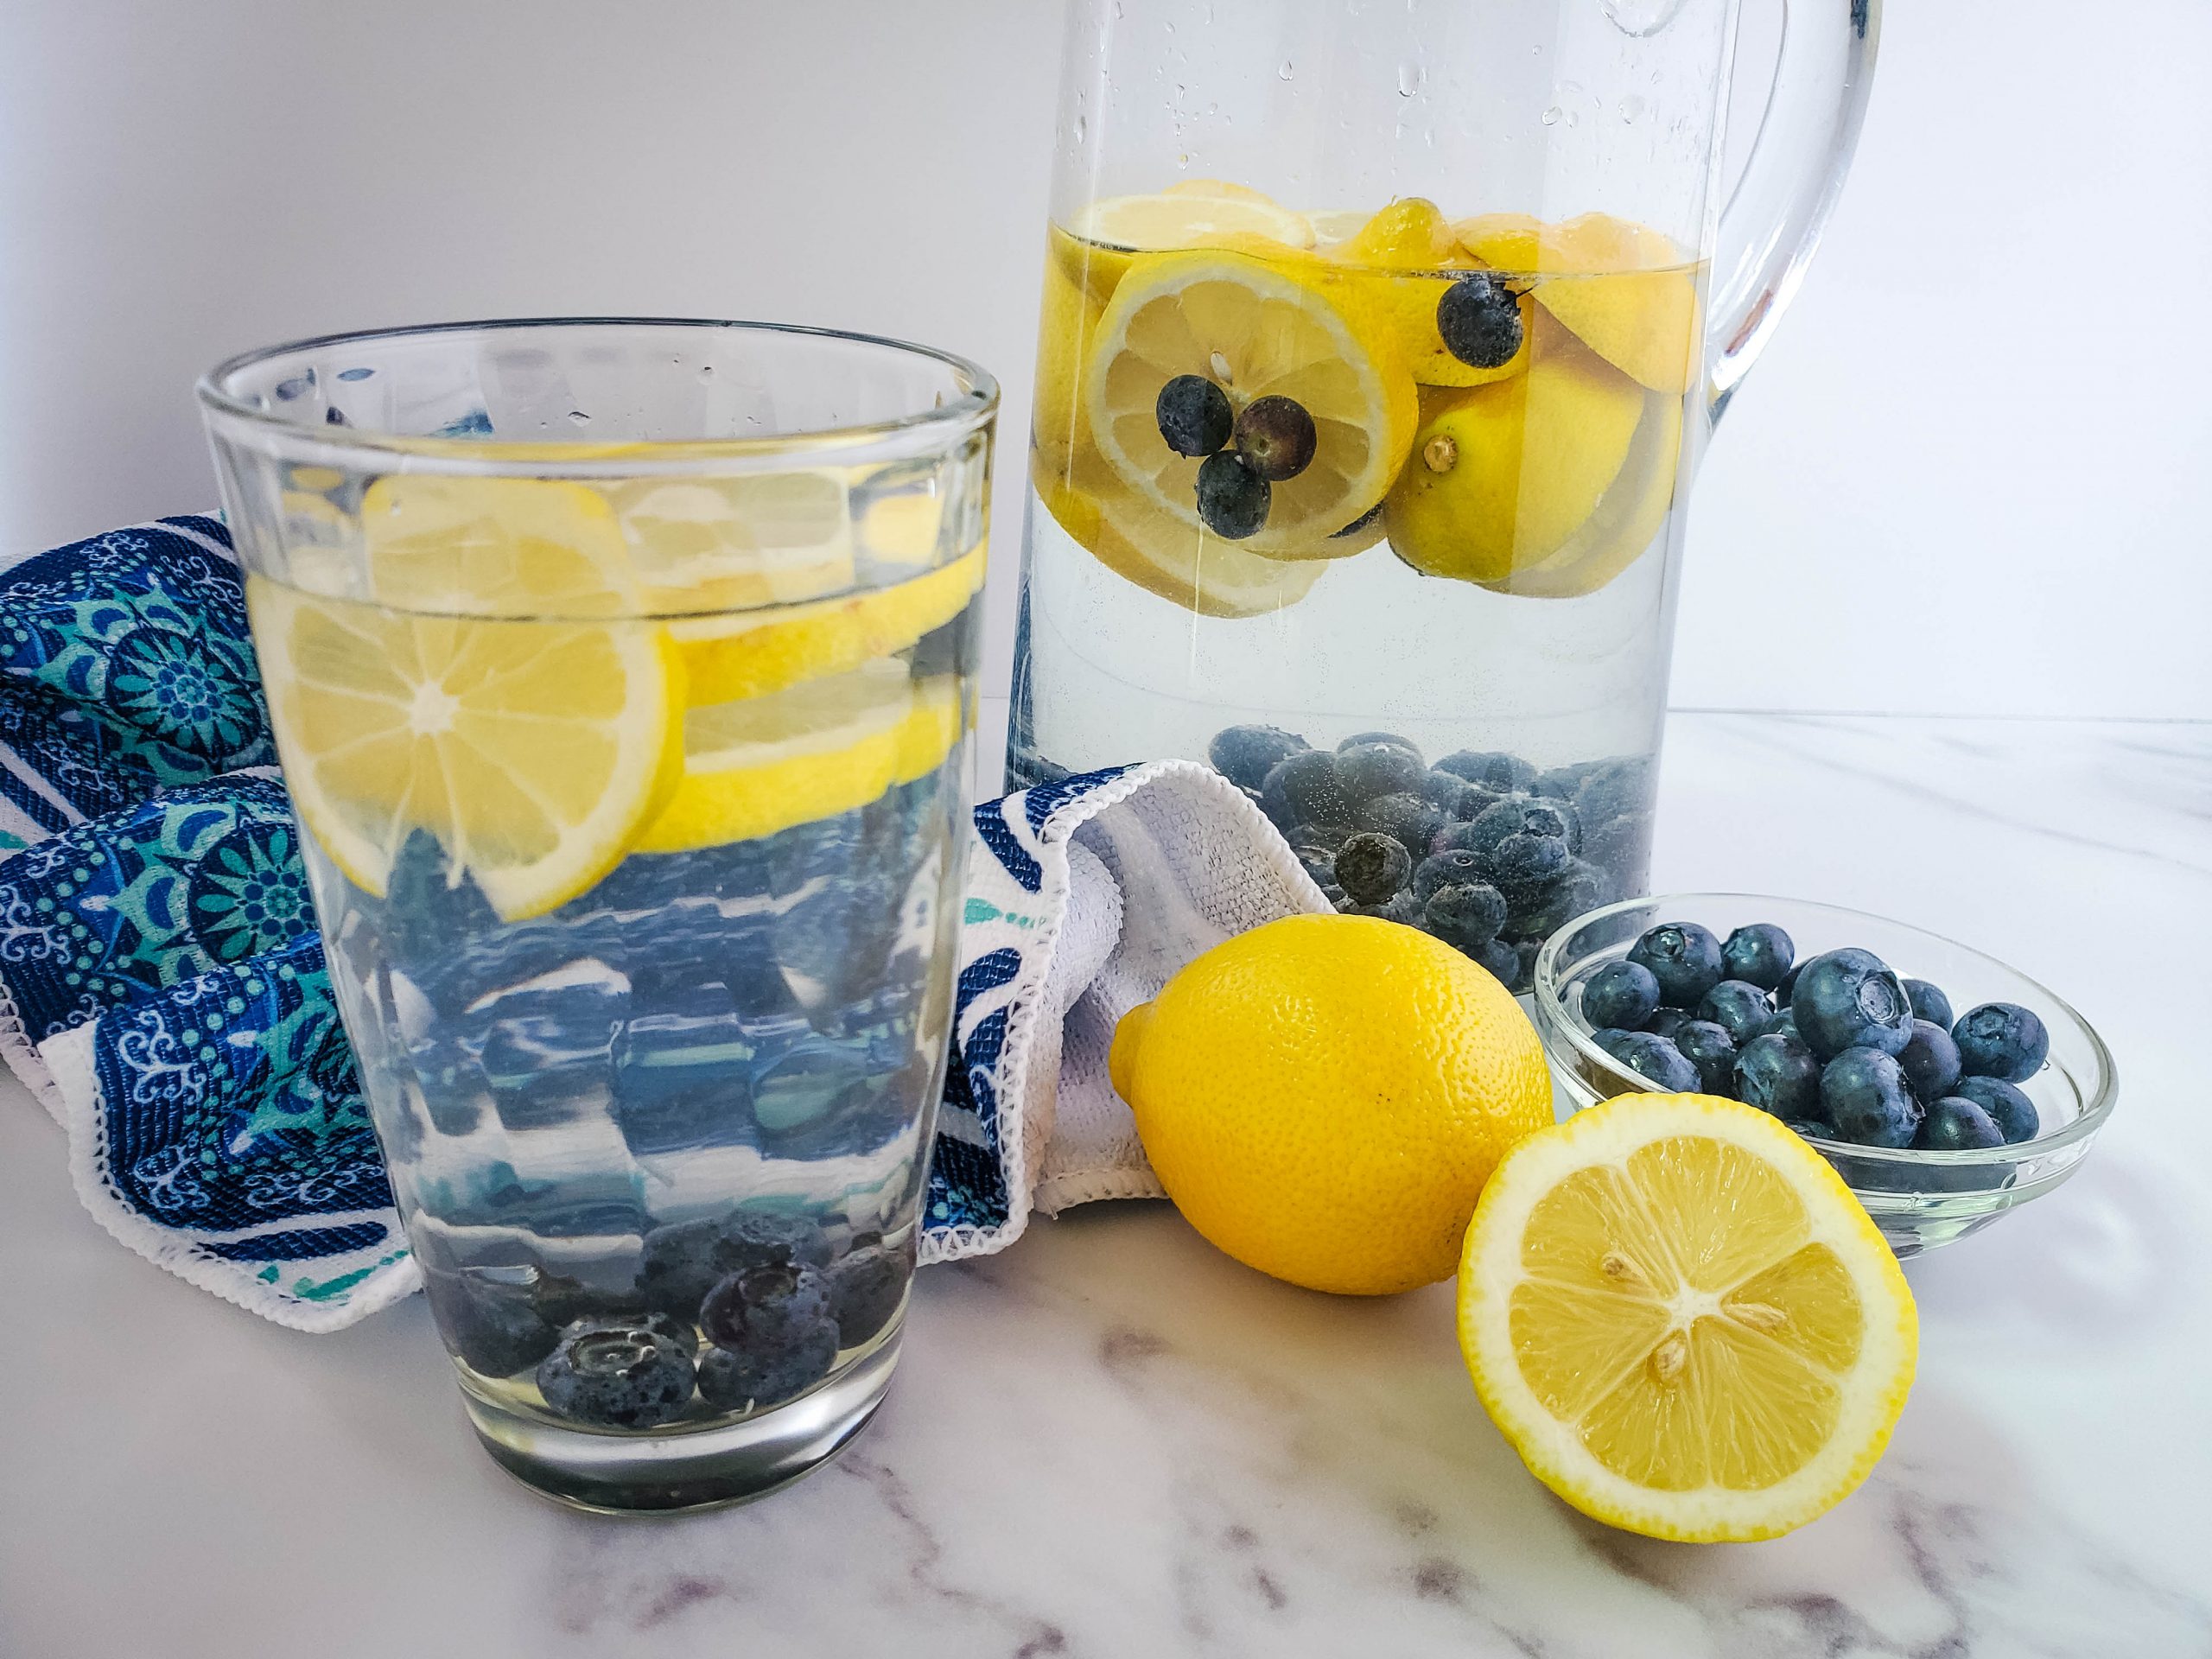
Lemon is a fruit that contains a whole host of useful minerals and vitamins. This fruit is a bright representative of the citrus family and contains natural organic acids and dietary fiber, which supply the body with energy. The lemon is very popular because of these properties. Water with lemon is a popular method to combine pleasure with health.


IOP DCP: Making Sense of the Interoperable Technology World


The IOP DCP (Interoperable Master Package Digital Cinema Package) standard has a number of technical characteristics that enable it to effectively meet the challenges of the digital cinema industry. These characteristics ensure compatibility, quality and efficiency in content processing and playback. In this format, your movie will be able to run in any digital theater, even the oldest.


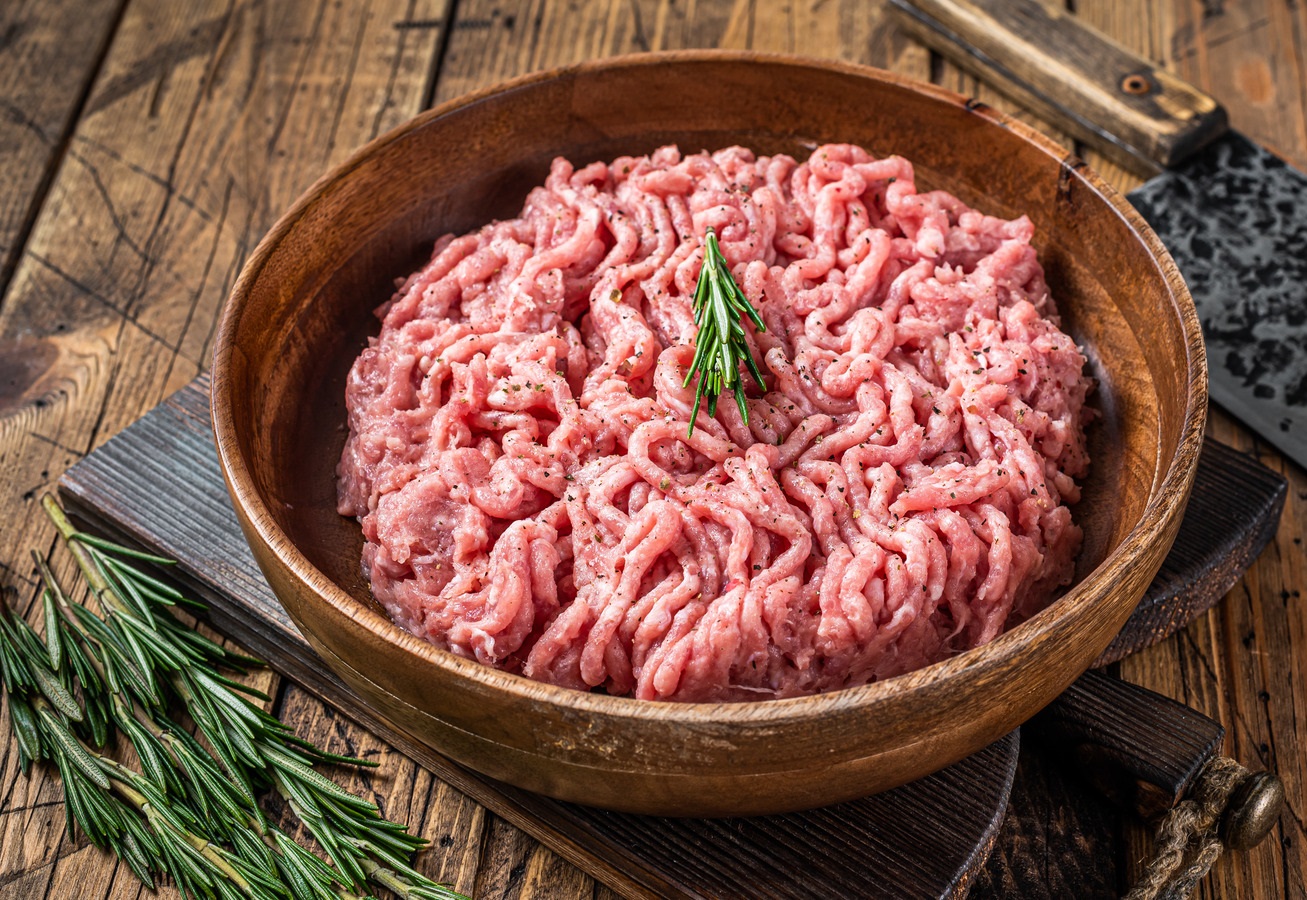
How to cook ground turkey


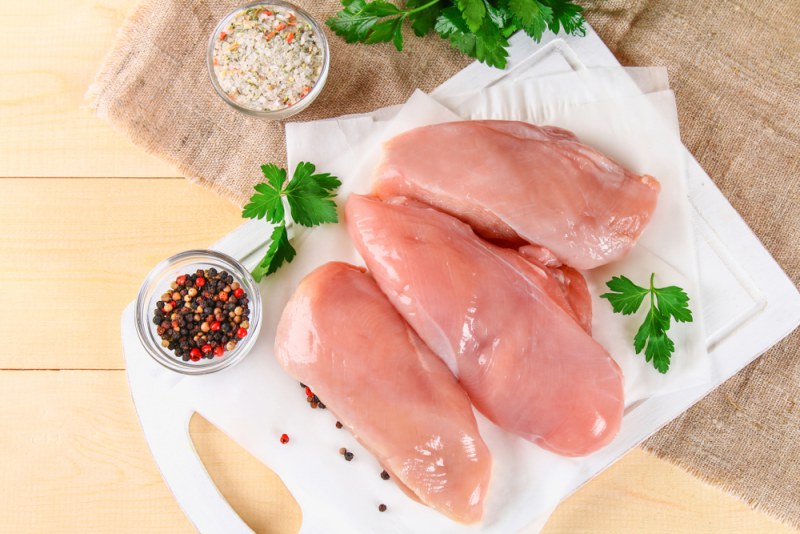
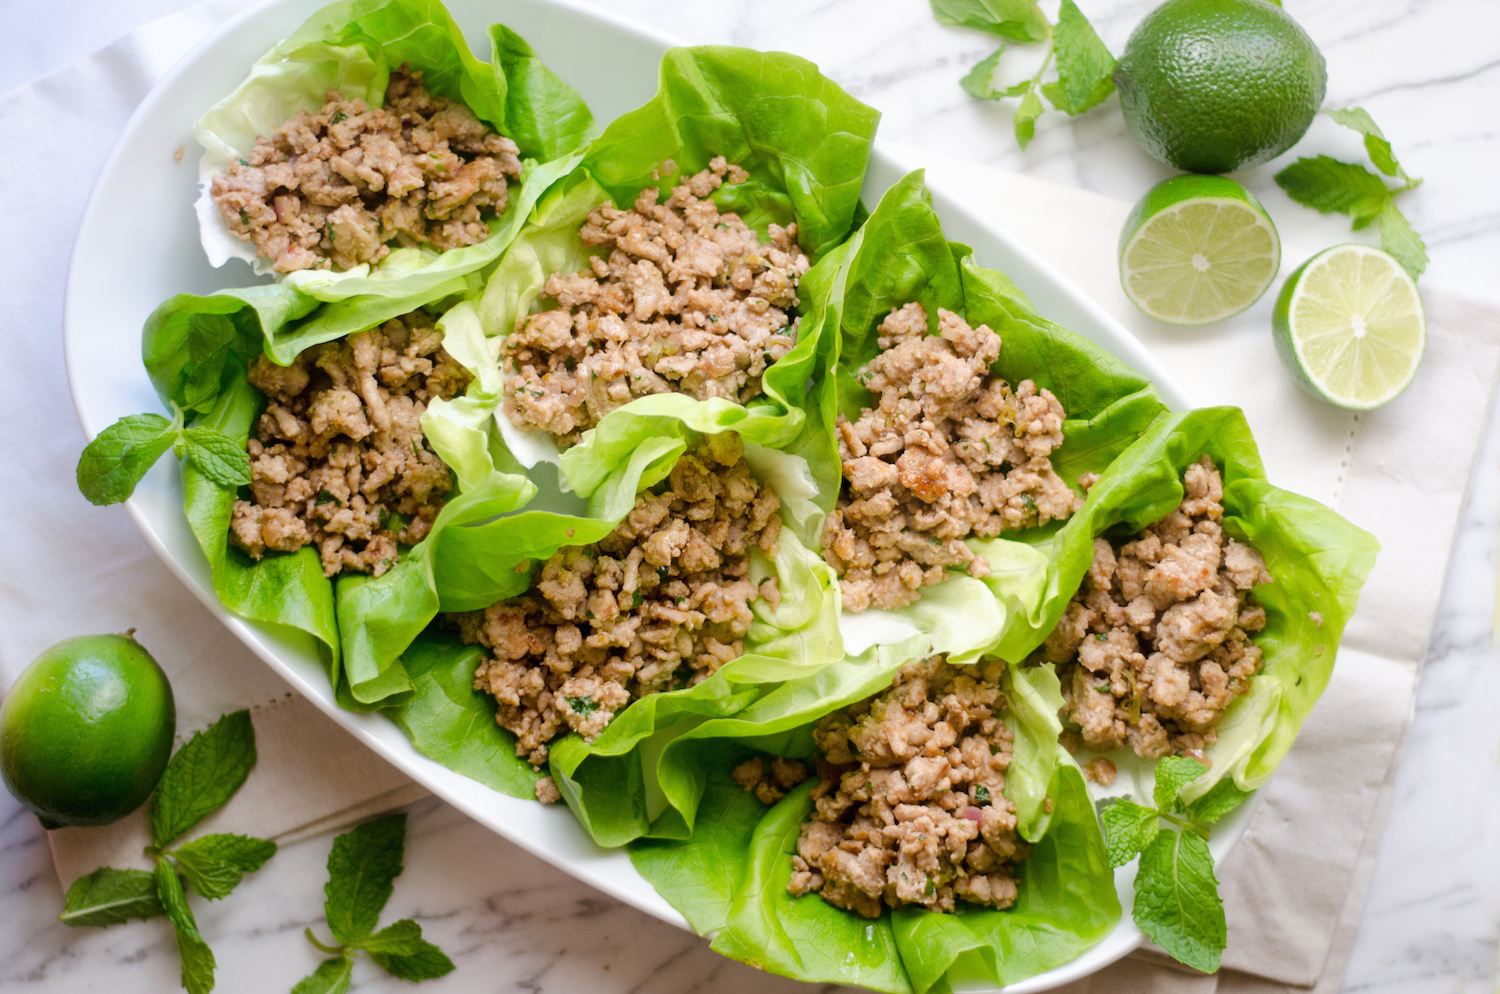
Turkey stuffing is a healthy and tasty alternative to beef or pork. Turkey stuffing is lower in calories and more digestible, making it an attractive choice for those watching their diet. Turkey minced meat has low cholesterol, which helps reduce the risk of cardiovascular disease, and is also considered a more easily digestible product than regular ground meat.


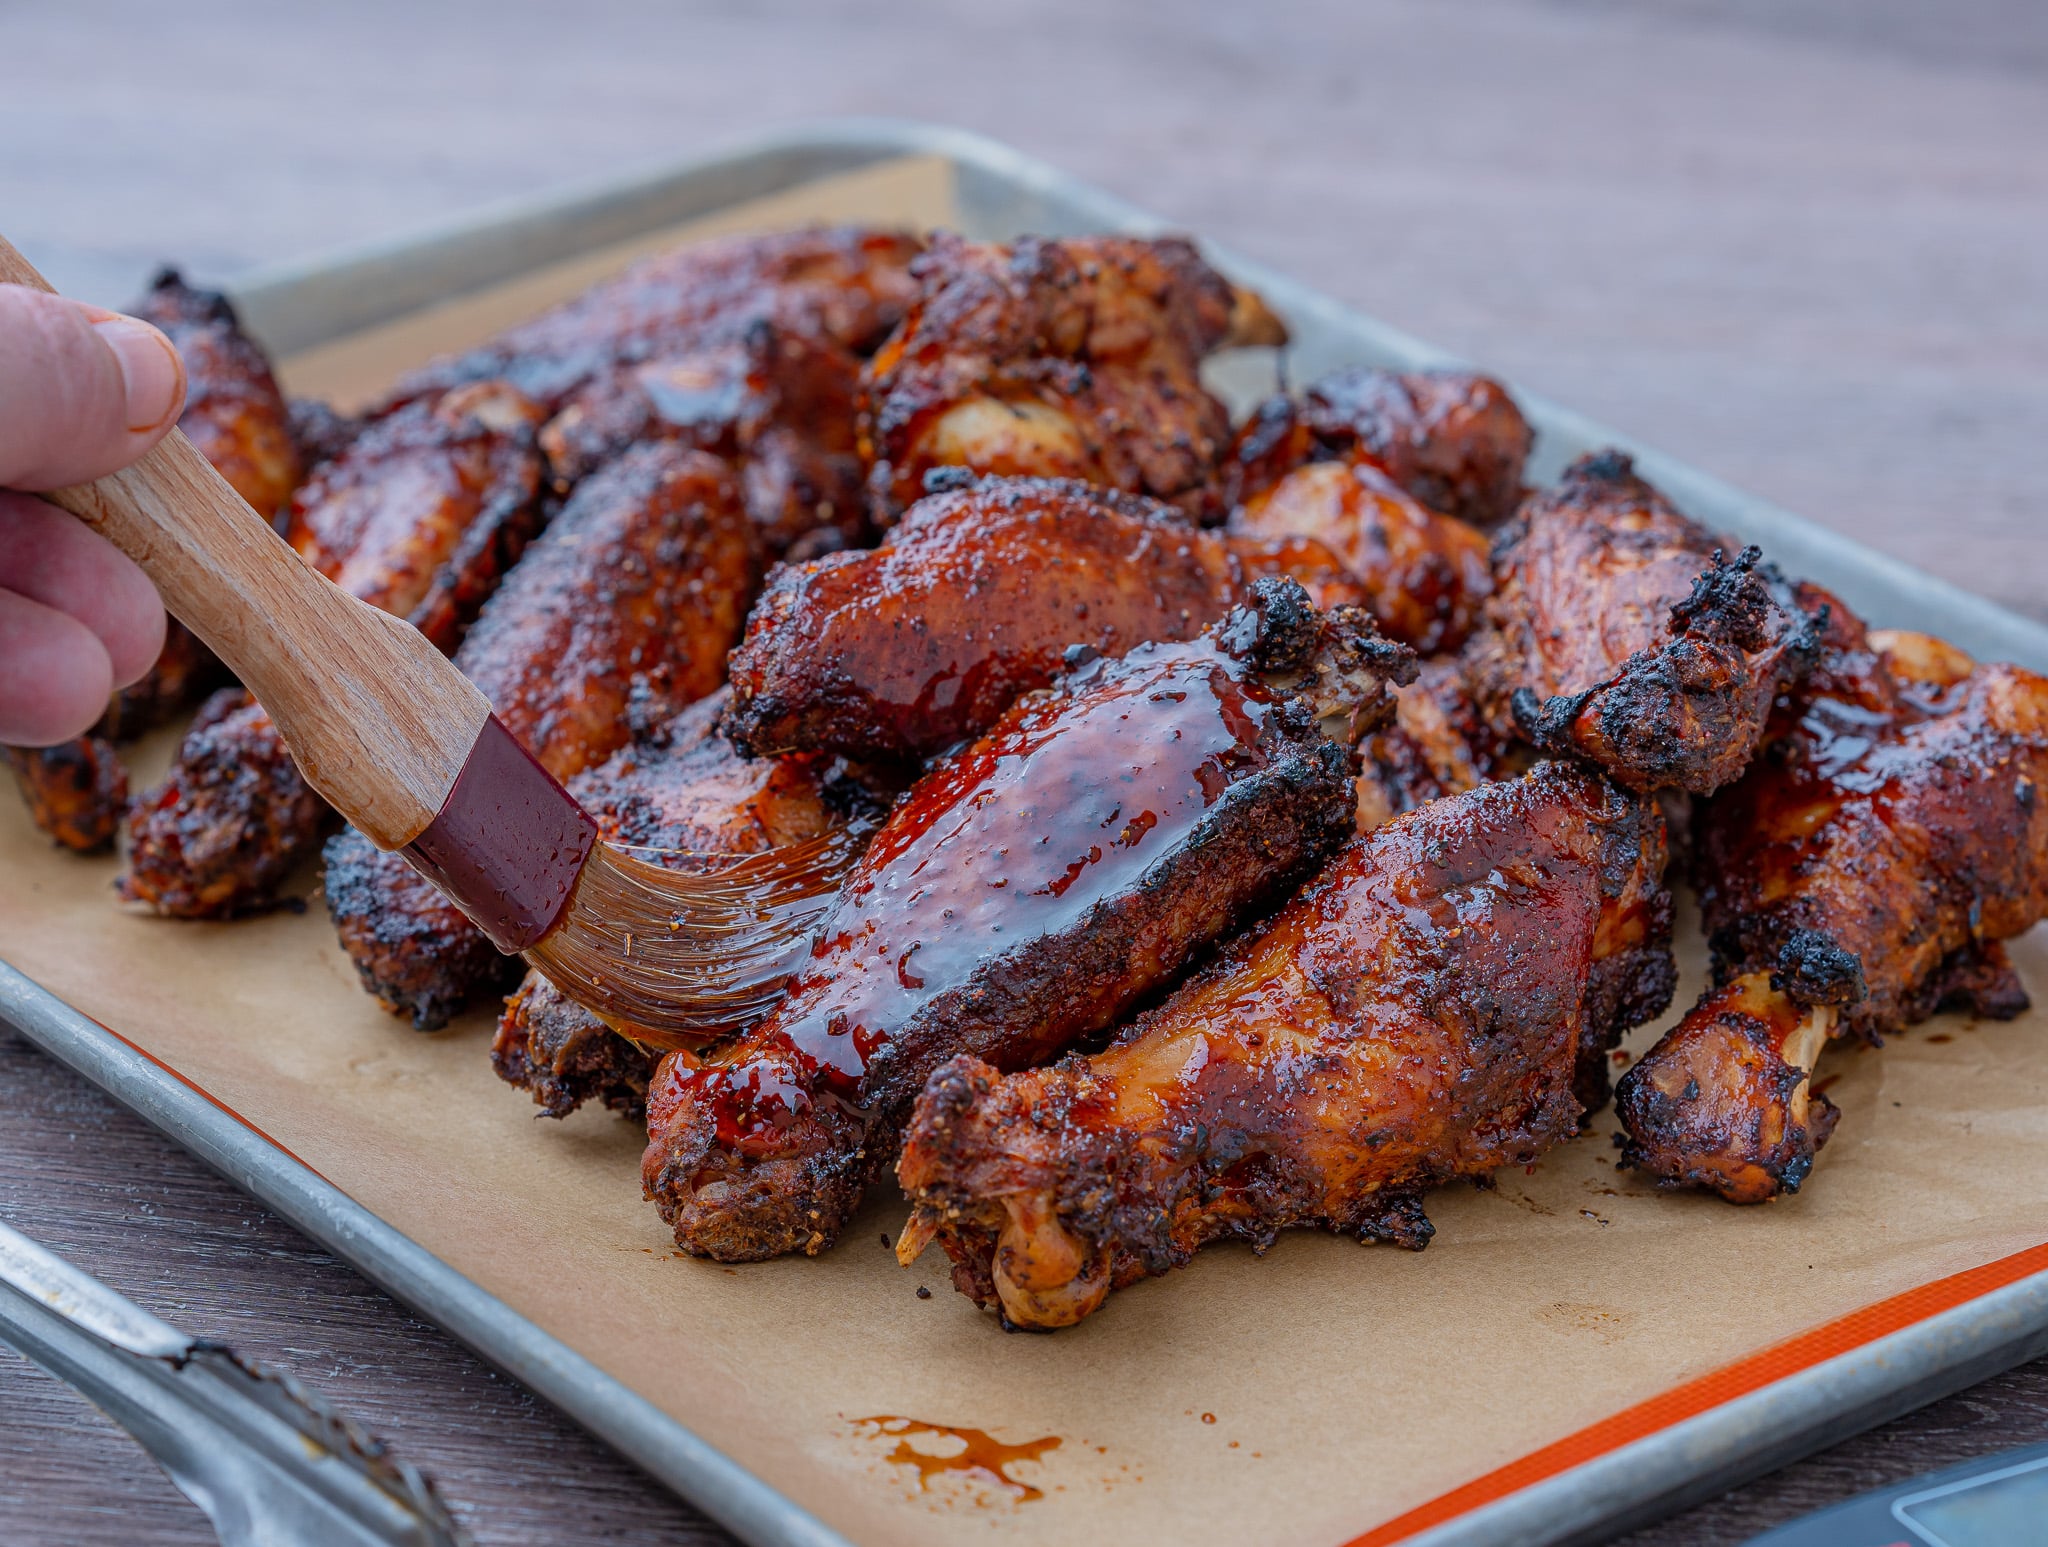
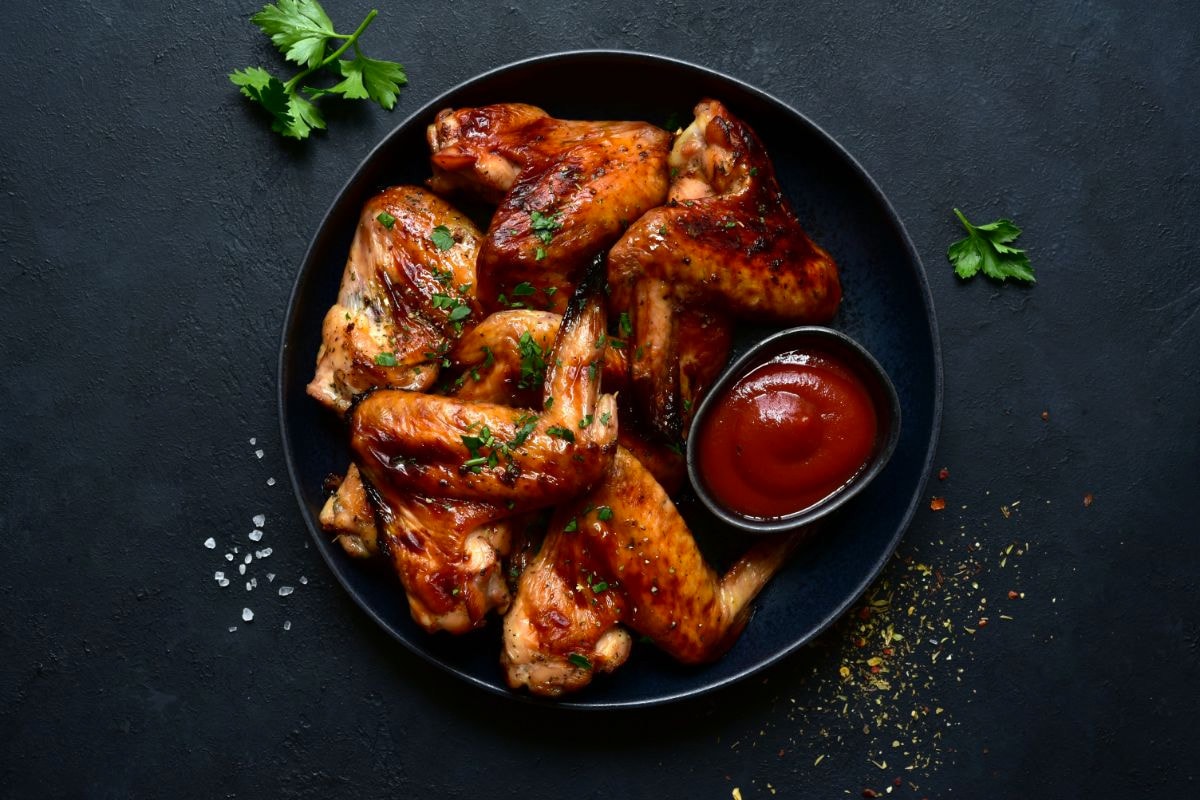
How to cook turkey wings


Turkey wings are a very tasty and nutritious part of poultry that can be used in many dishes. A great choice for poultry lovers who are looking for new recipes to make delicious dishes. This dish is easy to prepare and can be used as a party appetizer or a hot lunch dish. Cooking turkey wings is a process that may seem complicated at first glance, but it is actually quite simple.


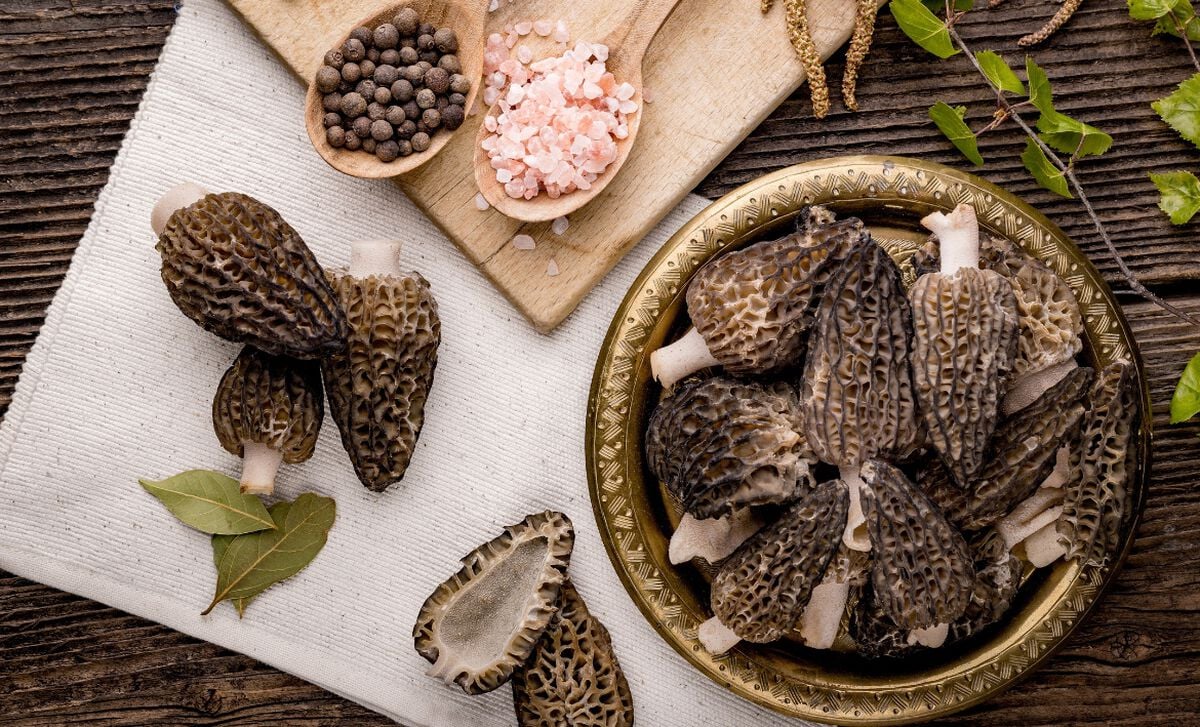
How to cook morel mushrooms


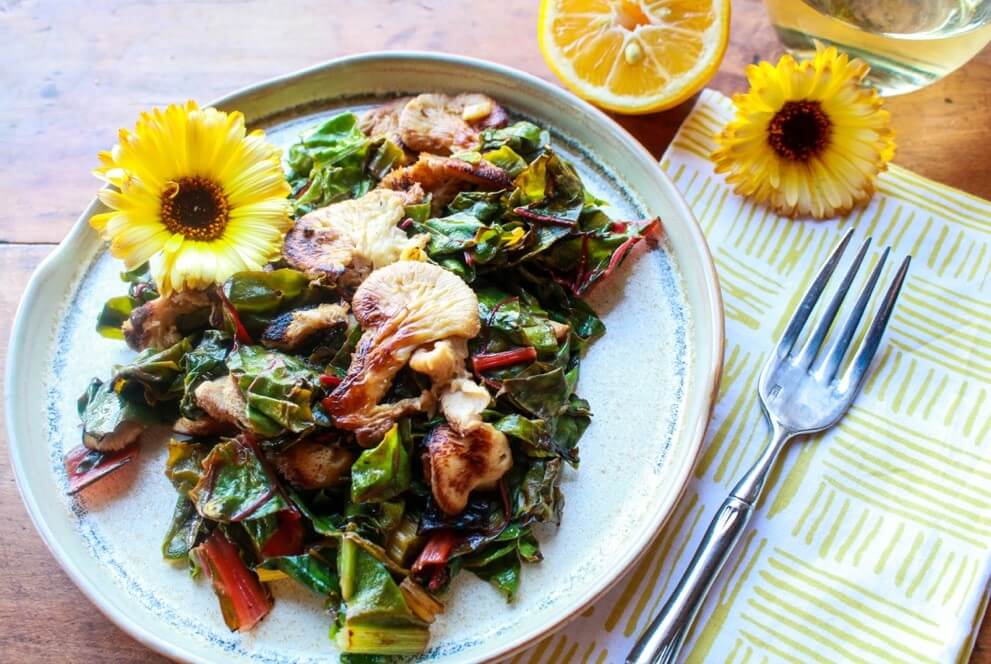
Beginning in mid-April, when all the snow has completely melted, the first mushrooms – morels – appear in the forest. They have an unusual appearance and a peculiar taste that make many gourmets value them even higher than white mushrooms. These mushrooms have a unique flavor and aroma, so they are often used in the preparation of various dishes.


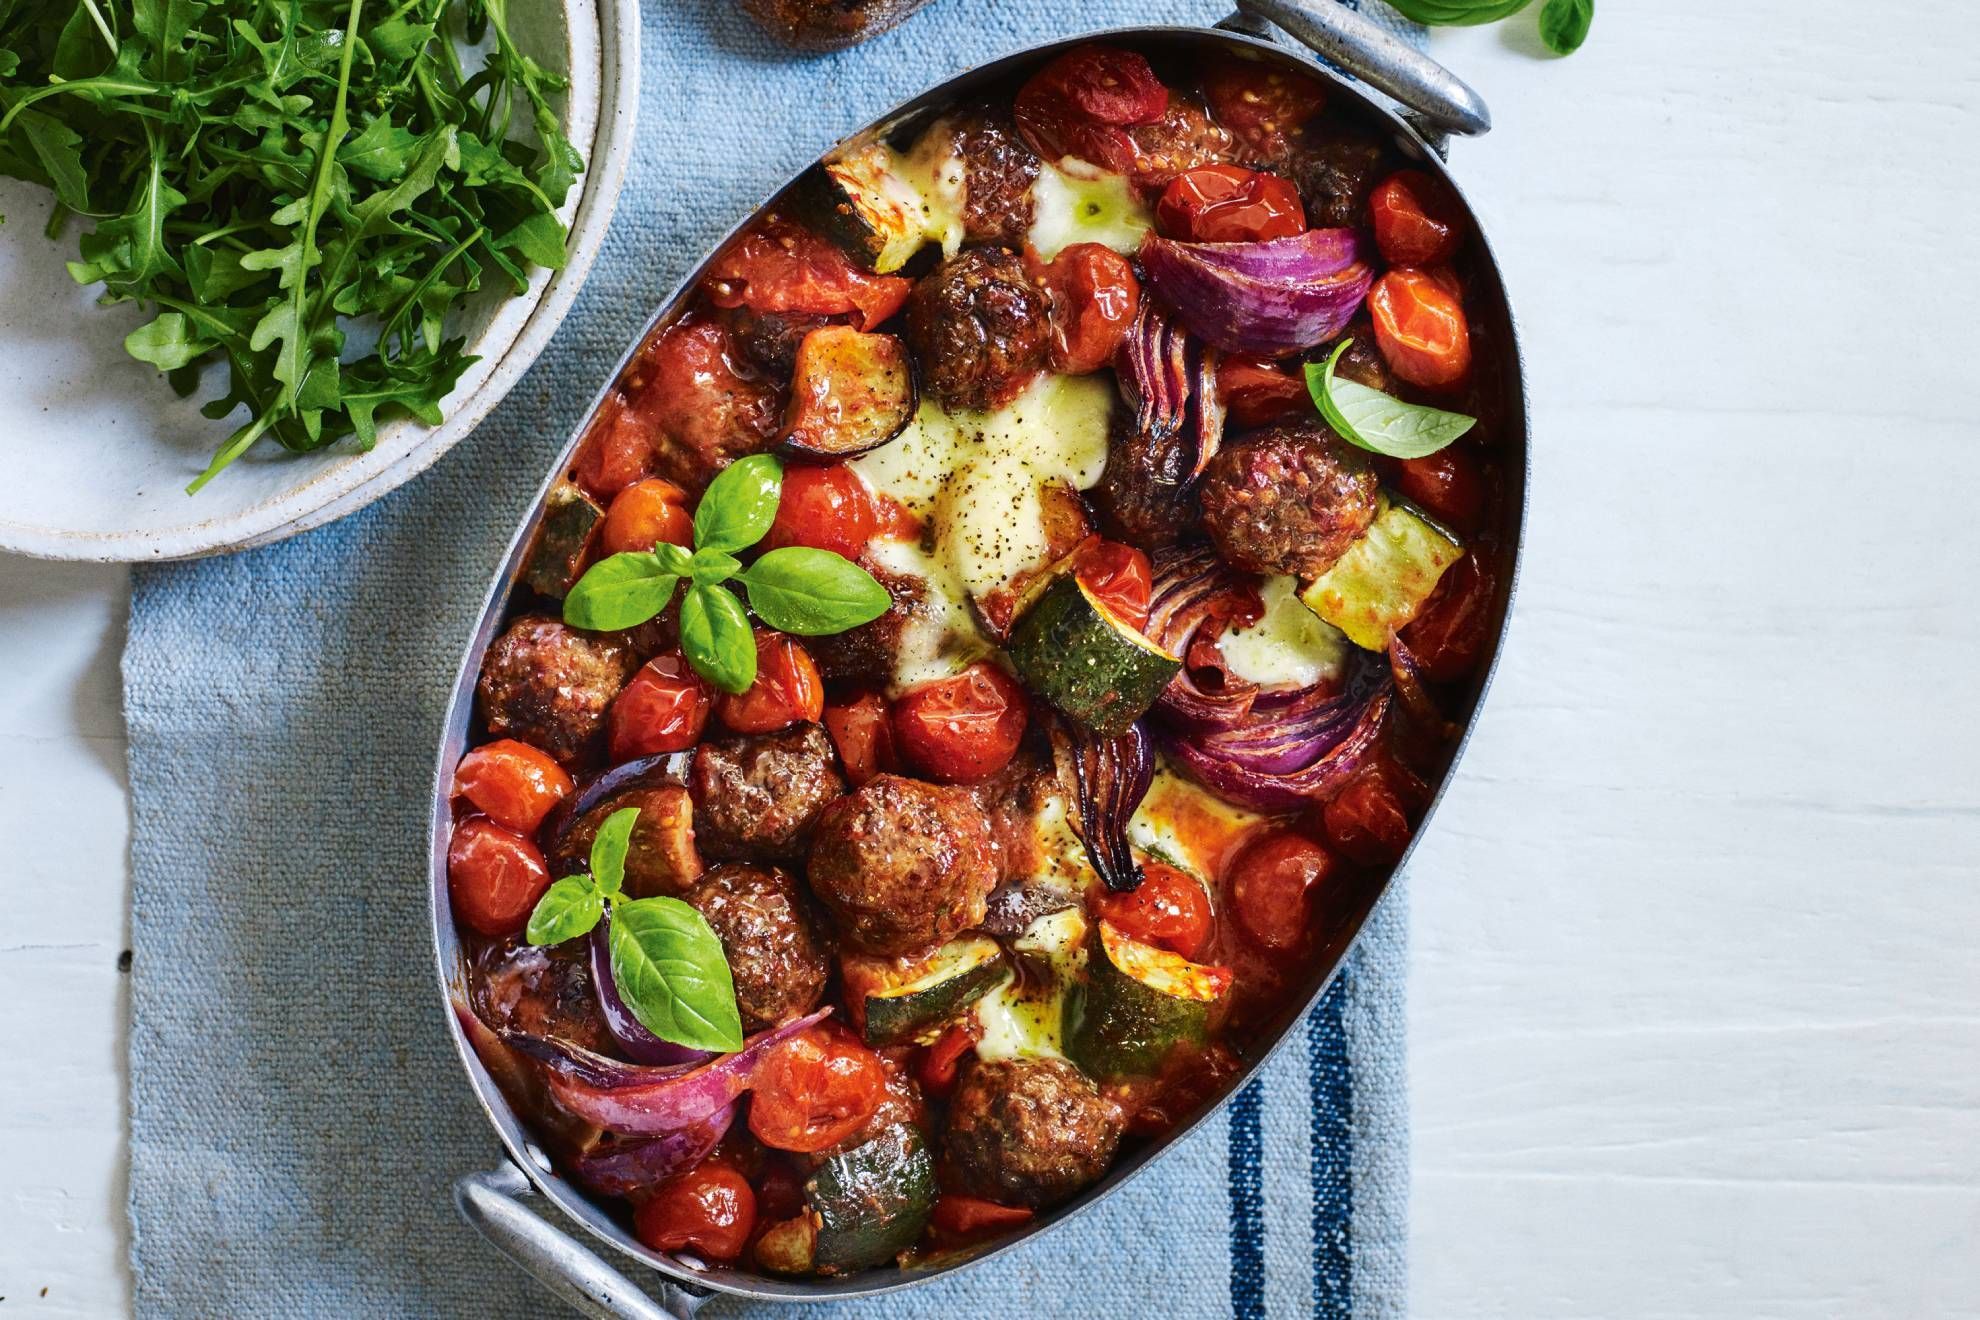
How to cook frozen meatballs


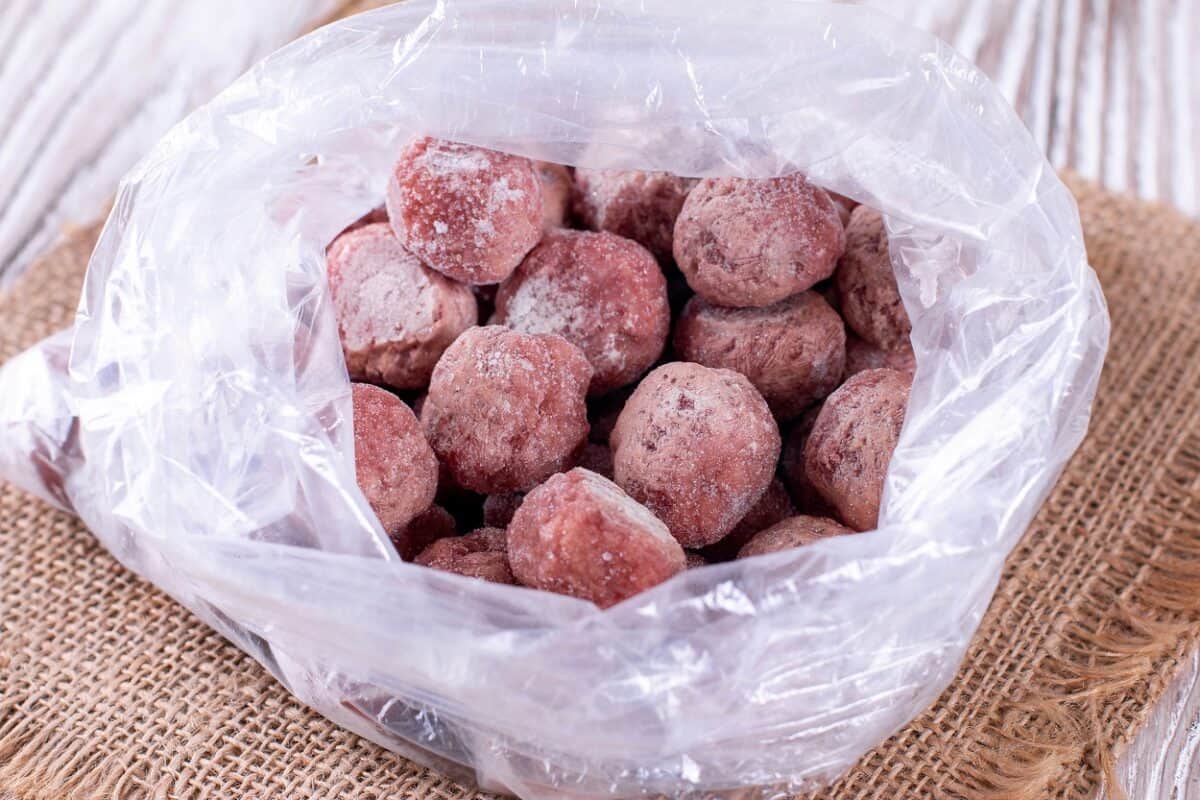
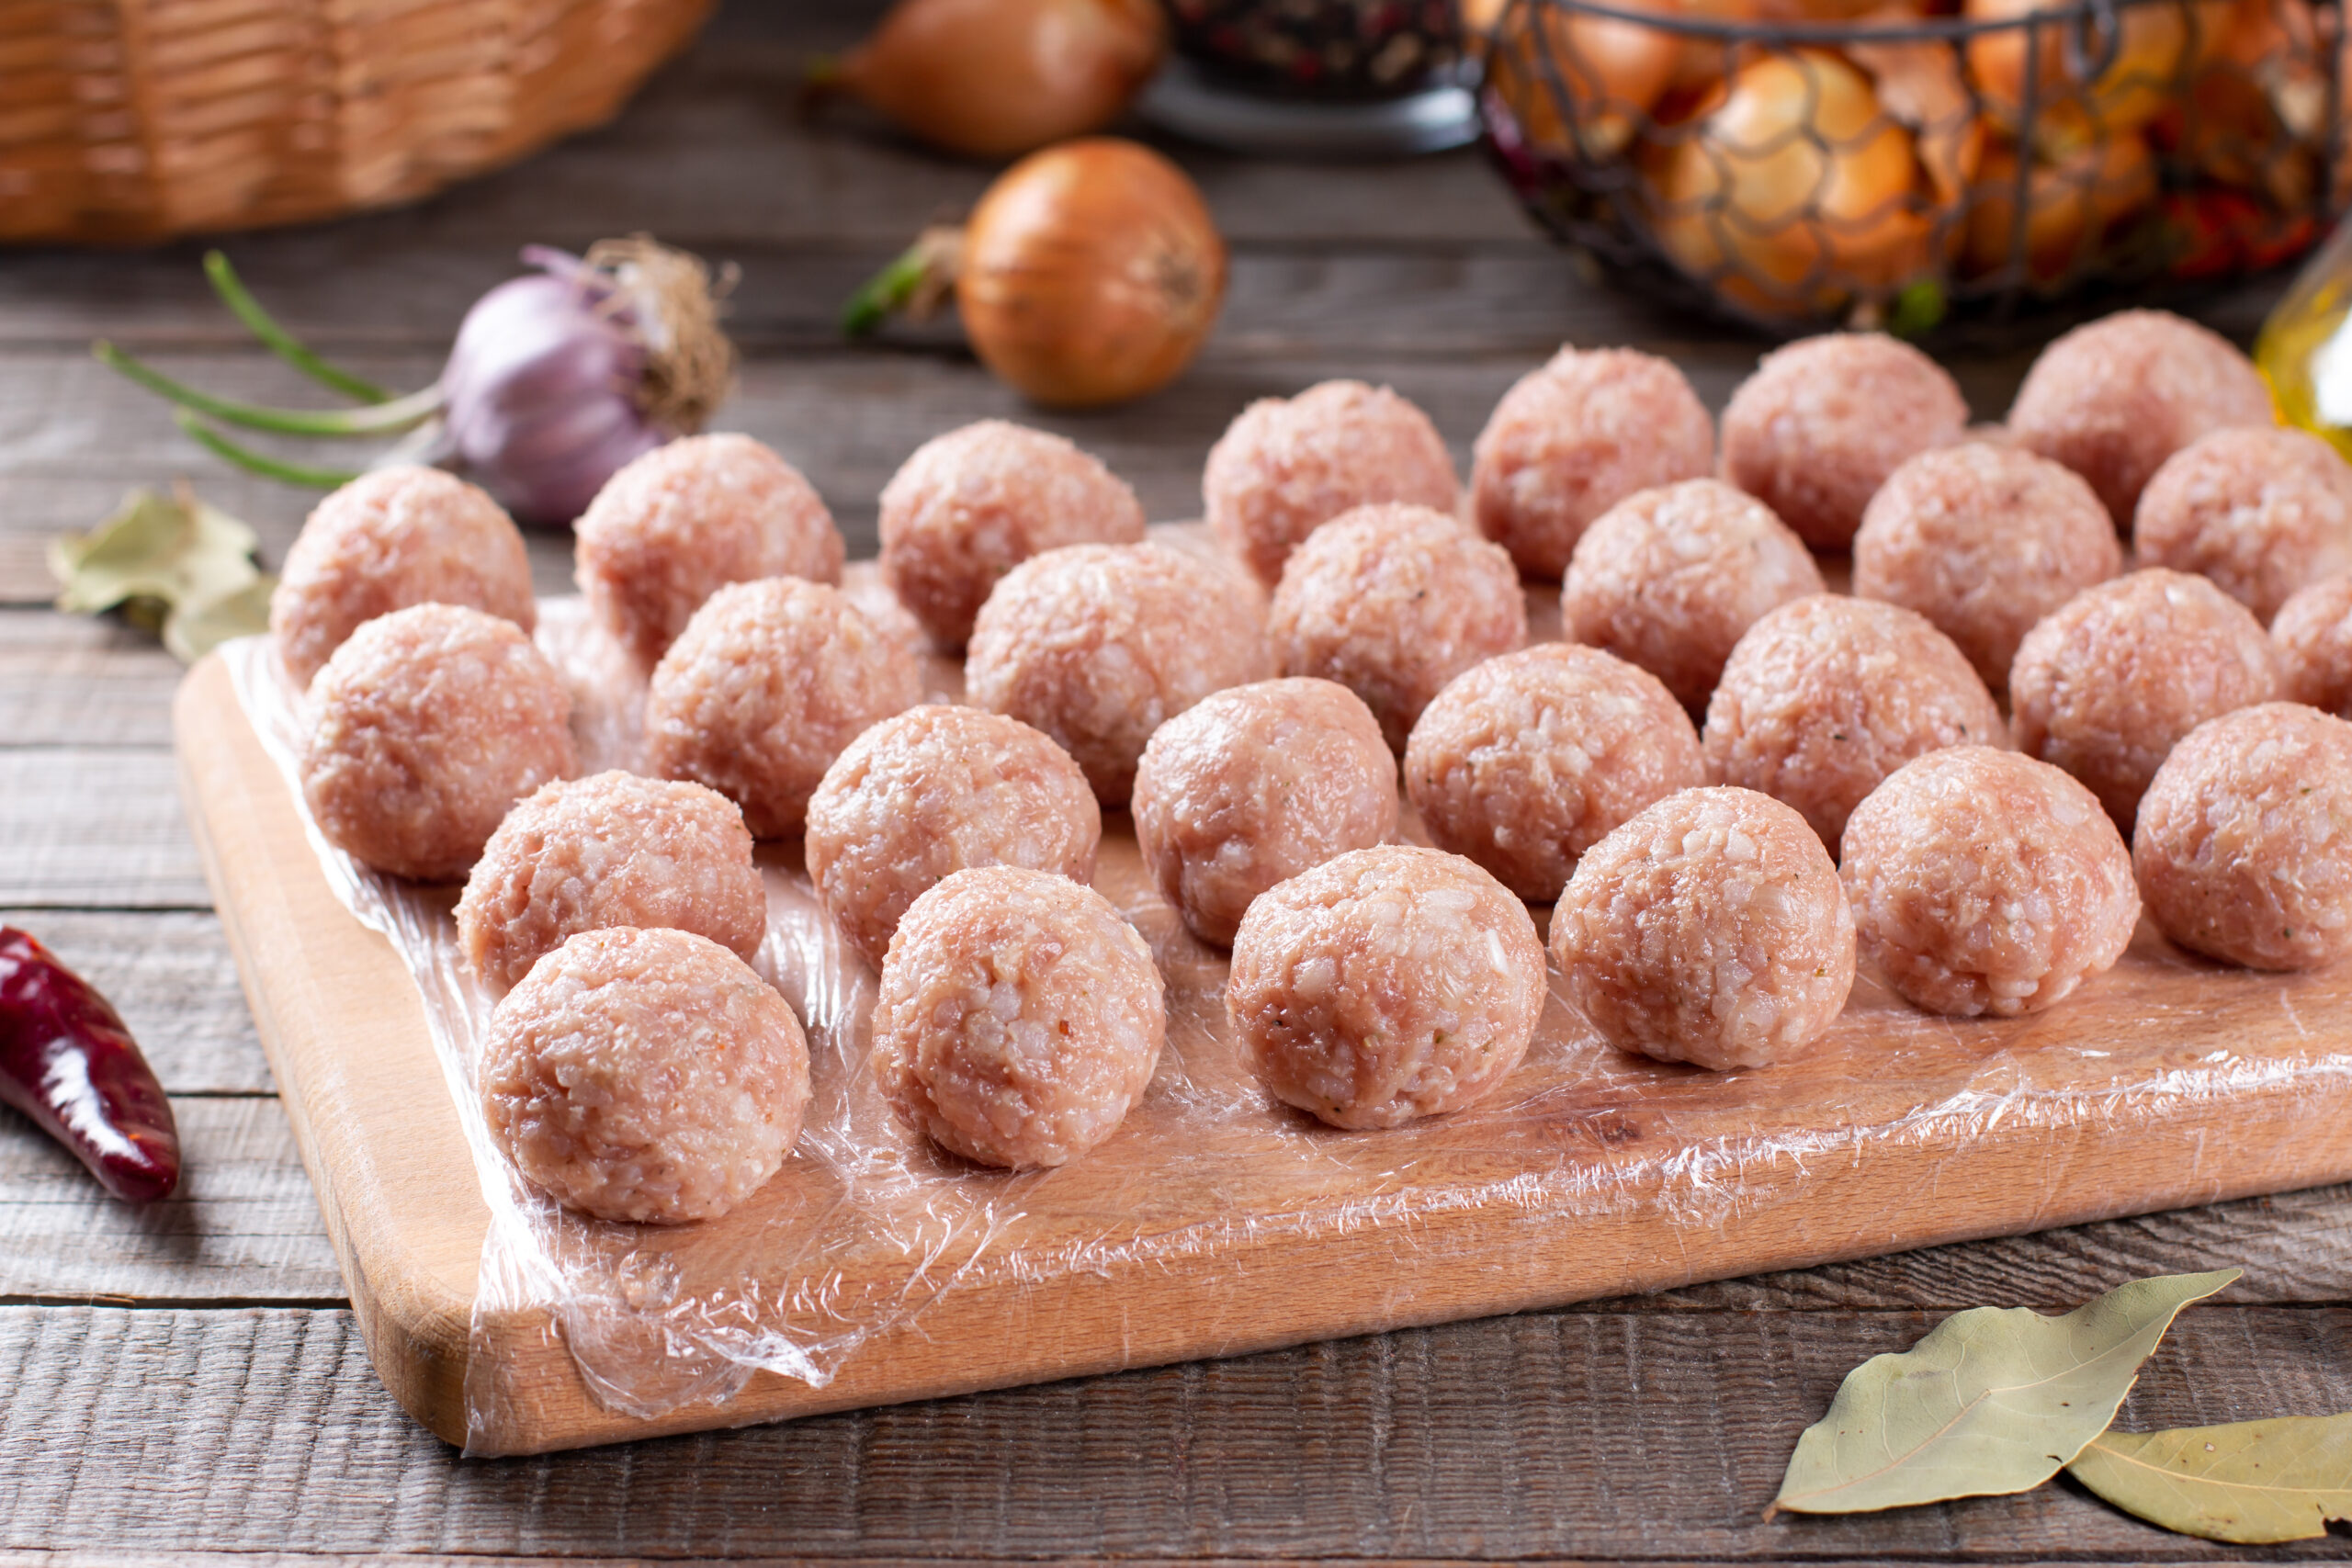
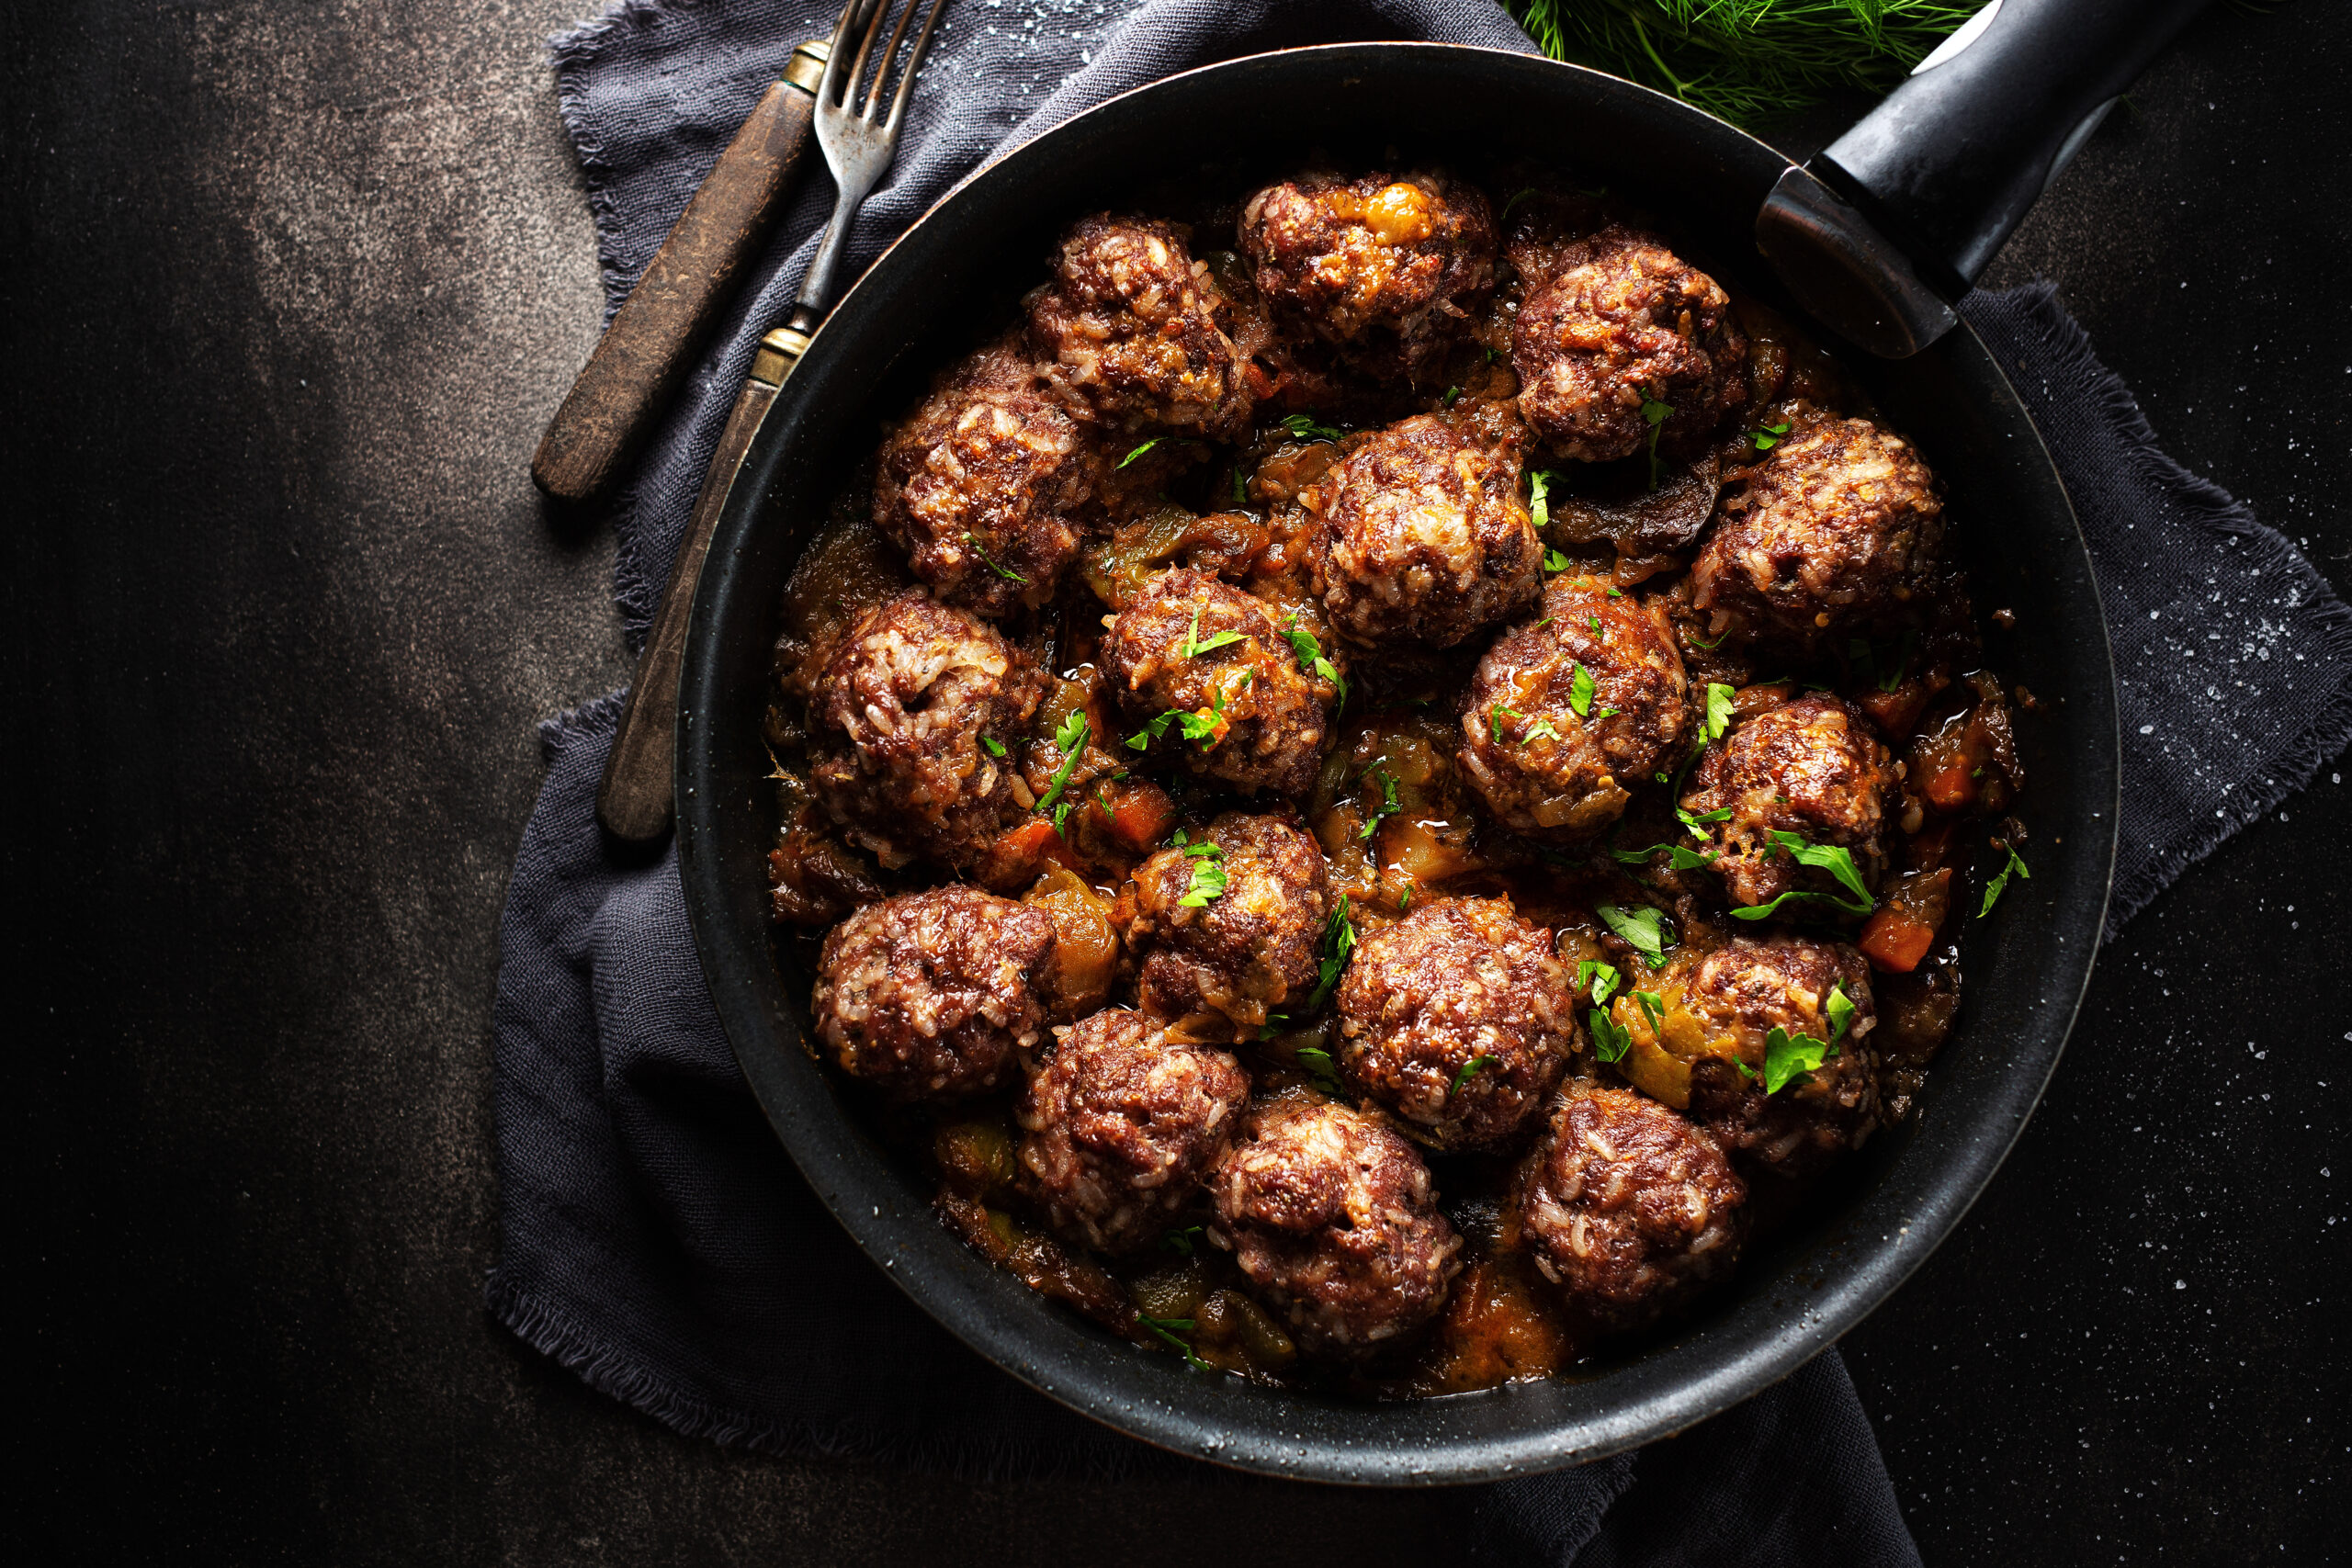
Meatballs are one of the most popular meat dishes around the world. They can be prepared in many variations and form the basis of many dishes, such as Swedish meatballs, Mexican albondigas, or Italian meatballs in tomato sauce. So if you don’t have the time or desire to make meatballs from scratch, you can use frozen meatballs.


How to cook lion’s mane mushroom


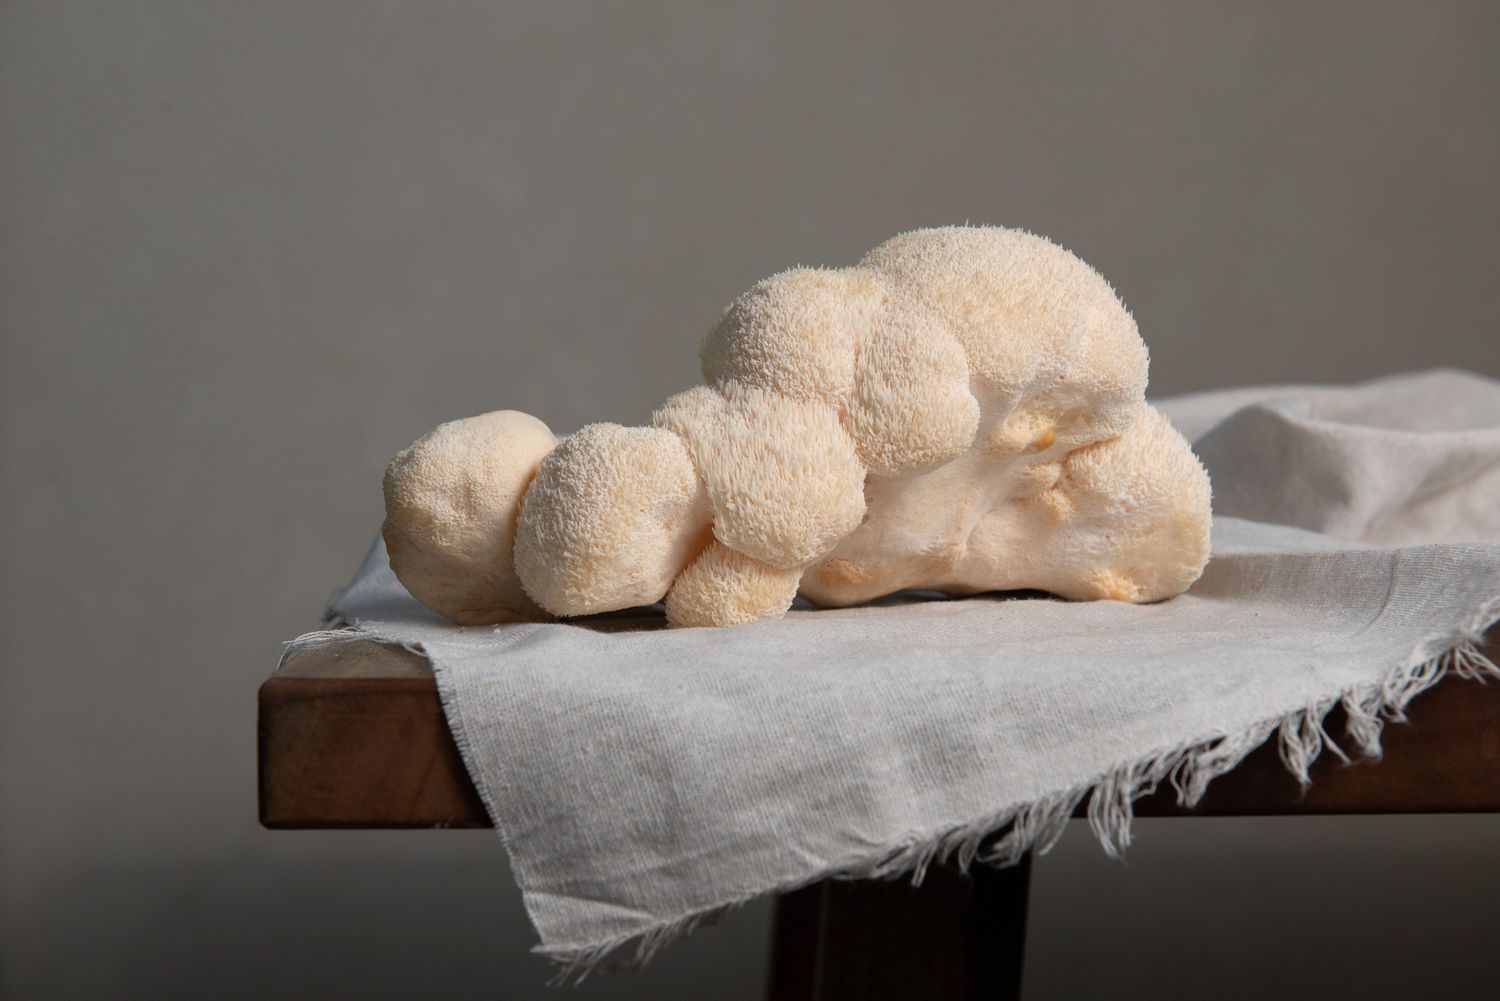
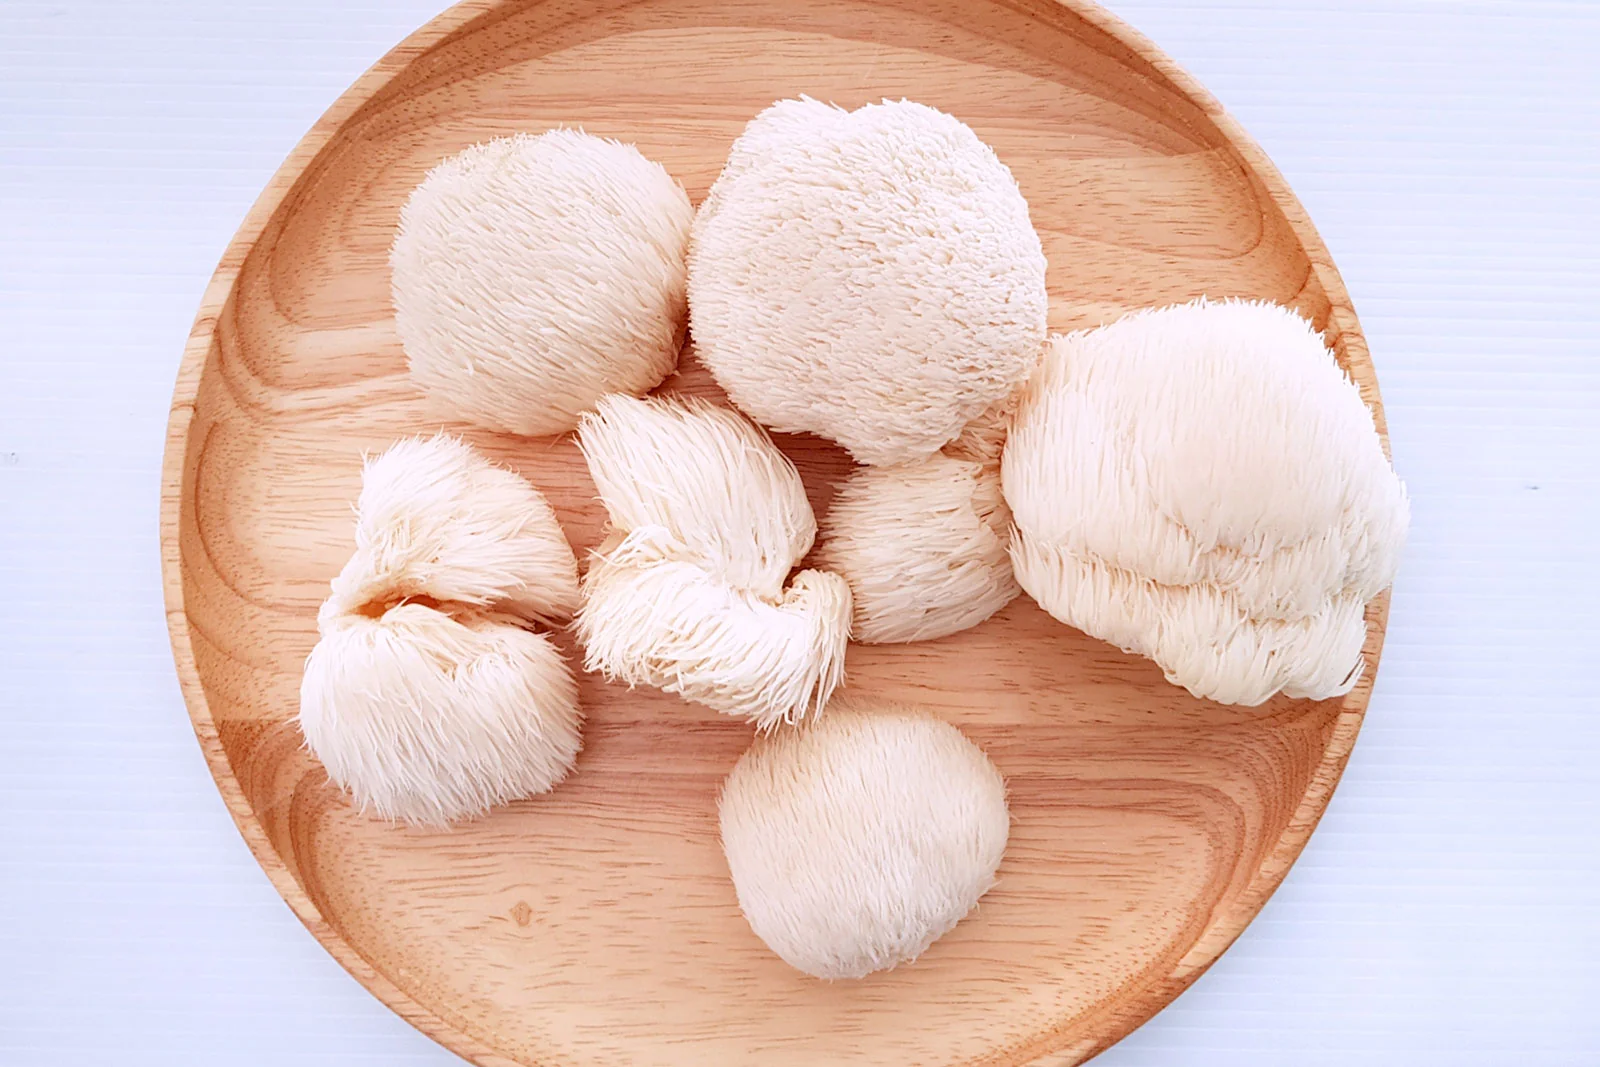
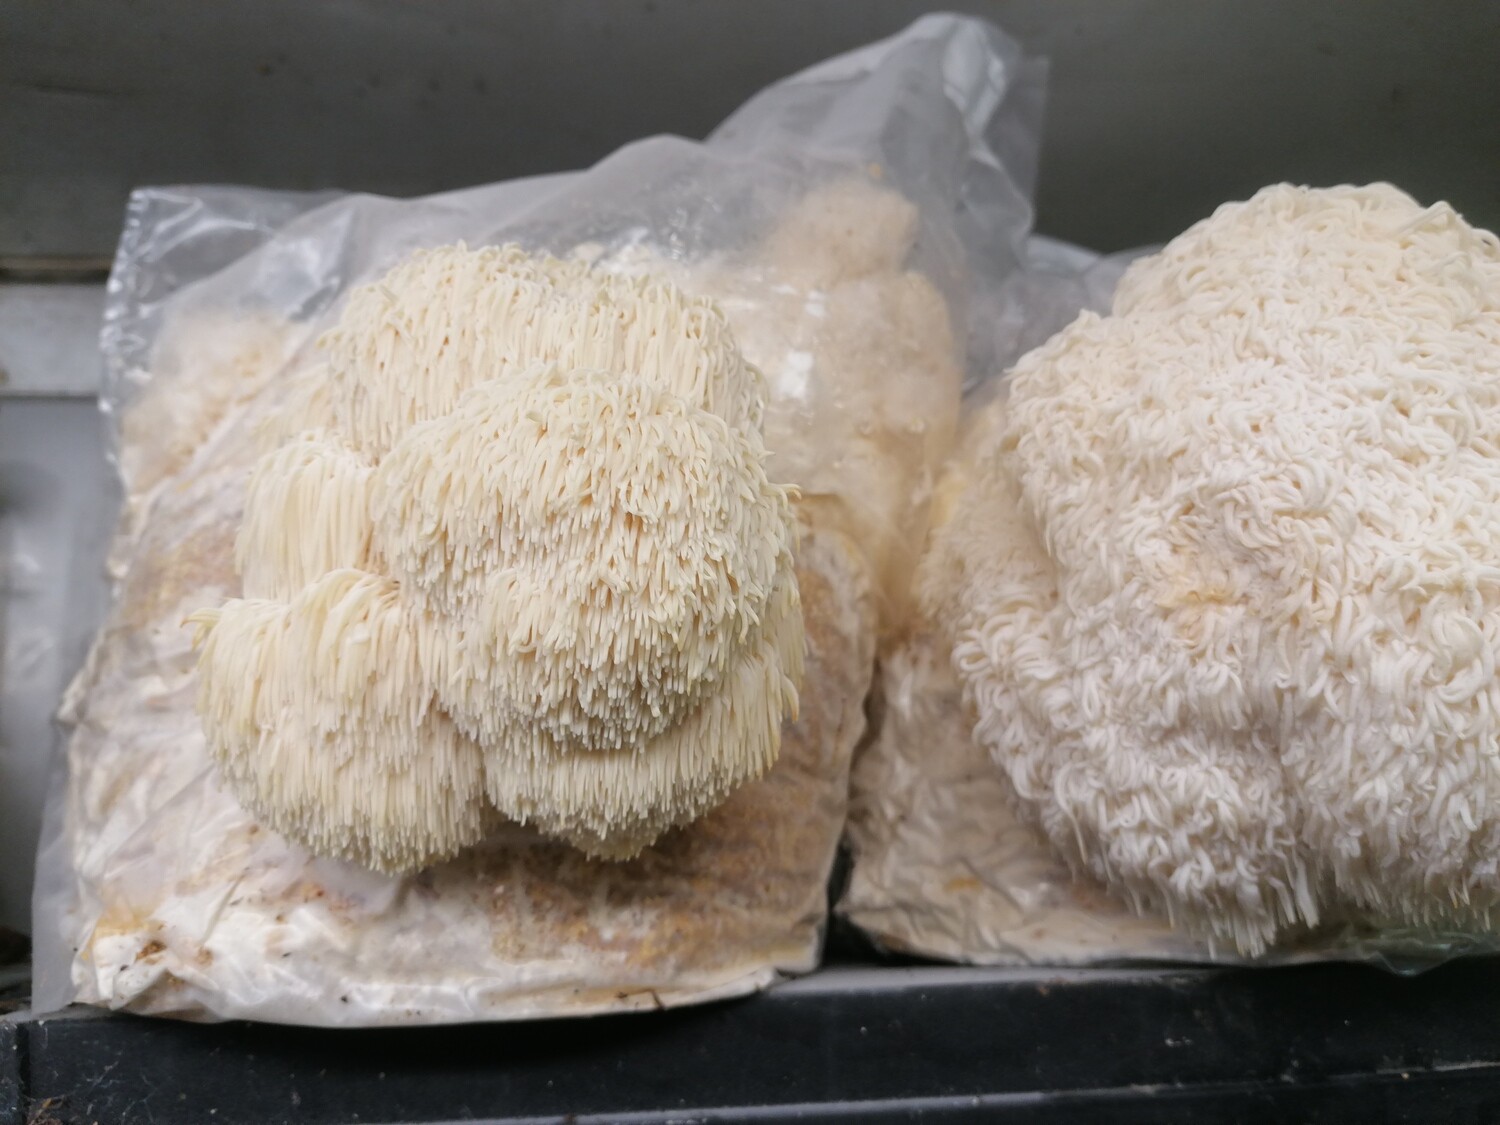
Lion’s mane are beautiful and tasty mushrooms that can be found in the woods during the fall and spring seasons. They have an unusual, irregularly shaped, sessile, rounded fruiting body. The legs are absent. The hymenophore is spiky. The long, drooping spines reach 2-5 cm, sometimes slightly yellowing when dry. The flesh and spore powder have a white tint.


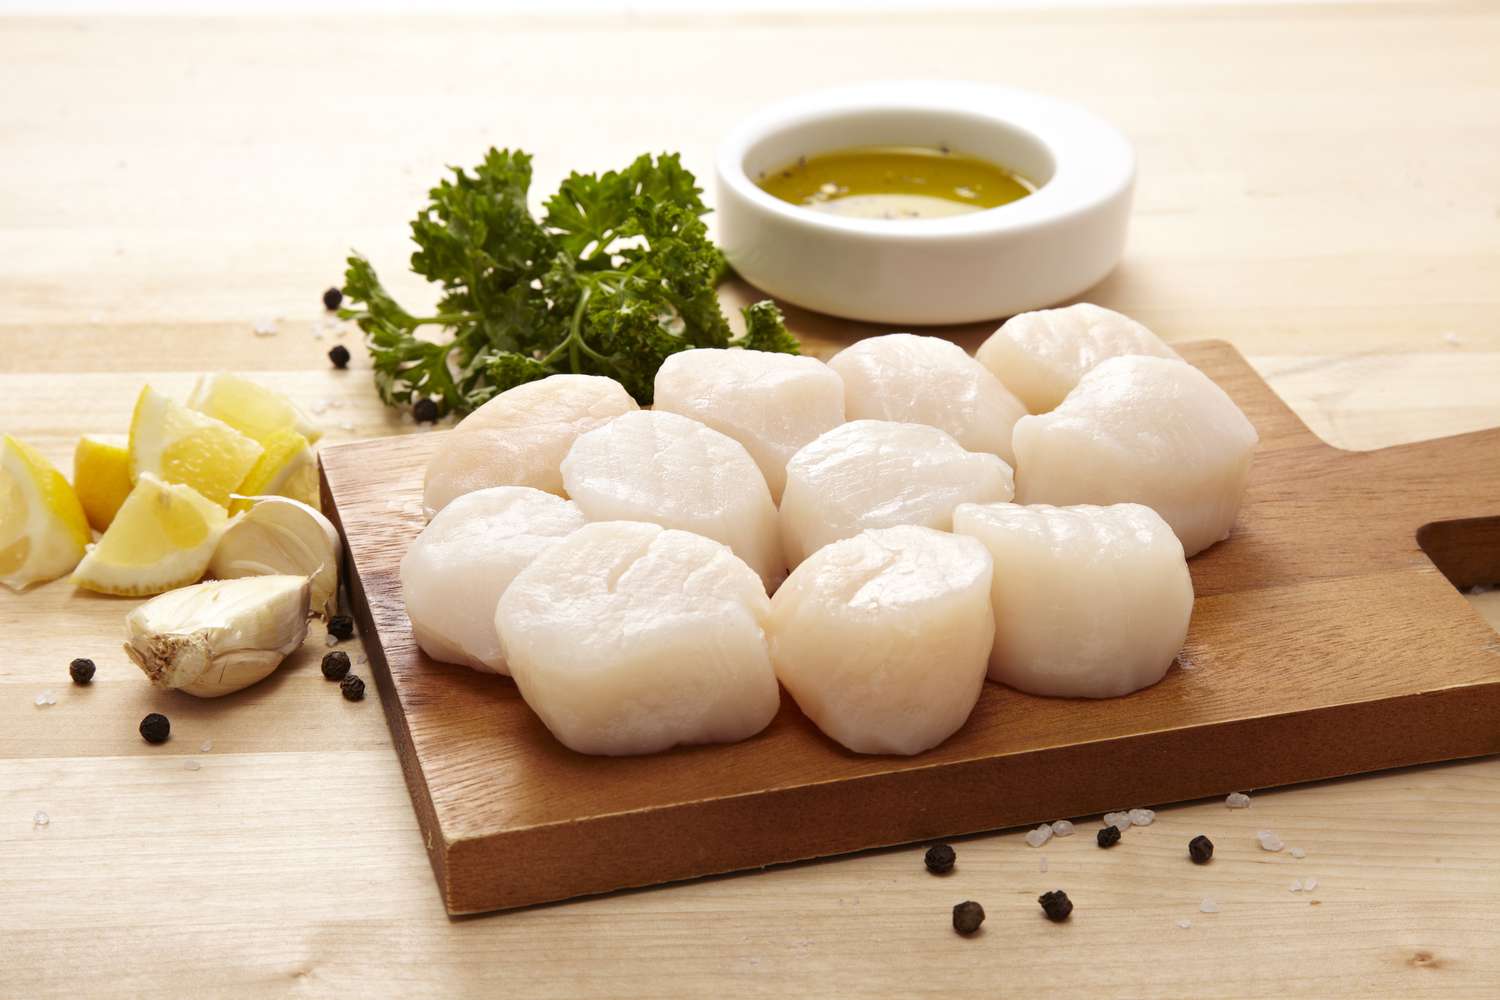
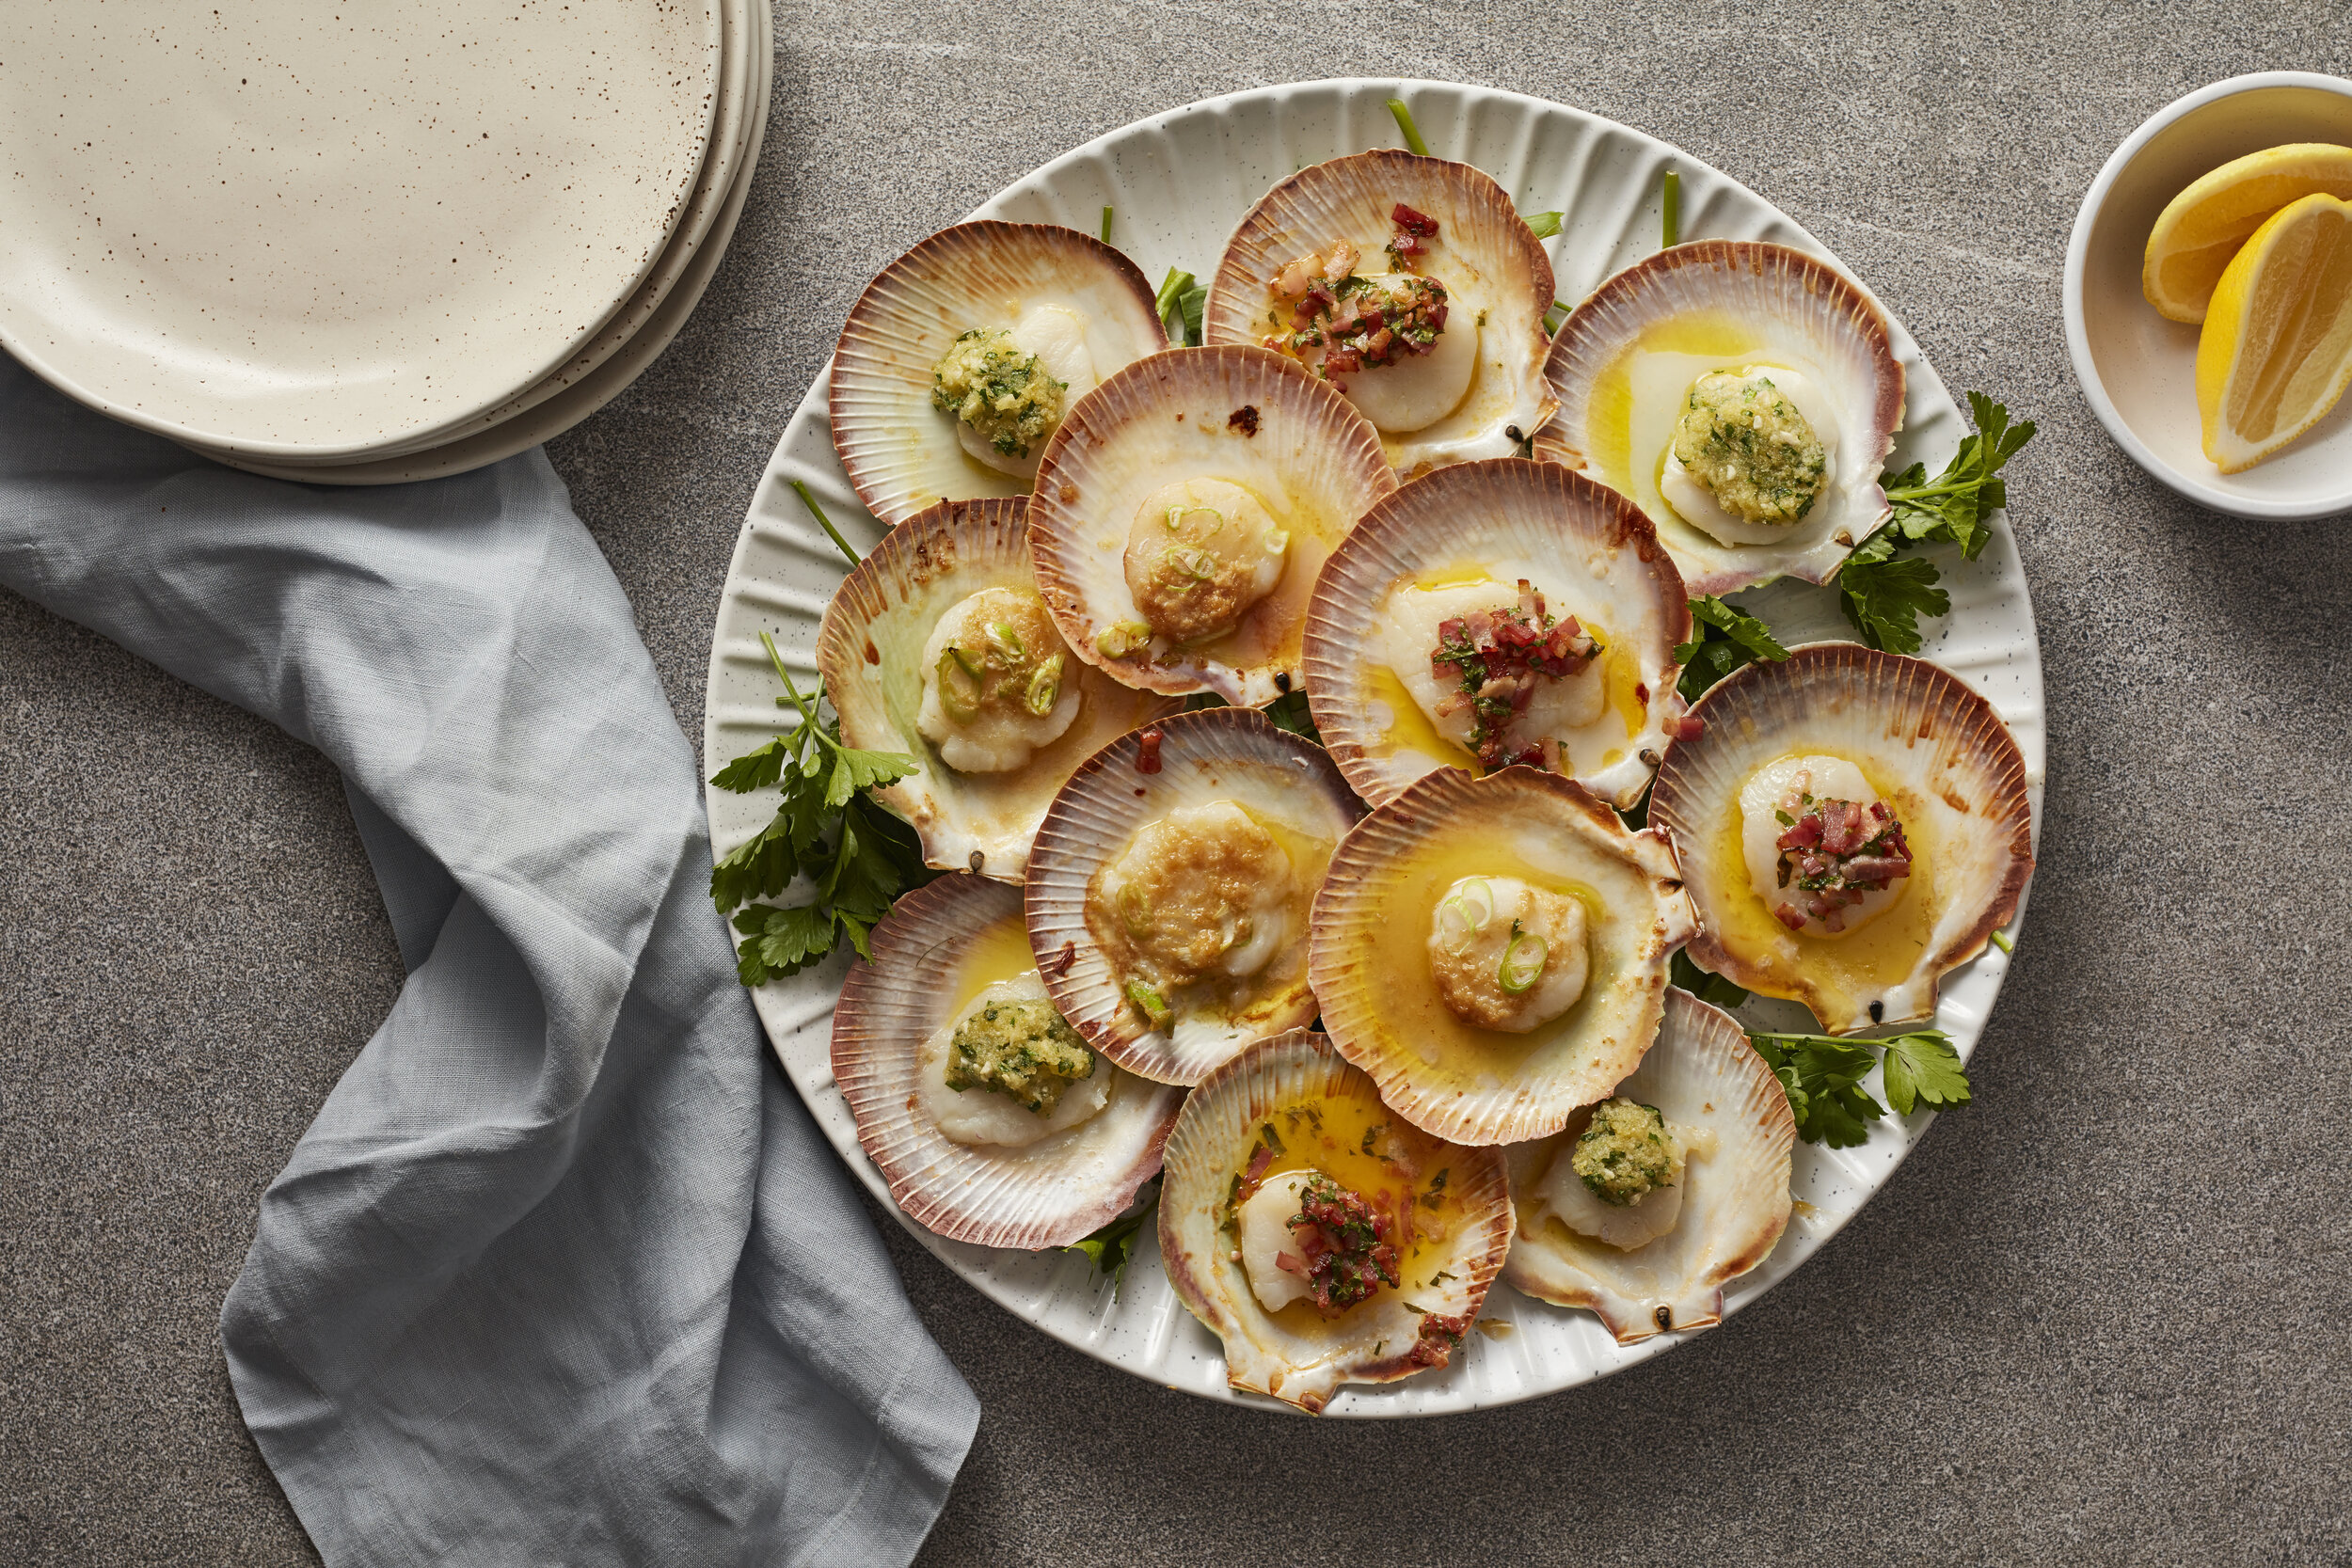
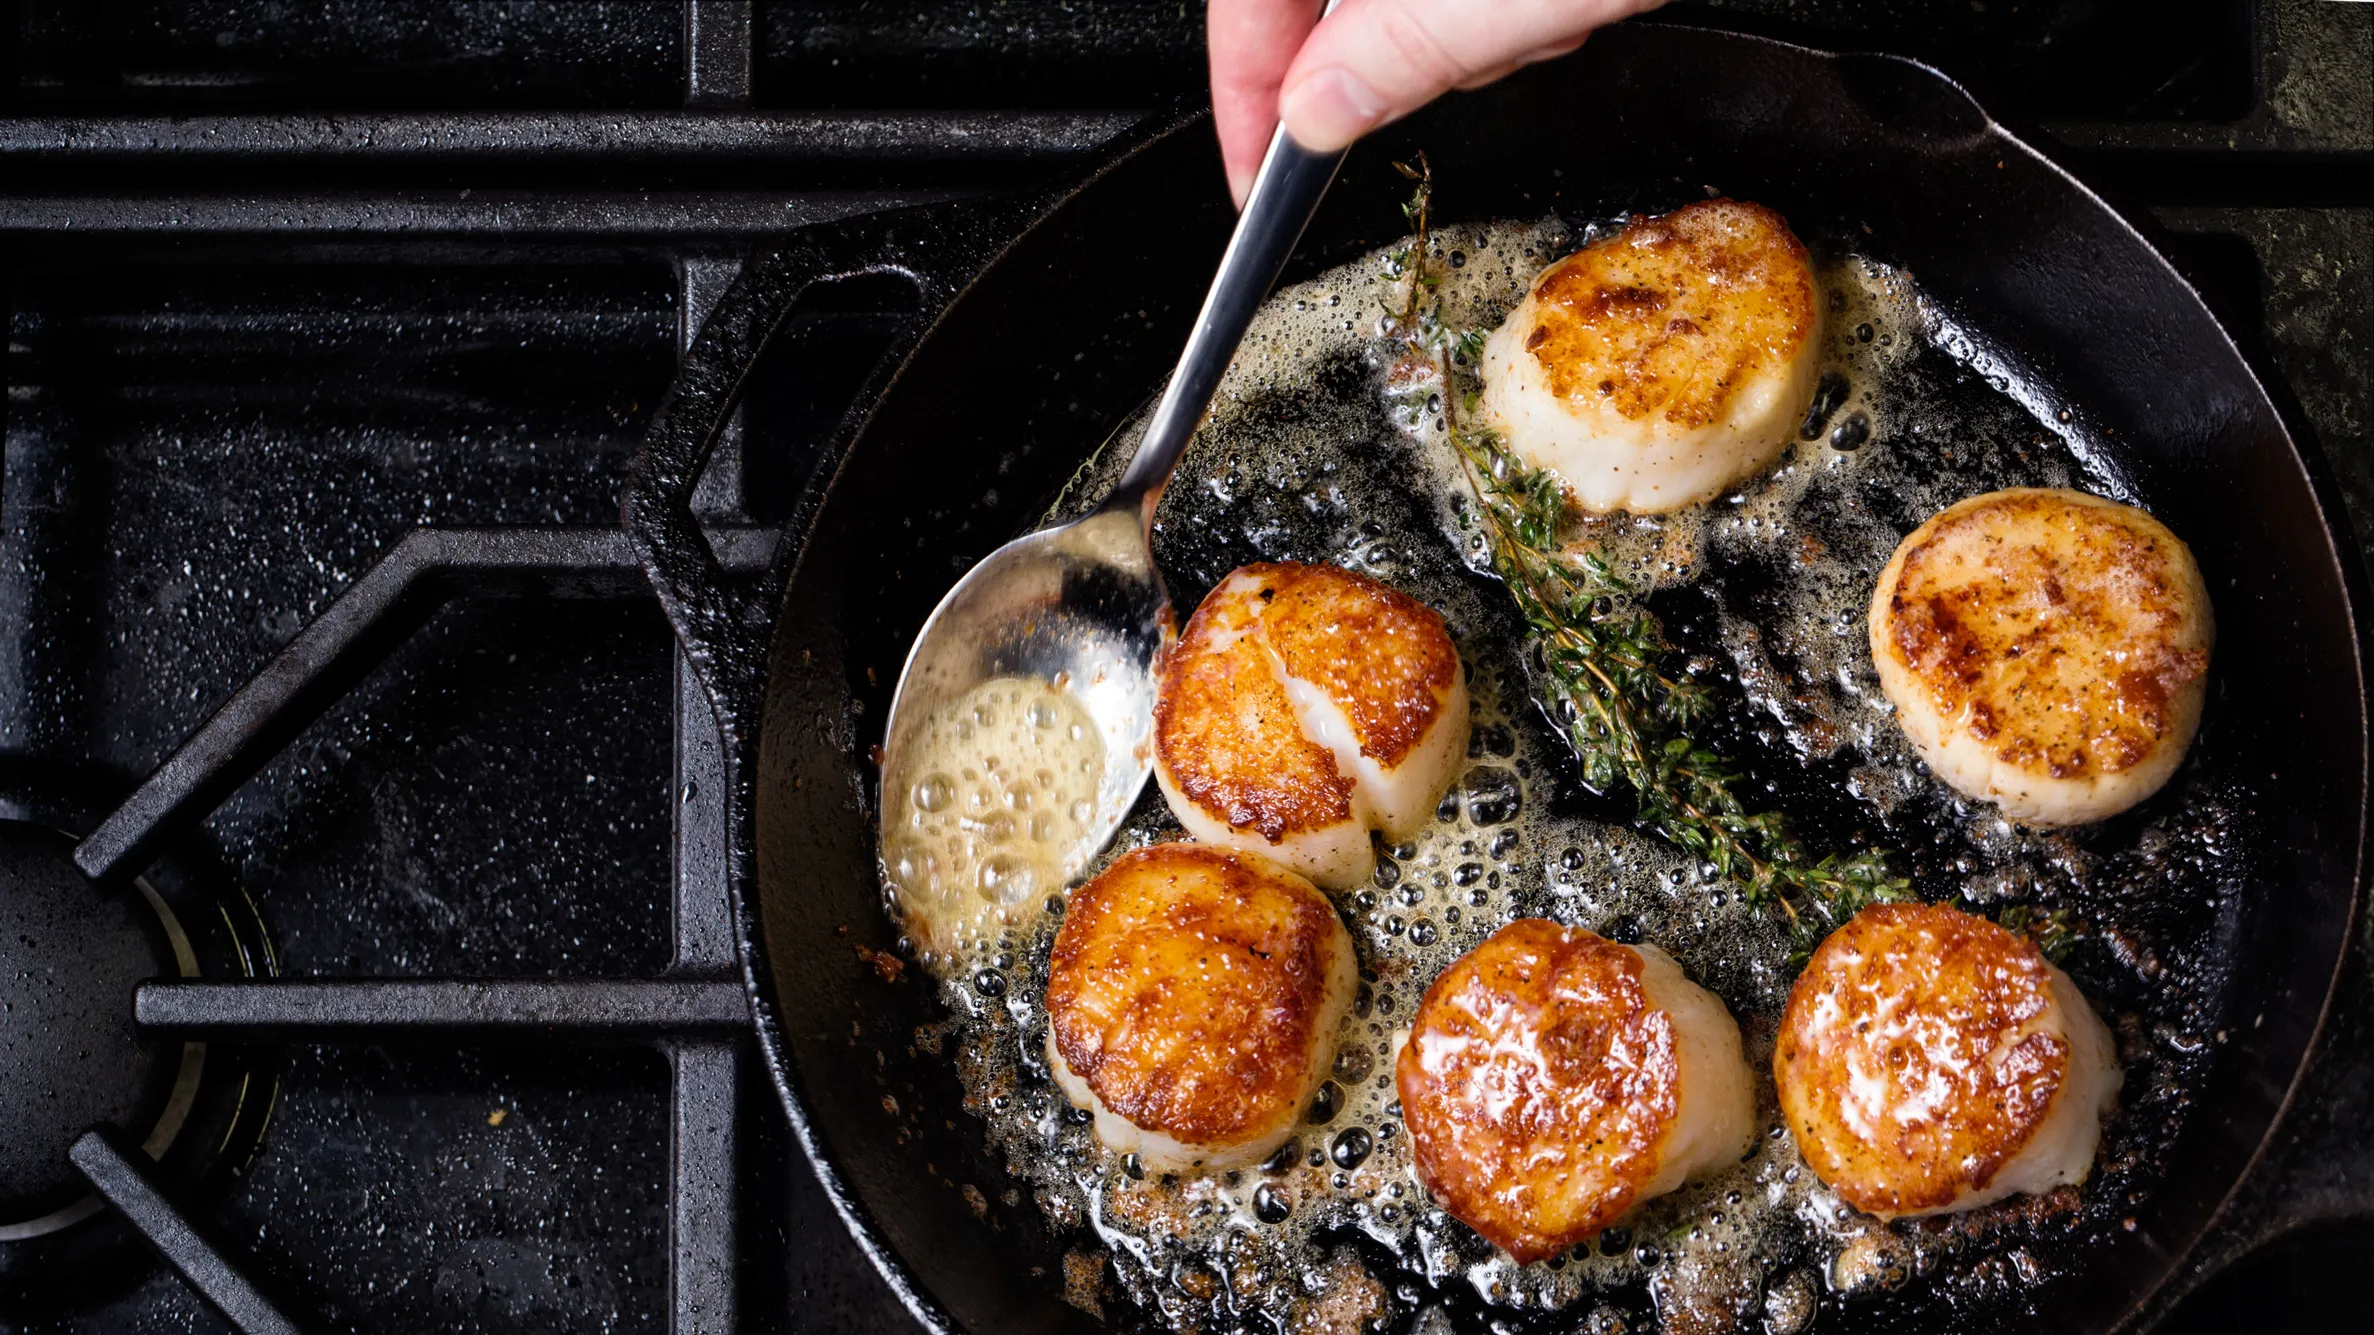
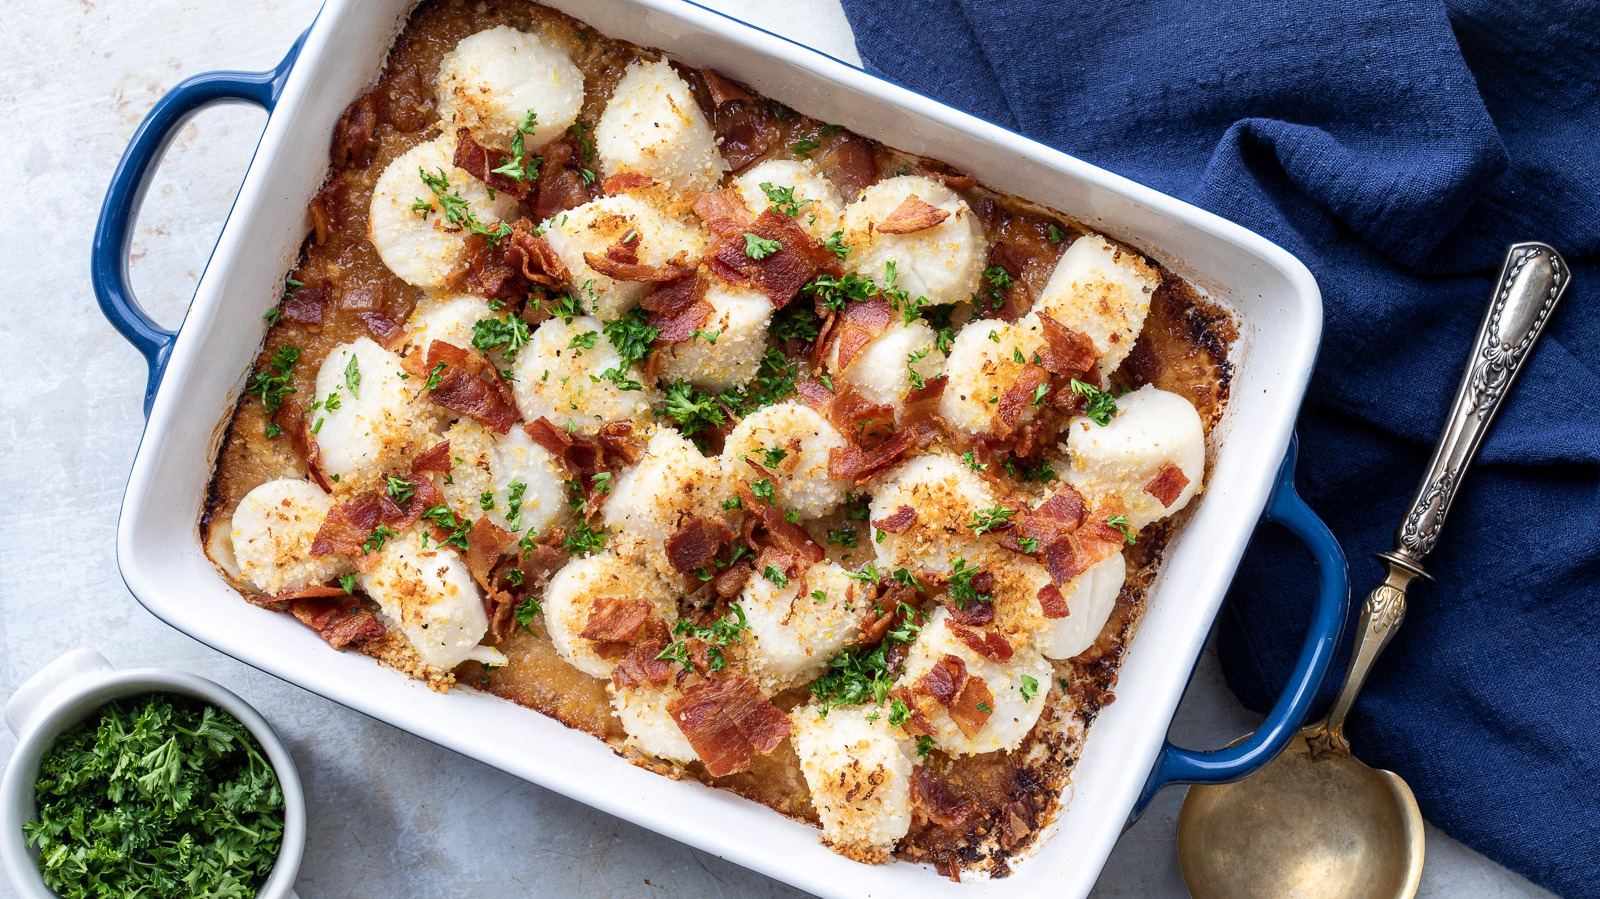
How to cook frozen scallops


The scallop is a delicacy clam that has a delicate flavor and pleasant aroma. It can be used as an ingredient for many dishes, from appetizers to main courses.If you have purchased frozen scallops and want to cook them, this article will give you detailed instructions, recipes and tips. You should follow some rules to make sure they turn out juicy, delicious and safe to eat.


Best online gaming 


We described how you can spend your time at home at the computer, doing useful and interesting things.


Rest in Ukraine Carphatian


In this article we will tell you about an unforgettable vacation in a wonderful hotel, which we went to on our own in Ukraine. This is a wonderful Polyana resort with mineral waters that are found almost nowhere else in the world!


The IOP DCP (Interoperable Master Package Digital Cinema Package) standard has a number of technical characteristics that enable it to effectively meet the challenges of the digital cinema industry. These characteristics ensure compatibility, quality and efficiency in content processing and playback. In this format, your movie will be able to run in any digital theater, even the oldest. And despite its emergence, SMPTE remains an important player in the film industry, especially for countries or film festivals where the most modern equipment may not be available. Such packages are created in specialized studios like dellert.cc.

Let’s look at some of the features in more detail.

**1. Video and Audio Formats: The IOP DCP supports a variety of video and audio formats. This includes 2D and 3D content, high dynamic range (HDR), high frame rate (HFR) and multi-channel audio. This versatility allows content to adapt to the different specifications of different theaters and devices.

**2. Image Resolution: The IOP DCP is capable of handling a variety of image resolutions including 2K, 4K and 8K. This ensures that content can be displayed on different screens with different pixel densities while maintaining high detail and clarity.

**3. Subtitle and Metadata Formats: The IOP DCP standard supports a variety of subtitle and metadata formats. This is important to ensure that movies can be localized into different languages and that important content information is displayed correctly.

**4. Security and Encryption: One of the key features of IOP DCP is its ability to keep content secure. Through encryption and protection against unauthorized copying, the IOP DCP standard protects intellectual property and prevents unauthorized access to films.

**5. Digital Signatures: The DCP IOP includes digital signature mechanisms that provide authentication and integrity of content. This ensures that movies have not been altered or tampered with, and that they come from a trusted source.

**6. Updates and Versioning: The IOP DCP standard supports the ability to make updates and changes to content. This is useful, for example, to fix bugs or add new elements to already released movies.

**7. Centralized Management: IOP DCP provides the ability to centrally manage content over digital networks. Movie theaters can easily receive movie updates, control playback, and monitor the status of content on remote screens.

**8. Efficiency in Distribution: The IOP DCP standard promotes more efficient distribution of movies. It enables the creation of a single master version of a film that can be easily distributed among different theaters and platforms, minimizing the cost of creating different versions.

**9. Cost Reduction: Through compatibility, versatility and distribution efficiency, the IOP DCP standard helps reduce the cost of creating and showing movies. This is important for the industry as it allows it to focus resources on content quality and innovation.

Conclusion:

The technical characteristics of the IOP DCP standard make it a powerful tool in digital cinematography. They ensure interoperability, versatility, security and efficiency in content distribution, creating an optimal environment for film production, distribution and exhibition.

Home › How to cook frozen scallopsSkip Ahead to cook frozen scallops

The scallop is a delicacy clam that has a delicate flavor and pleasant aroma. It can be used as an ingredient for many dishes, from appetizers to main courses.If you have purchased frozen scallops and want to cook them, this article will give you detailed instructions, recipes and tips. When you work with frozen scallops, you should follow some rules to make sure they turn out juicy, delicious and safe to eat.

What does a scallop taste like?

Its dense white meat has a nutty, slightly sweet taste. And orange caviar has a more delicate consistency and a stronger “sea” flavor. It is more often separated from the meat and used to enhance the flavor of sauces. But you can cook with it. Try it how you like it best.

Below are detailed instructions and recommendations for cooking frozen scallops.

Defrosting Scallops

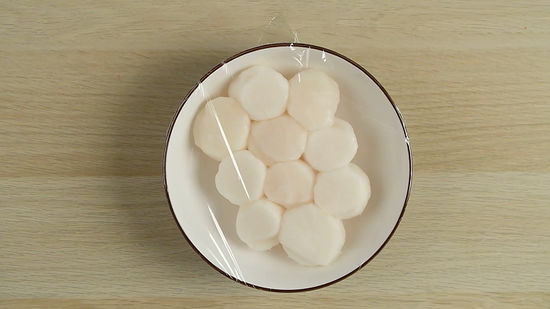
  1. Before you start cooking the scallops, you need to defrost them. Take the scallops from the freezer and place them in the refrigerator overnight until they are completely thawed. This method is the safest and will not expose the scallops to temperature shock.
  2. If you don’t have that much time to defrost the scallops in the refrigerator, you can use the quick defrost method of immersion. Fill a large bowl with cold water and place the scallops inside for 10-15 minutes. Then replace the water with fresh water and repeat the process until the scallops are completely defrosted.
  3. Never use hot water to thaw the scallops, as the temperature will suddenly rise and this may damage the scallop flesh.
  4. Take the scallops out of the package, dry them with a paper towel or kitchen paper and cook them according to the recipe.

Experienced cooks place scallop fillets in cold water, half diluted with milk. The main thing here is to remove the scallops immediately after defrosting, otherwise they will begin to lose their flavor.

These are the basic steps to follow when defrosting scallops. It is important to defrost and cook them correctly to preserve their quality and safety.

Prepare the scallops

  1. Before you start cooking scallops, you need to clean them. First, you need to remove the scallop shell. To do this, use a sharp knife and gently run it along the shell. Then remove the contents of the shell and rinse the scallop under cold water.
  2. Remove the yellow sac. Scallops have a yellow sac that is near the fleshy part of the scallop. This sac should be removed because it can ruin the taste of the dish. You can do this with a sharp knife and carefully cut the fleshy part of the scallop, gently take out the yellow sack and throw it away.

Scallops can be cooked in many different ways, depending on preference. They can be boiled, fried or baked. One easy way to cook scallops is to roast them.

How to cook? Scallops are boiled, fried, stewed, and served raw.

Raw Scallops

Serving raw scallops requires care and attention to detail to preserve their natural flavor and texture. Quality and properly defrosted scallops are also delicious raw. Sometimes they are sliced in thin layers, well salted, peppered, and liberally drizzled with olive oil, half and half with lemon juice.

Ingredients:

  • 60 g scallops
  • 25g mixed salad leaves

For the mango sauce:

  • 110 g lemon pulp
  • 1 kg mango puree
  • 170 g granulated sugar

For the marinade:

  • 15 ml of balsamic vinegar
  • 20 ml extra virgin olive oil
  • 1 g salt
  • 0.5 g ground white pepper
  • 5 g lemon juice
  • 20 g mango sauce

Greens:

  • 1 sprig of green dill
  • 1 twig of parsley
  • 1 sprig of red basil
  • 1 sprig of fresh thyme
  • 1 sprig of chives
  • 1 teaspoon rosemary leaves

Prepare the mango sauce

Bring mango puree to a boil, add squeezed lemon juice, granulated sugar, bring to a boil again, strain.

Prepare the marinade

Mix olive oil, balsamic vinegar and lemon juice, add salt, ground white pepper (to taste). Slice the scallops into thin plates and place in the marinade for at least 1 hour.

Serve

Then place the scallop plates on a plate and top with the salad leaves dressed with the marinade. Pour the whole thing over the mango sauce and garnish with herbs.

Fried scallops

Ingredients:

  • Scallops – 12 pieces
  • Butter – 100 g
  • Garlic – 2 cloves
  • Chopped onion – 1 item
  • Salt
  • Pepper
  • Lemon juice

How to cook scallops

Let’s cook the dish. Everything is very simple!
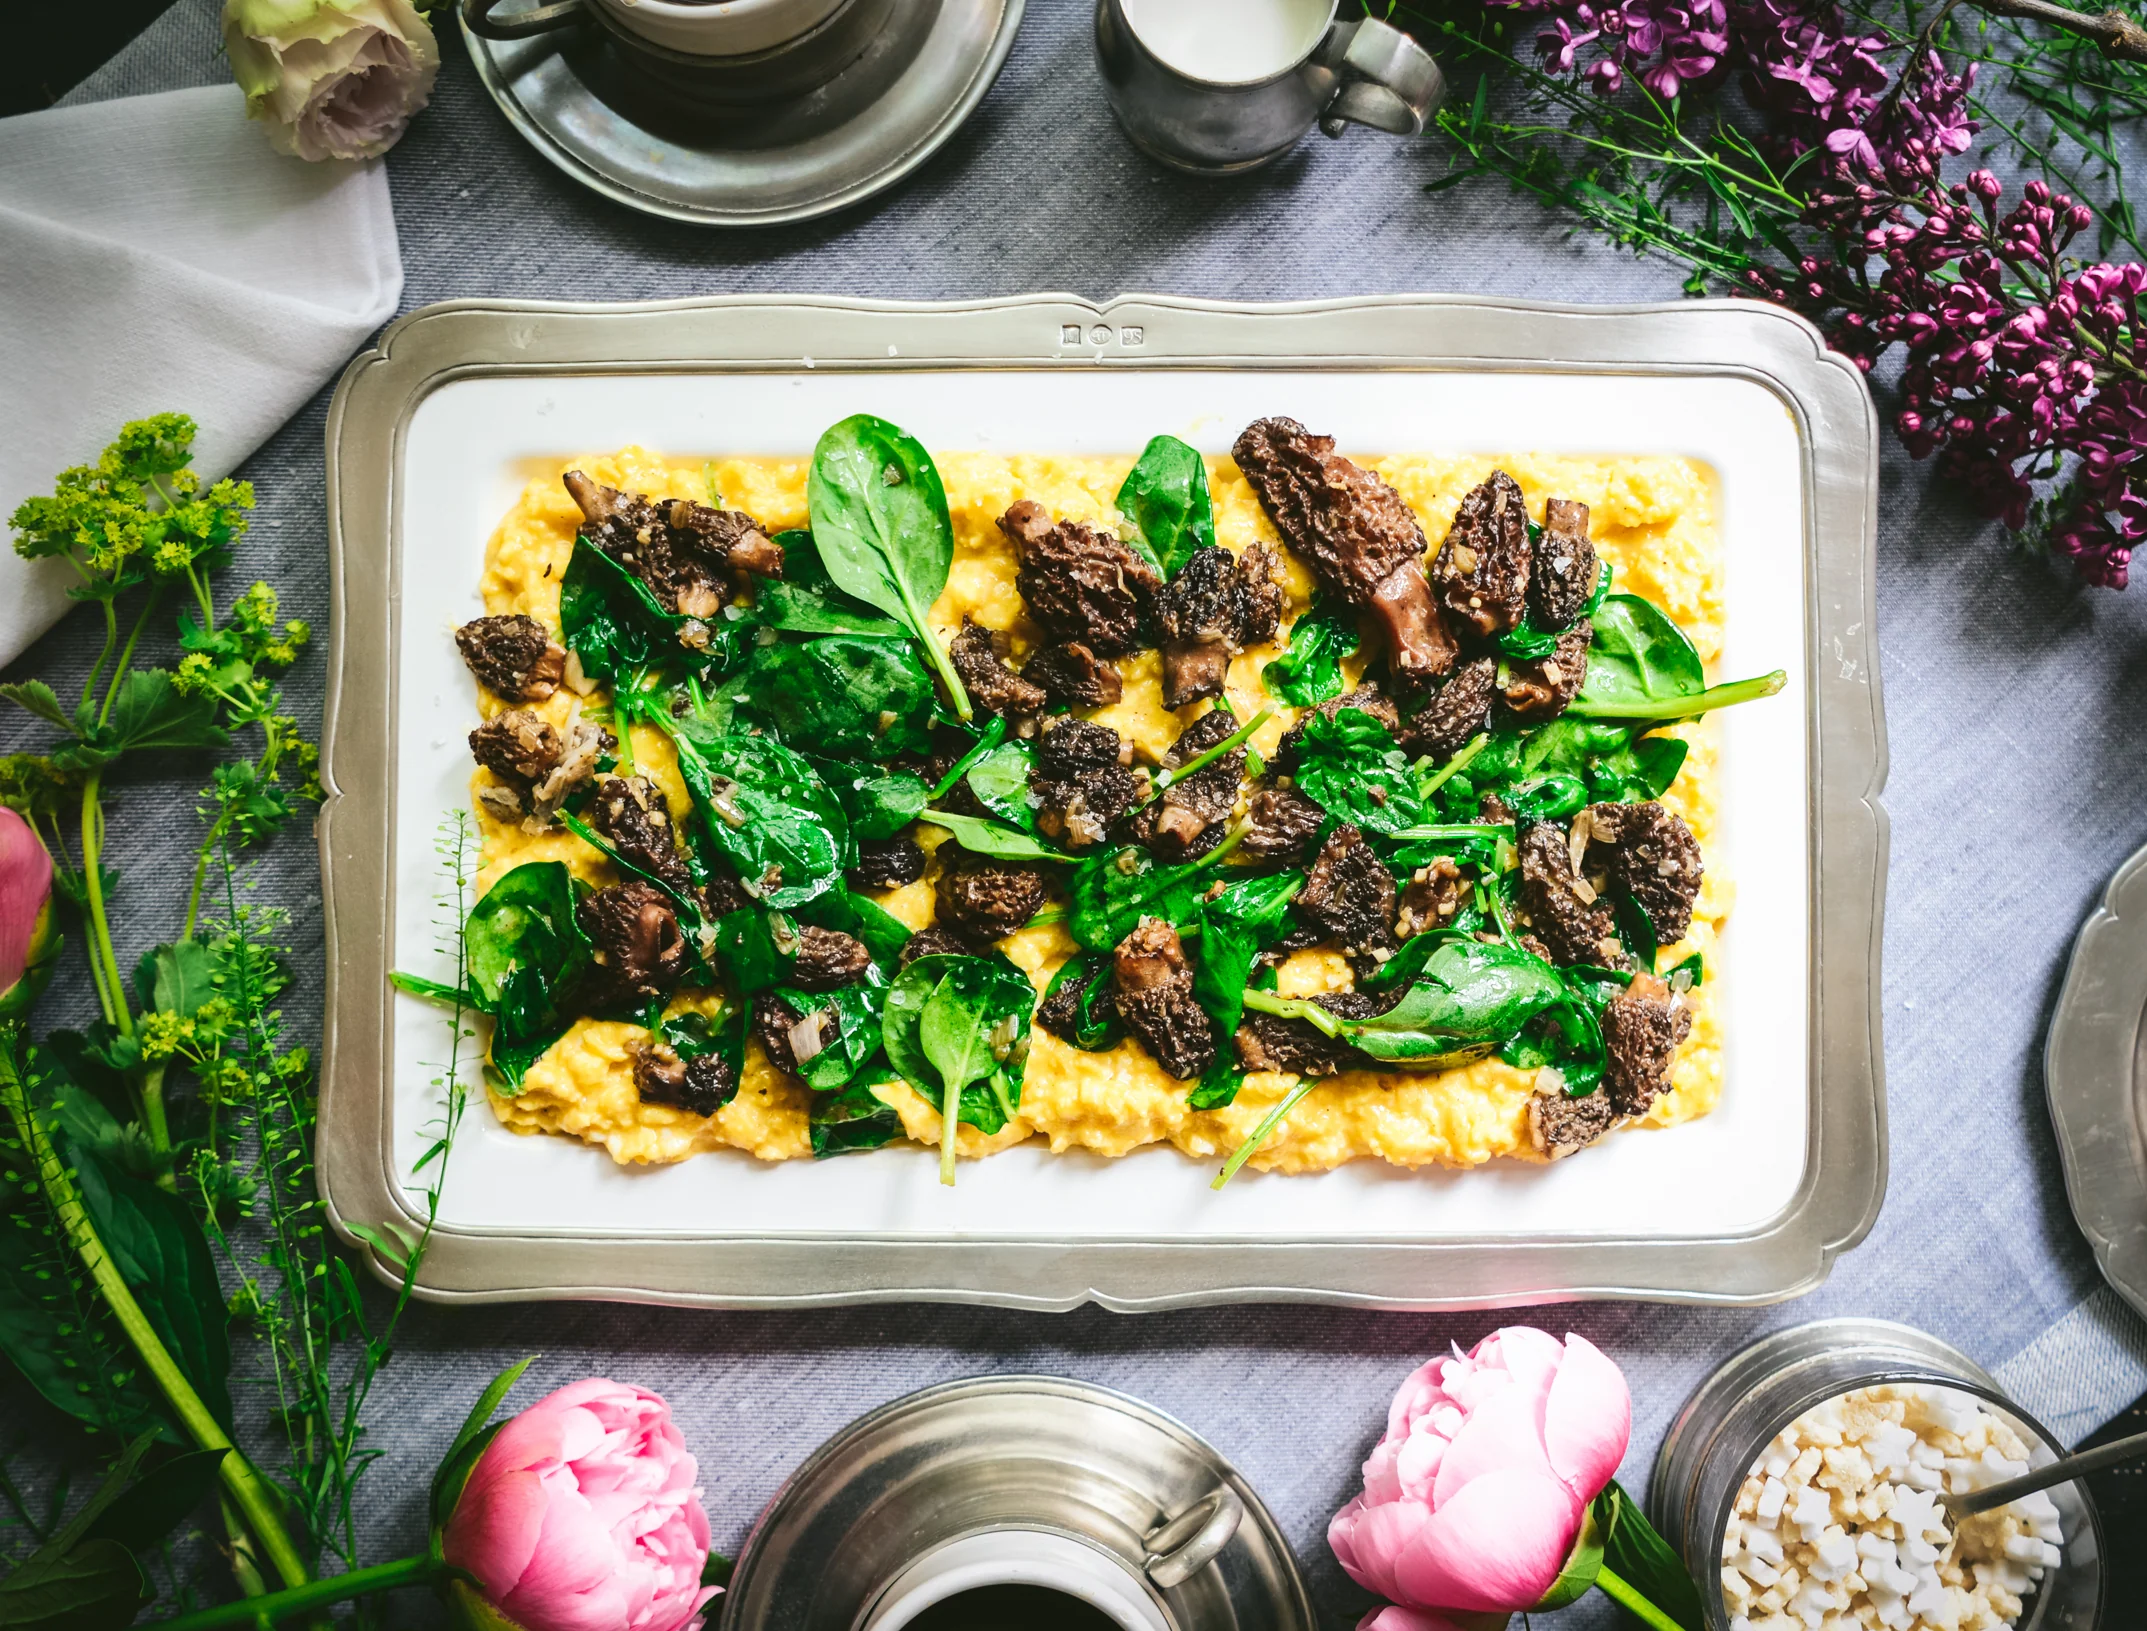
  1. Take ready defrosted and peeled scallops.
  2. Heat a frying pan over medium heat. Put the butter in the frying pan.
  3. Add the chopped garlic and onions to the skillet and fry them along with the butter until the onions are soft and translucent.
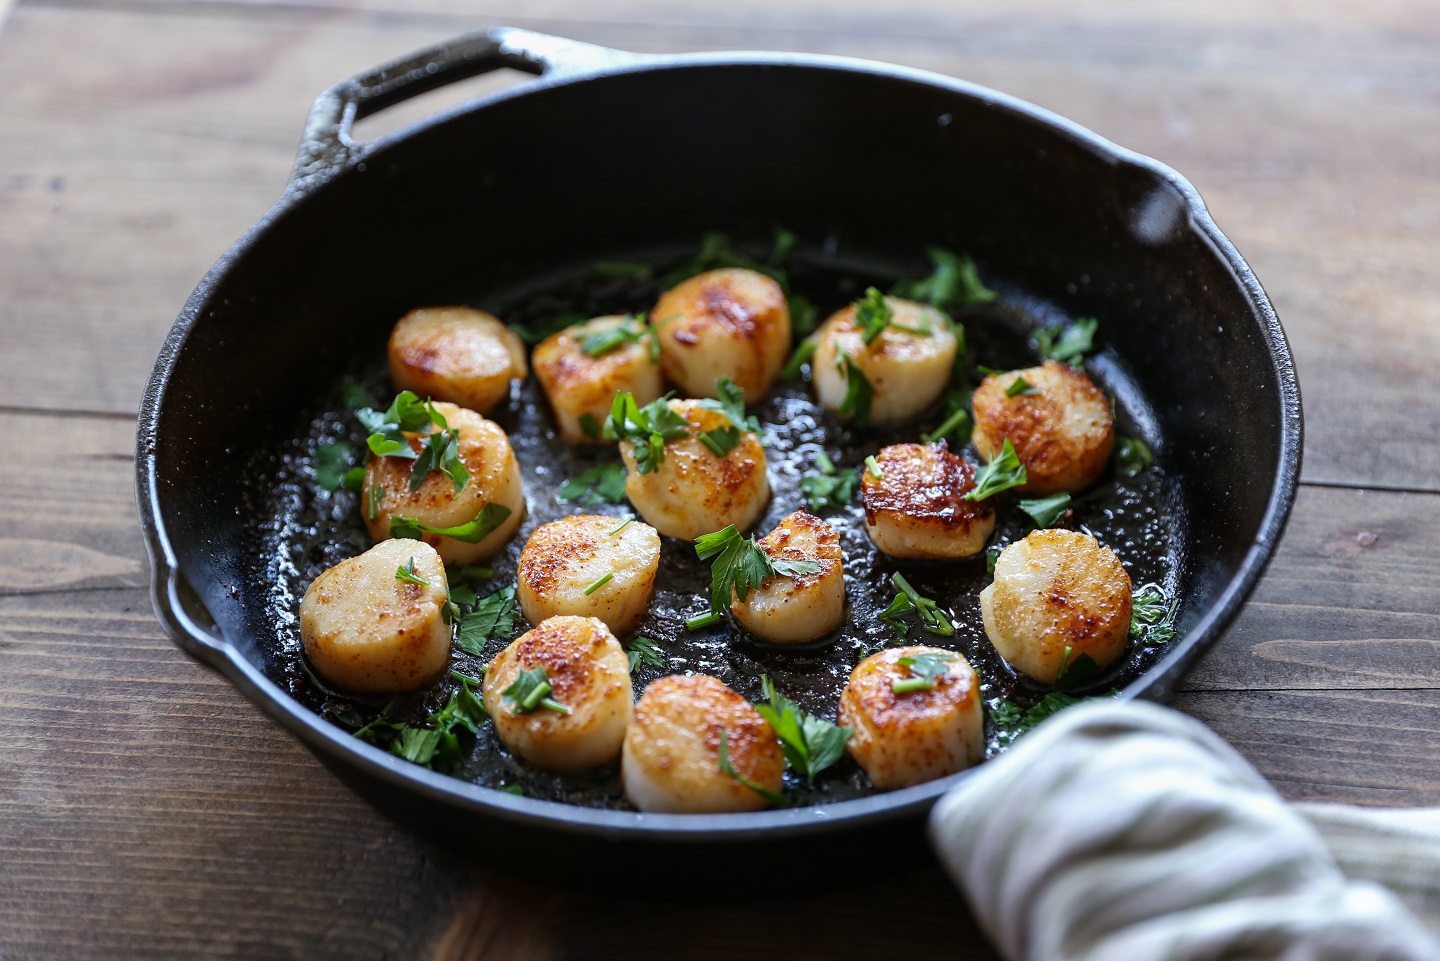
  4. Add the scallops to the pan and fry over medium heat for 3 to 5 minutes, turning constantly to ensure they are well cooked on all sides.
  5. 1 minute before they’re done, add a little lemon juice and stir all the ingredients in the pan.
  6. Add a pinch of salt and pepper to taste.
  7. Arrange the cooked scallops on a platter and serve hot.

Baked scallops

Ingredients:

  • 12 scallops
  • 2 tablespoons melted butter
  • 2 garlic cloves, minced
  • 1 lemon juice
  • 2 tablespoons fresh parsley, finely chopped
  • Salt and freshly ground black pepper to taste
  • 1/4 teaspoon red pepper (optional, to spice things up)

Preparing the dressing

In a bowl, combine melted butter, minced garlic, lemon juice, parsley and red pepper (if using). Season with salt and pepper to taste. Mix well so that all ingredients come together.

Baking the scallops

Preheat the oven to 200 degrees Celsius. Place the scallops evenly on a baking tray, face up. Using a brush or spoon, spread the dressing on each scallop, coating them on top. Place the tray with the scallops in the preheated oven and bake for about 10-12 minutes, or until the scallops are tender and translucent.

Serving the dish

Transfer the baked scallops to a platter. Sprinkle with fresh parsley for decoration. Serve the baked scallops immediately while they are still hot.

Baked scallops are great with mashed potatoes, a vegetable side dish or a fresh salad. Enjoy this gourmet dish!

Bottom line

Cooking scallops is a very simple and quick process. You only need a few simple ingredients and the snack is ready! I hope that my article was useful and that you pleased yourself and your loved ones with this incredible dish.

Home › How to cook lion’s mane mushroomSkip Ahead to cook lion’s mane mushroom

Lion’s mane are beautiful and tasty mushrooms that can be found in the woods during the fall and spring seasons. They have an unusual, irregularly shaped, sessile, rounded fruiting body. The legs are absent. The hymenophore is spiky. The long, drooping spines reach 2-5 cm, sometimes slightly yellowing when dry. The flesh and spore powder have a white tint. The mushroom can grow to 1.5 kg, the width of an adult fruiting body is 20 cm.

Japanese and Chinese cooks highly value yamabushitake( lion’s mane in Chinese), quite reasonably believing that its taste is very similar to chicken, seafood. These fruiting bodies contain 32 aromatic substances, which are far superior to those of shiitake.

The mushroom can be dried, pickled, fried, made for the winter, and used for medicinal purposes. But before you cook the mushrooms, you need to know how to prepare them properly.

Useful tips on pre-treatment

Here is a selection of useful tips on pre-treatment:

  1. To get rid of worms, mushrooms should be soaked in salt water.
  2. Let the water drain and remove the damaged places with worms.
  3. Clean the mushrooms. Lion’s mane mushrooms have a thick and fleshy stalk covered with warts and hairs. To remove dirt and other impurities, use a soft brush or paper towel to clean their surface.
  4. Remove the lower parts of the stem. The undersides of the stems can be tough and taste unpleasant. To avoid this, use a knife to cut off the bottom 2-3 cm of the stem.
  5. Slice the mushrooms. Lion’s mane mushrooms have a long and fleshy stem part that can be sliced into pieces of any shape and size. You can also cut the mushrooms into slices or rings, depending on how you intend to use them.
  6. It is advisable to boil the mushrooms to give them the necessary softness before using them further in food.

Let’s look at a few options for cooking Lion’s Mane mushrooms.

Cooking

Properly processed mushrooms should be placed in a deep pan, in which previously dissolve 1-2 tablespoons of salt in 5 liters of water. Boil yamabushitake 10-15 minutes, and then you can cook other, very tasty dishes from the “gnome mushroom”.

Pickling

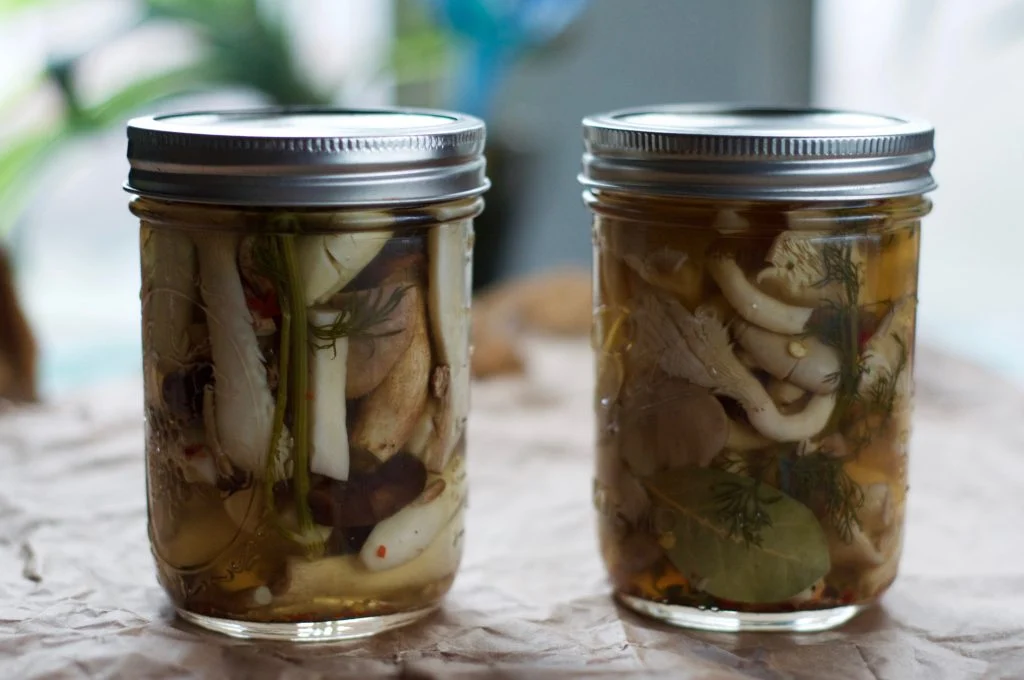
These mushrooms are quite often prepared in marinated form. Such a dish will pleasantly surprise all guests.

Ingredients for 1 liter of marinade:

  • salt – 1 tbsp;
  • garlic – 2-3 cloves;
  • bay leaf – 2-3 pcs;
  • vinegar 6% – 200 ml;
  • peppercorns – 2-3 pcs;
  • cloves – 2-3 buds.

How to prepare:

  • First you should make a marinade. To do this, you need to mix all the components in a deep container and let the liquid boil.
  • Immerse the pre-washed and peeled mushrooms in the pot.
  • Boil the mushrooms on medium heat for a quarter of an hour.
  • Remove mushrooms with a slotted spoon and place in clean jars.
  • Pour the boiling marinade in which boiled fruit bodies.
  • Cover and leave to cool. Store in a cool place.

Freezing

Pre-cleaned mushrooms boil for 10-15 minutes in salted water. Divide the entire volume into small portions that will be convenient to freeze and use once. Place the yamabushitake in plastic bags and place in the freezer. At a later date, simply take them out of the package and use them for their intended purpose.

Roasting

Ingredients:

  • 500 g lion’s mane mushrooms
  • 2 tbsp vegetable oil
  • Salt and pepper to taste
  • Garlic or onion if desired

Preparation:

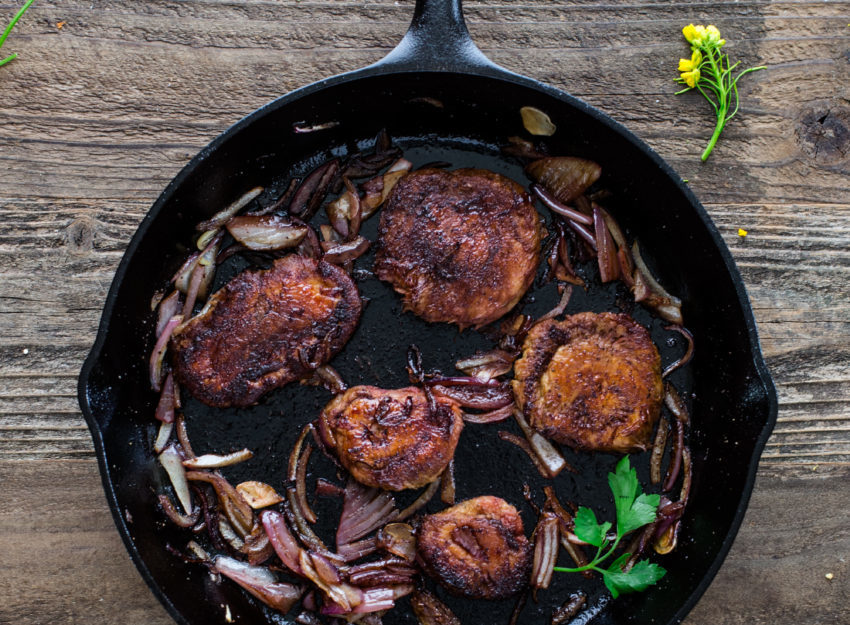
  1. Heat a skillet over medium heat and add a small amount of vegetable oil.
  2. Add the sliced lion’s mane mushrooms and stir-fry for about 5-7 minutes.
  3. Add the garlic, onion and other seasonings to taste and cook for another 2-3 minutes until the mushrooms are golden.
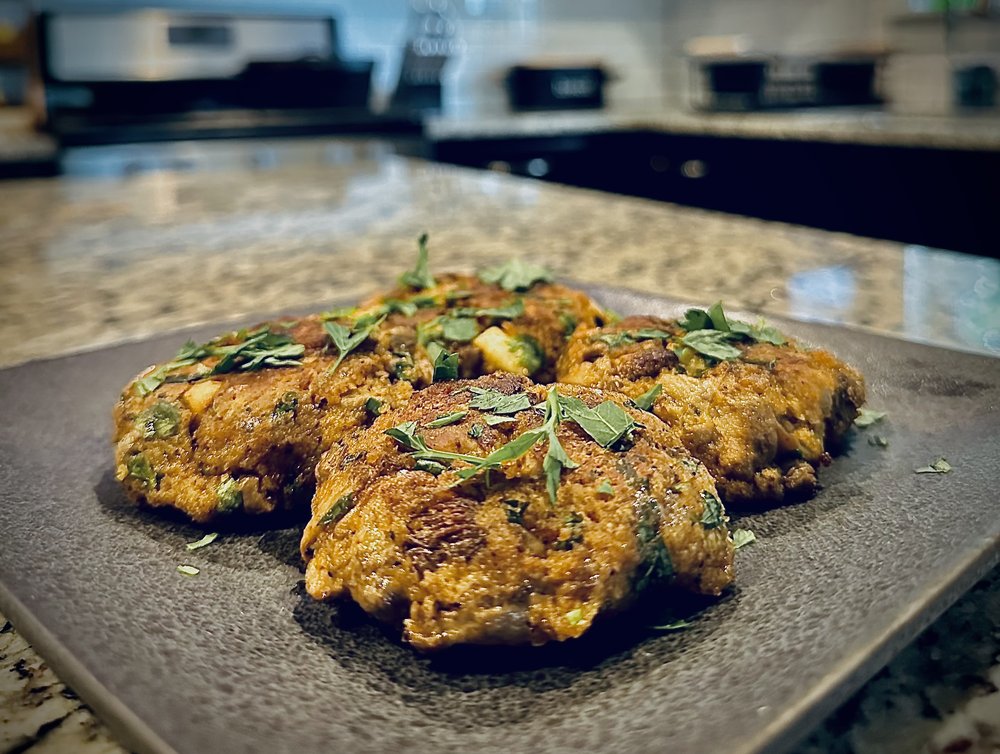
  4. The finished lion’s mane mushrooms can be served as a side dish to meat or fish, or used as an ingredient in other dishes.

Drying

The technology for drying mushrooms is simple:

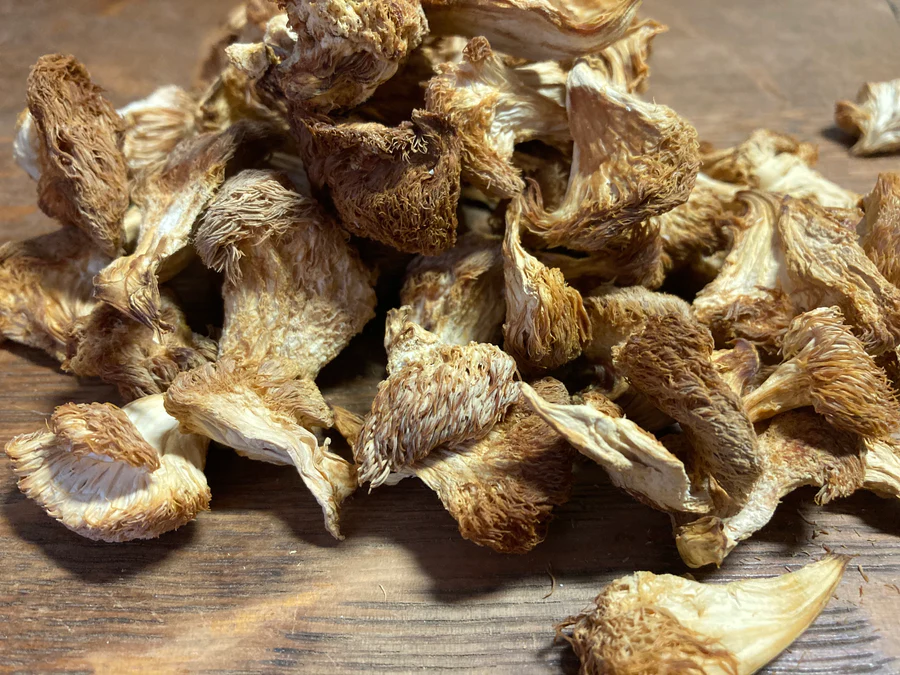
  • Prepared mushrooms are laid in a single layer on a baking tray and subjected to heat treatment in several stages.
  • First they are dried at 80-100 ° C for 2-3 hours, then cooled.
  • The procedure is repeated until the mushroom does not crumble when breaking.

It is very important to complete the process and not to let the insufficiently dried fruit bodies get moldy. Dried product can be used for vegetarian dishes and during Lent.

Lion’s Mane mushrooms can be prepared not only as a separate dish, but also used in many recipes where they can be a highlight.

Different dishes

Here are a few ideas on how to use lion’s mane mushrooms in different dishes:

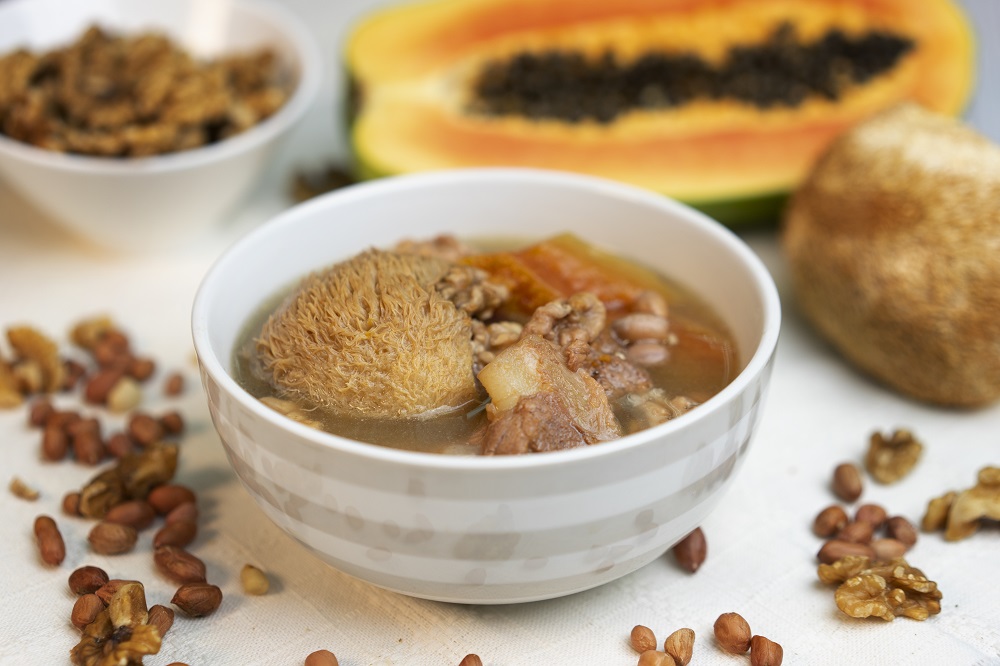
Lion’s mane mushroom soup

Ingredients:

  • 500 g lion’s mane mushrooms
  • 1 l of chicken or vegetable broth
  • 1 onion
  • 1 carrot
  • 2 tbsp. vegetable oil
  • Salt and pepper to taste

Preparation:

  1. Chop the onion and carrots into small pieces.
  2. Heat the oil in a pot.
  3. Add onions and carrots and fry over medium heat until they are soft.
  4. Add the lion’s mane mushrooms and fry for another 5-7 minutes.
  5. Add the vegetables and mushrooms to the broth and bring to a boil.
  6. Cook soup over medium heat for 15-20 minutes until mushrooms are soft.
  7. Season with salt and pepper to taste.
  8. Lion’s Mushroom Soup is ready and can be served.

Salad with lion’s mane mushrooms

Ingredients:

  • 500 g lion’s mane mushrooms
  • 2 cucumbers
  • 2 tomatoes
  • 1 red onion
  • 2 tbsp. olive oil
  • 2 tbsp. lemon juice
  • Salt and pepper to taste

Preparation:

  1. Slice lion’s mane mushrooms into thin strips.
  2. Slice cucumbers, tomatoes and red onion into cubes.
  3. In a large bowl, mix together the lion’s mane mushrooms, cucumbers, tomatoes and red onion.
  4. In a separate bowl, mix olive oil and lemon juice.
  5. Salt and pepper the sauce to taste.
  6. Pour sauce over salad and gently mix all ingredients.
  7. Lion’s Mushroom Salad is ready and can be served.

All of these lion’s mane mushroom dishes turn out very flavorful and delicious, so feel free to experiment and create your own recipes with these magical mushrooms.

In any case, lion’s mane mushrooms are a great choice for mushroom lovers. Not only do they have a delicious flavor, but they are also high in nutrients such as vitamin D, proteins and amino acids. Also, lion’s mane mushrooms can help improve digestion and boost your mood, which makes them even more attractive for use in cooking.

Home › How to cook frozen meatballsSkip Ahead to cook frozen meatballs

Meatballs are one of the most popular meat dishes around the world. They can be prepared in many variations and form the basis of many dishes, such as Swedish meatballs, Mexican albondigas, or Italian meatballs in tomato sauce.

However, making meatballs from scratch can be quite a labor-intensive process. So if you don’t have the time or desire to make meatballs from scratch, you can use frozen meatballs. In this article, we will look at how to make frozen meatballs.

Cooking frozen meatballs consists of two simple steps: defrosting and the cooking process itself.

Defrosting

  1. Transfer the meatballs from the freezer to the refrigerator. Defrosting in the refrigerator is the safest and most recommended way to defrost meatballs. It provides a slow and even defrosting process.
  2. Before defrosting the meatballs, wrap them in cling film or transfer them to a container with a tight lid. This will avoid drying out and maintain the best flavor and texture.
  3. For faster defrosting, you can put the meatballs in a plastic bag and submerge them in cold water for 1-2 hours. Be sure to invert the bag with the meatballs every 30 minutes to ensure even defrosting.
  4. The use of a microwave is not recommended for defrosting the meatballs. A rapid defrosting process can overheat or overcook parts of the meatballs. It can also result in uneven heating of the food.
  5. When the meatballs are completely defrosted, they are ready for further processing, depending on the recipe. Simply fry, bake, or boil the meatballs at your discretion!

In this article, I will share a few simple options on how to make delicious, juicy and flavorful meatballs.

Pan frying

  • For the meatballs to fry well, the pan should be hot enough, but not too hot, so they don’t burn.
  • When the pan is hot enough, you need to add oil. Usually 1-2 tablespoons of vegetable oil is enough. This will help the meatballs not stick to the pan and ensure good frying.
  • Once the oil has warmed up a bit, you need to place the meatballs on the frying pan. There should be enough distance between them so they don’t stick together.
  • Then cover the pan with a lid and fry the meatballs for 5-7 minutes over medium heat.
  • Once the meatballs are cooked on one side, you need to flip them to the other side. Use a spatula or tongs to do this.
  • Then cover the pan with a lid and continue frying the meatballs for another 5-7 minutes.
  • Once the meatballs are cooked on both sides, you need to check that they are ready. The best way to do this is to cut one meatball and make sure it is cooked all the way through. The inside of the meatballs should be homogenous, with no soggy midsection.
  • If the meatballs aren’t ready yet, you should continue frying them for a few more minutes, turning each meatball over after 1-2 minutes.
  • If the meatballs are ready, remove the pan from the heat.

Baking in the oven

This method is suitable for those who want to get a crispy crust on the meatballs and do not want to fry them in a pan.

Step-by-step process for making frozen meatballs in the oven:

  • Preheat oven to 180-200 degrees.
  • Take the pre-frozen meatballs.
  • Prepare a baking tray by covering it with foil or baking paper. This will help you clean the grease and juices from the meatballs easily.
  • Place the meatballs on the baking tray, leaving enough space between them.
  • Place the tray with the meatballs in the preheated oven and bake the meatballs for 20-25 minutes, turning them after 10 minutes to ensure they are evenly cooked on each side.
  • Check that the meatballs are ready with a meat thermometer. The internal temperature of the meatballs should be at least 70 degrees C to make sure they are fully cooked.
  • Transfer the meatballs to a plate and serve hot.

As you can see, cooking frozen meatballs in the oven is very easy. They turn out juicy, and the smell in the house will be amazing. Don’t forget to keep an eye on the meatballs while baking and flip them so they cook evenly on each side. Bon appetit!

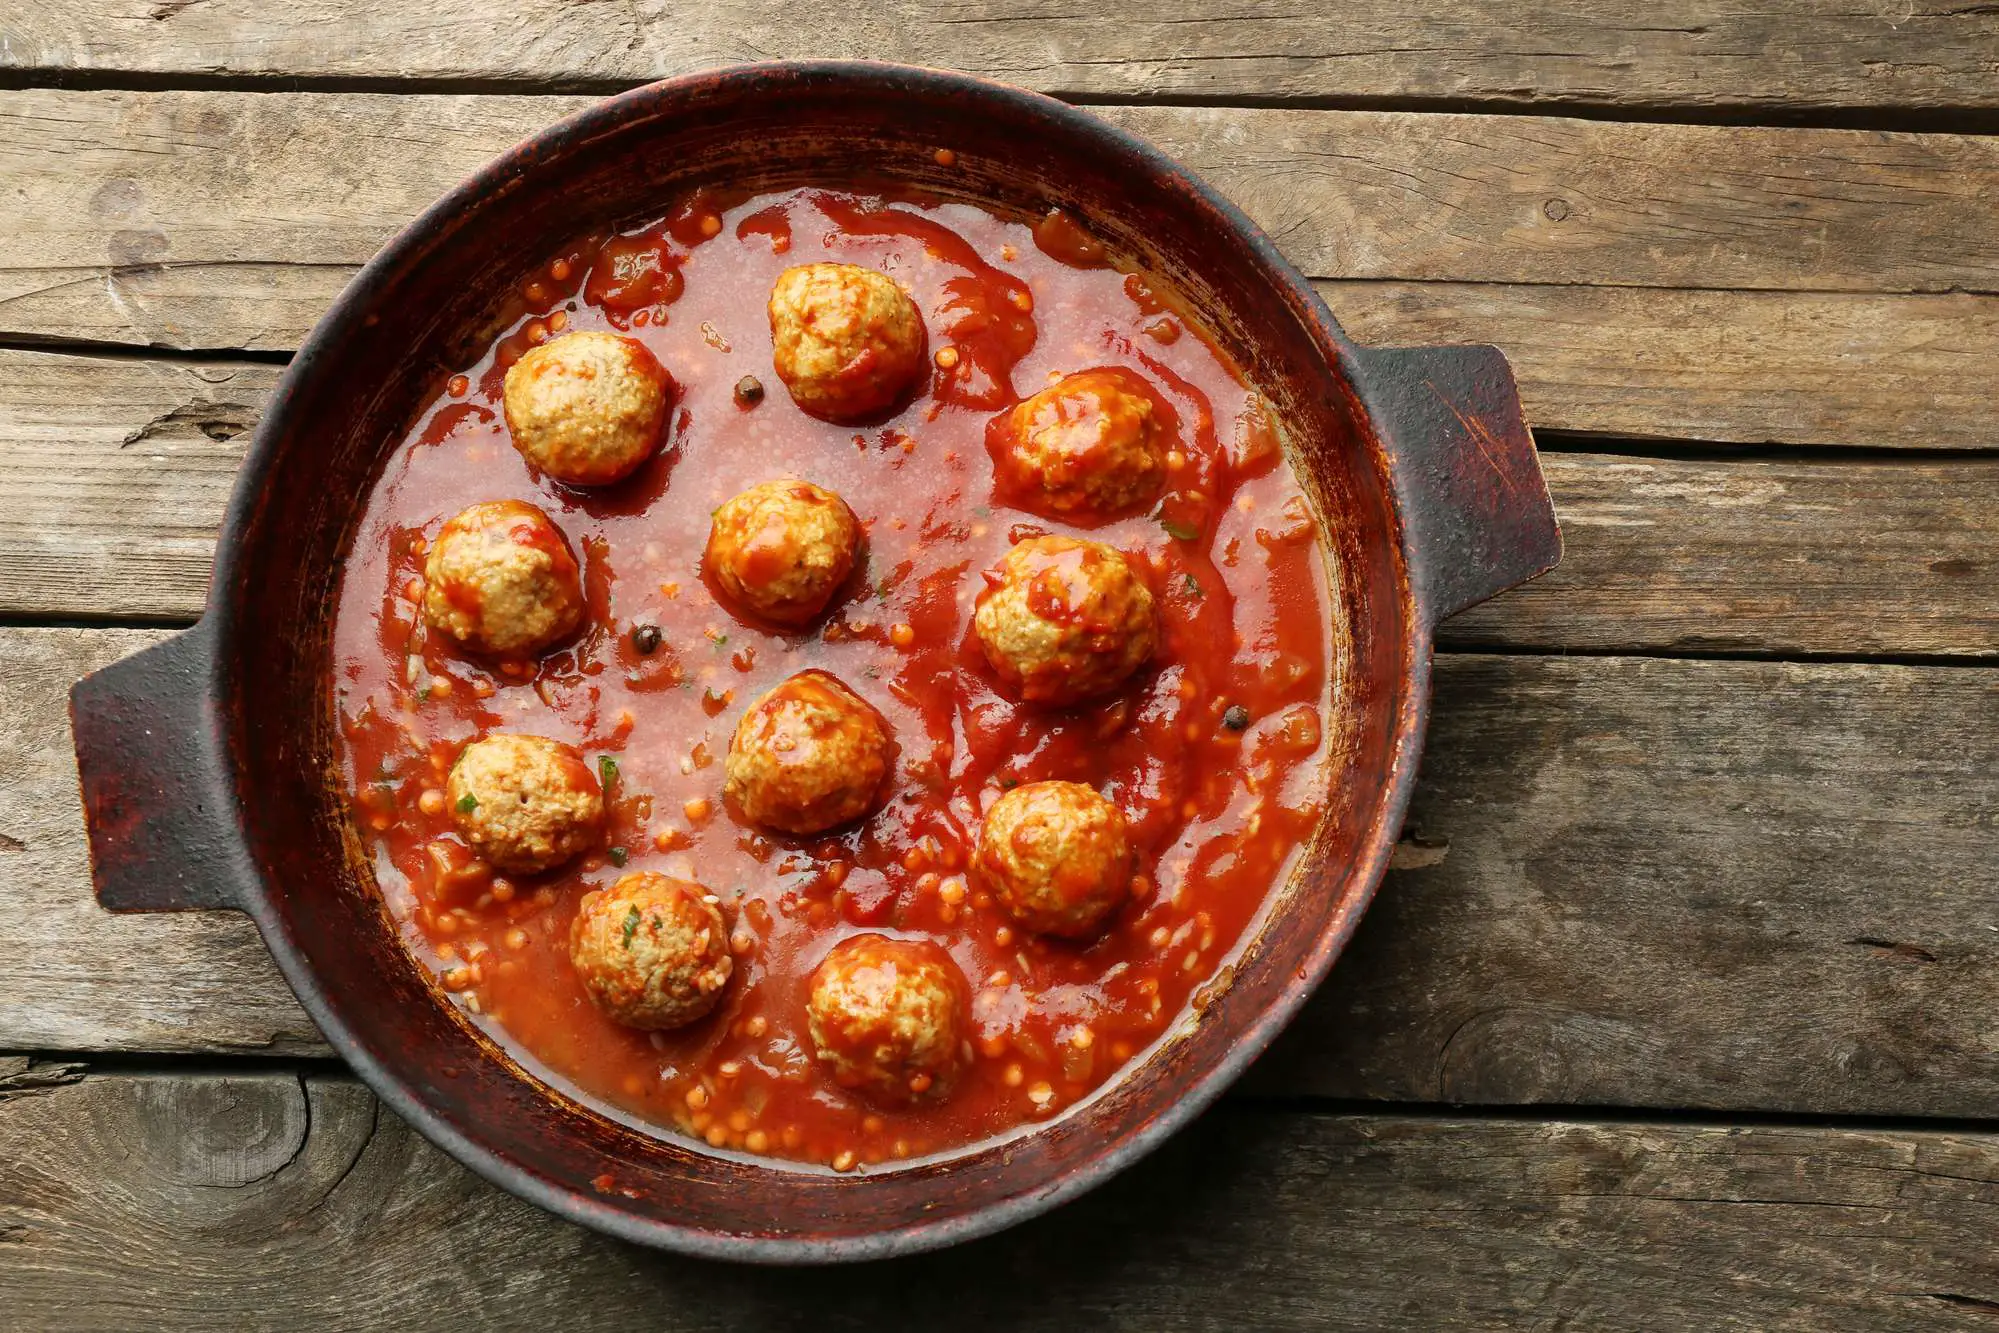
Cooking in Sauce

  • Prepare the ingredients for the sauce. For this you will need: onions, carrots, garlic, tomatoes, tomato paste, broth or water, salt, pepper, herbs to taste. Dice onion and carrot and chop garlic.
  • In a deep frying pan or saucepan, heat the oil and fry the onions and carrots over medium heat until soft, about 5-7 minutes.
  • Add the garlic and fry for another 1-2 minutes.
  • Add the tomatoes and tomato paste, stir and let everything simmer for another 5-7 minutes.
  • Add broth or water and bring to a boil. Season with salt and pepper to taste.
  • Place the meatballs in the sauce and stir to coat them in the sauce. If there is not enough sauce, add a little more broth or water.
  • Reduce the heat to medium, cover and cook the meatballs in the sauce for about 20-25 minutes, turning them after 10 minutes to ensure they are evenly cooked on each side.
  • Check that the meatballs are ready with a meat thermometer. The internal temperature of the meatballs should be at least 70 degrees C to make sure they are fully cooked.
  • Transfer the meatballs in the sauce to a plate and sprinkle with fresh herbs. Serve hot.

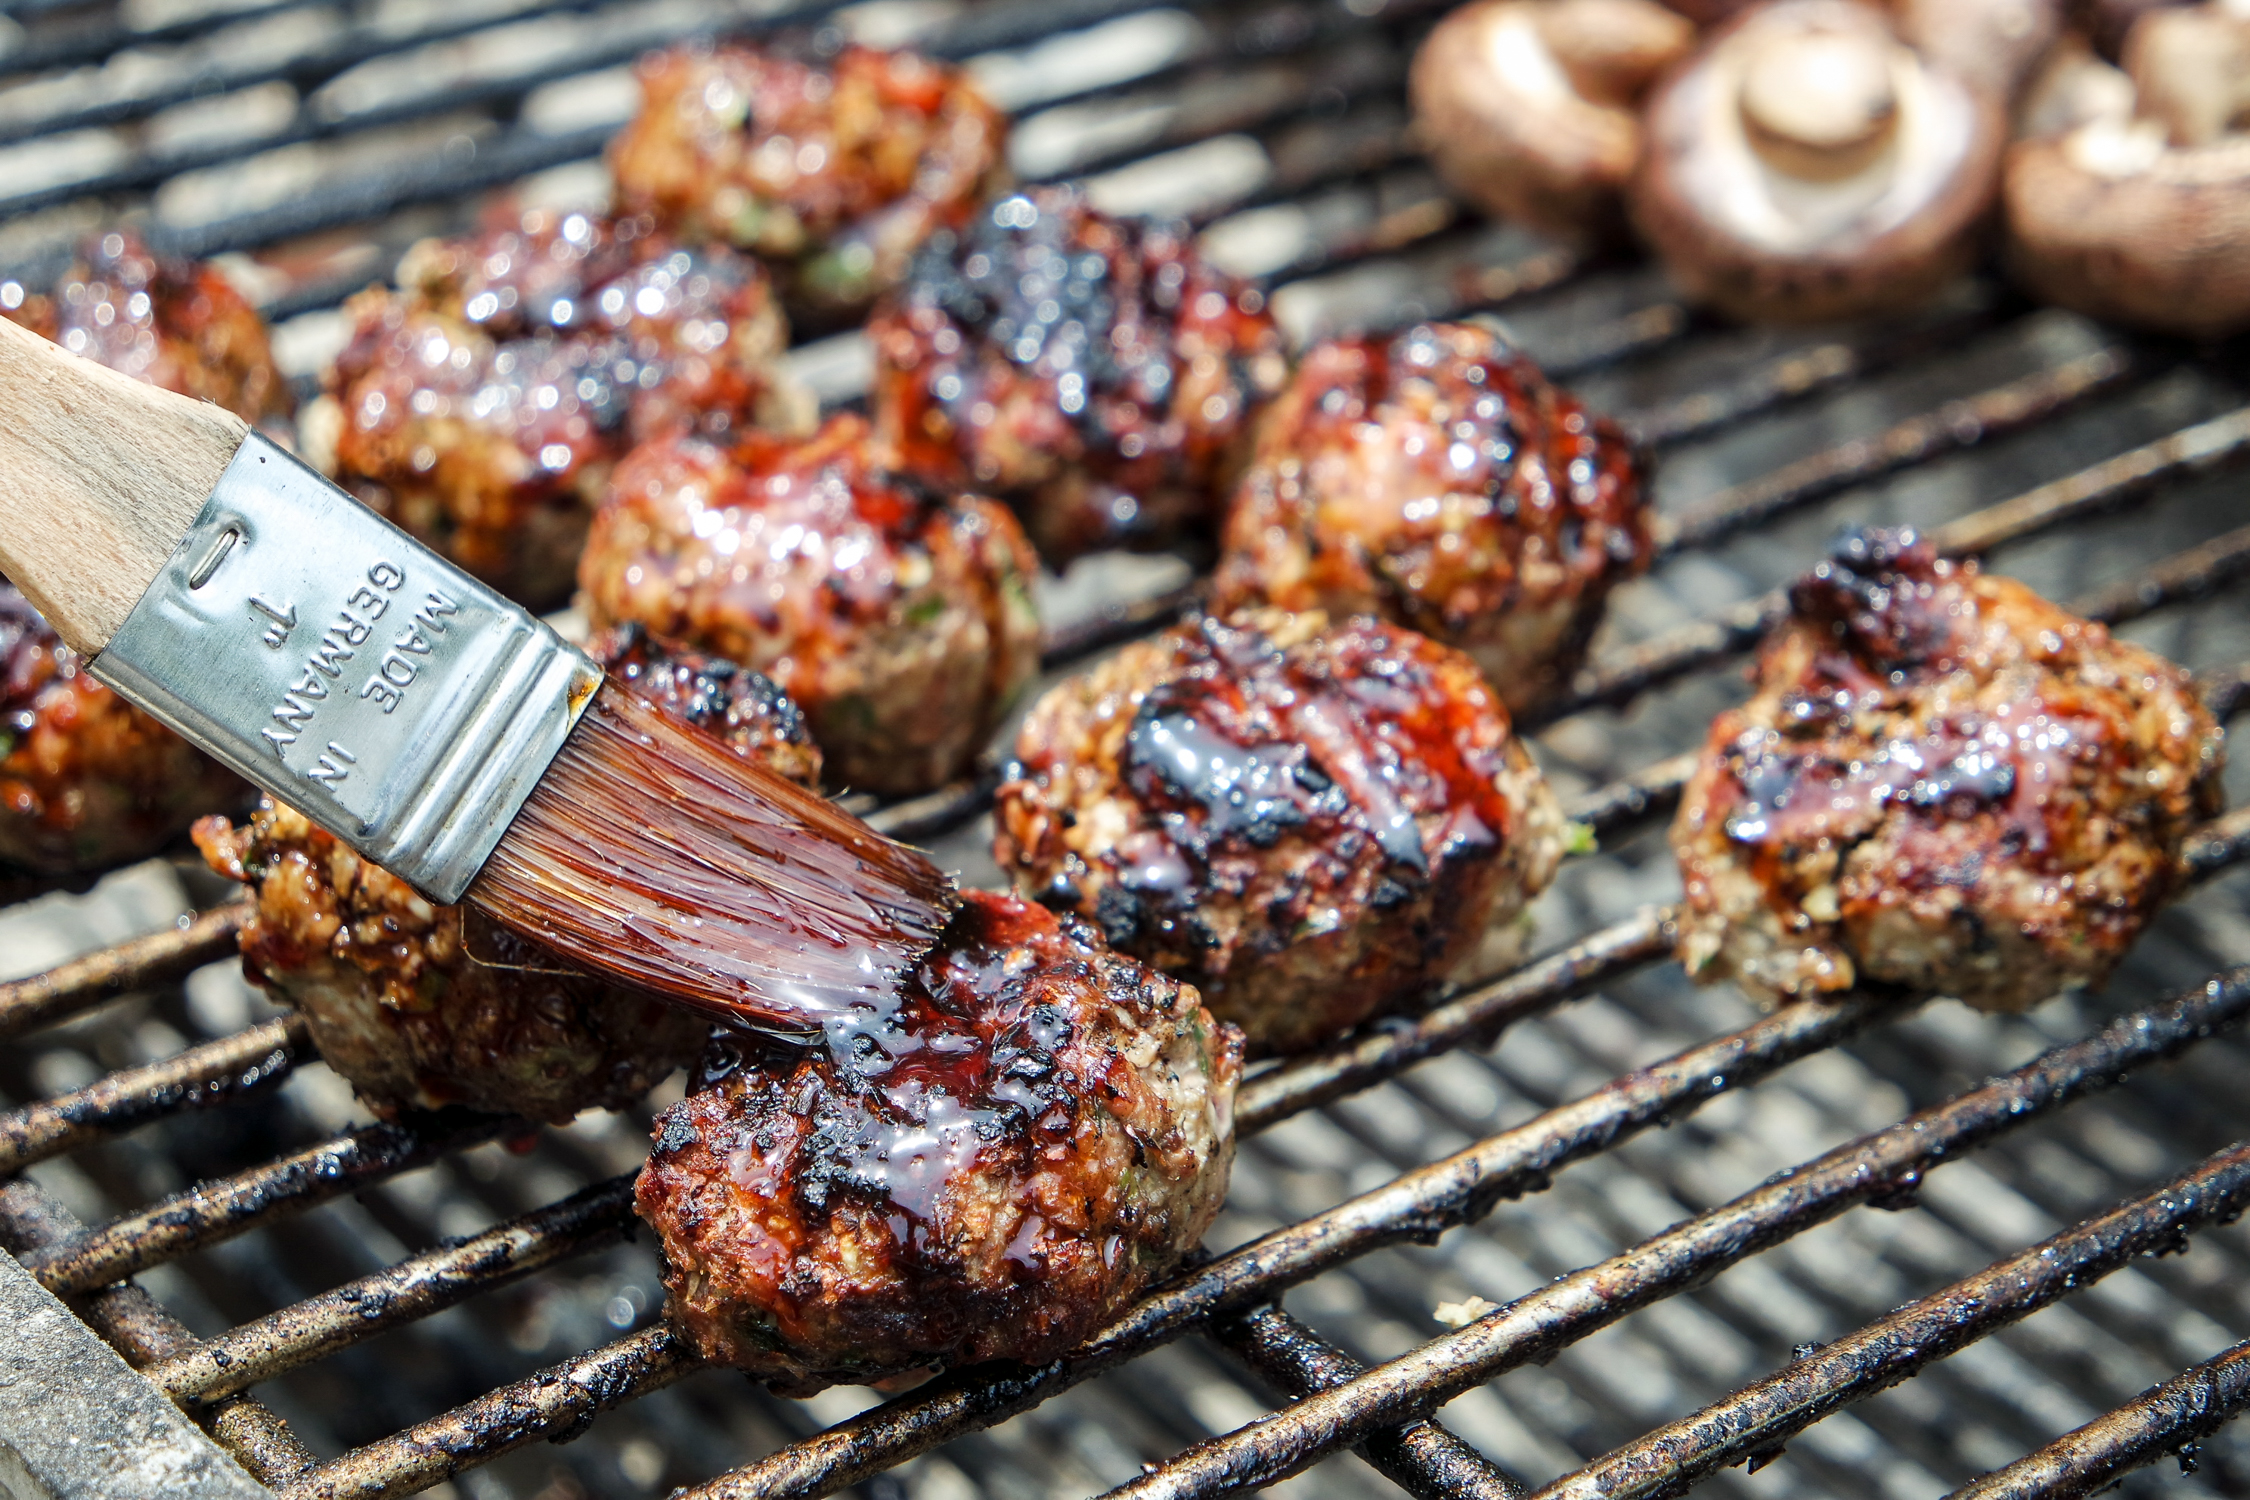
Grilling

Grilling is another popular way to cook frozen meatballs. Grilling meatballs not only adds a flavorful and crispy flavor to them, but it can also be a healthier way to cook them since excess fat drains onto the grill and doesn’t get into the dish.

Here’s a step-by-step process for making frozen meatballs on the grill:

  • Prepare the grill. To do this, you need to preheat the grill to a medium temperature (about 200 degrees Celsius). You also need to grease the grill grate with oil or grill grease.
  • Defrost the meatballs. Frozen meatballs should be thawed in the refrigerator or on the kitchen counter at room temperature before cooking.
  • Prepare the meatballs. Take the meatballs out of the package and place them on the grill. Remember to place the meatballs on the grill grate with some spacing between them so they don’t stick together during cooking.
  • Grill the meatballs. Flip the meatballs on the grill every few minutes. Total cooking time may vary depending on the thickness of the meatballs and the temperature of the grill. On average, the meatballs should be grilled for about 10-15 minutes until fully cooked.
  • Check for readiness. To make sure the meatballs are fully cooked, use a meat thermometer to measure the internal temperature of the meatballs. It should be at least 70 degrees Celsius. You can also check if the meatballs are done by cutting one of the meatballs in half – the meat inside should be fully cooked and not have a pink hue.

Serving

Once the meatballs are fully cooked and checked for readiness, you can serve them. They can be served as a main course, as an appetizer, or as an accompaniment to another dish. Meatballs combined with various sauces, vegetables and side dishes can be a great addition to your lunch or dinner.

If you have any leftover unfrozen meatballs, you can keep them in the freezer for up to 6 months.

Home › How to cook morel mushroomsSkip Ahead to cook morel mushrooms

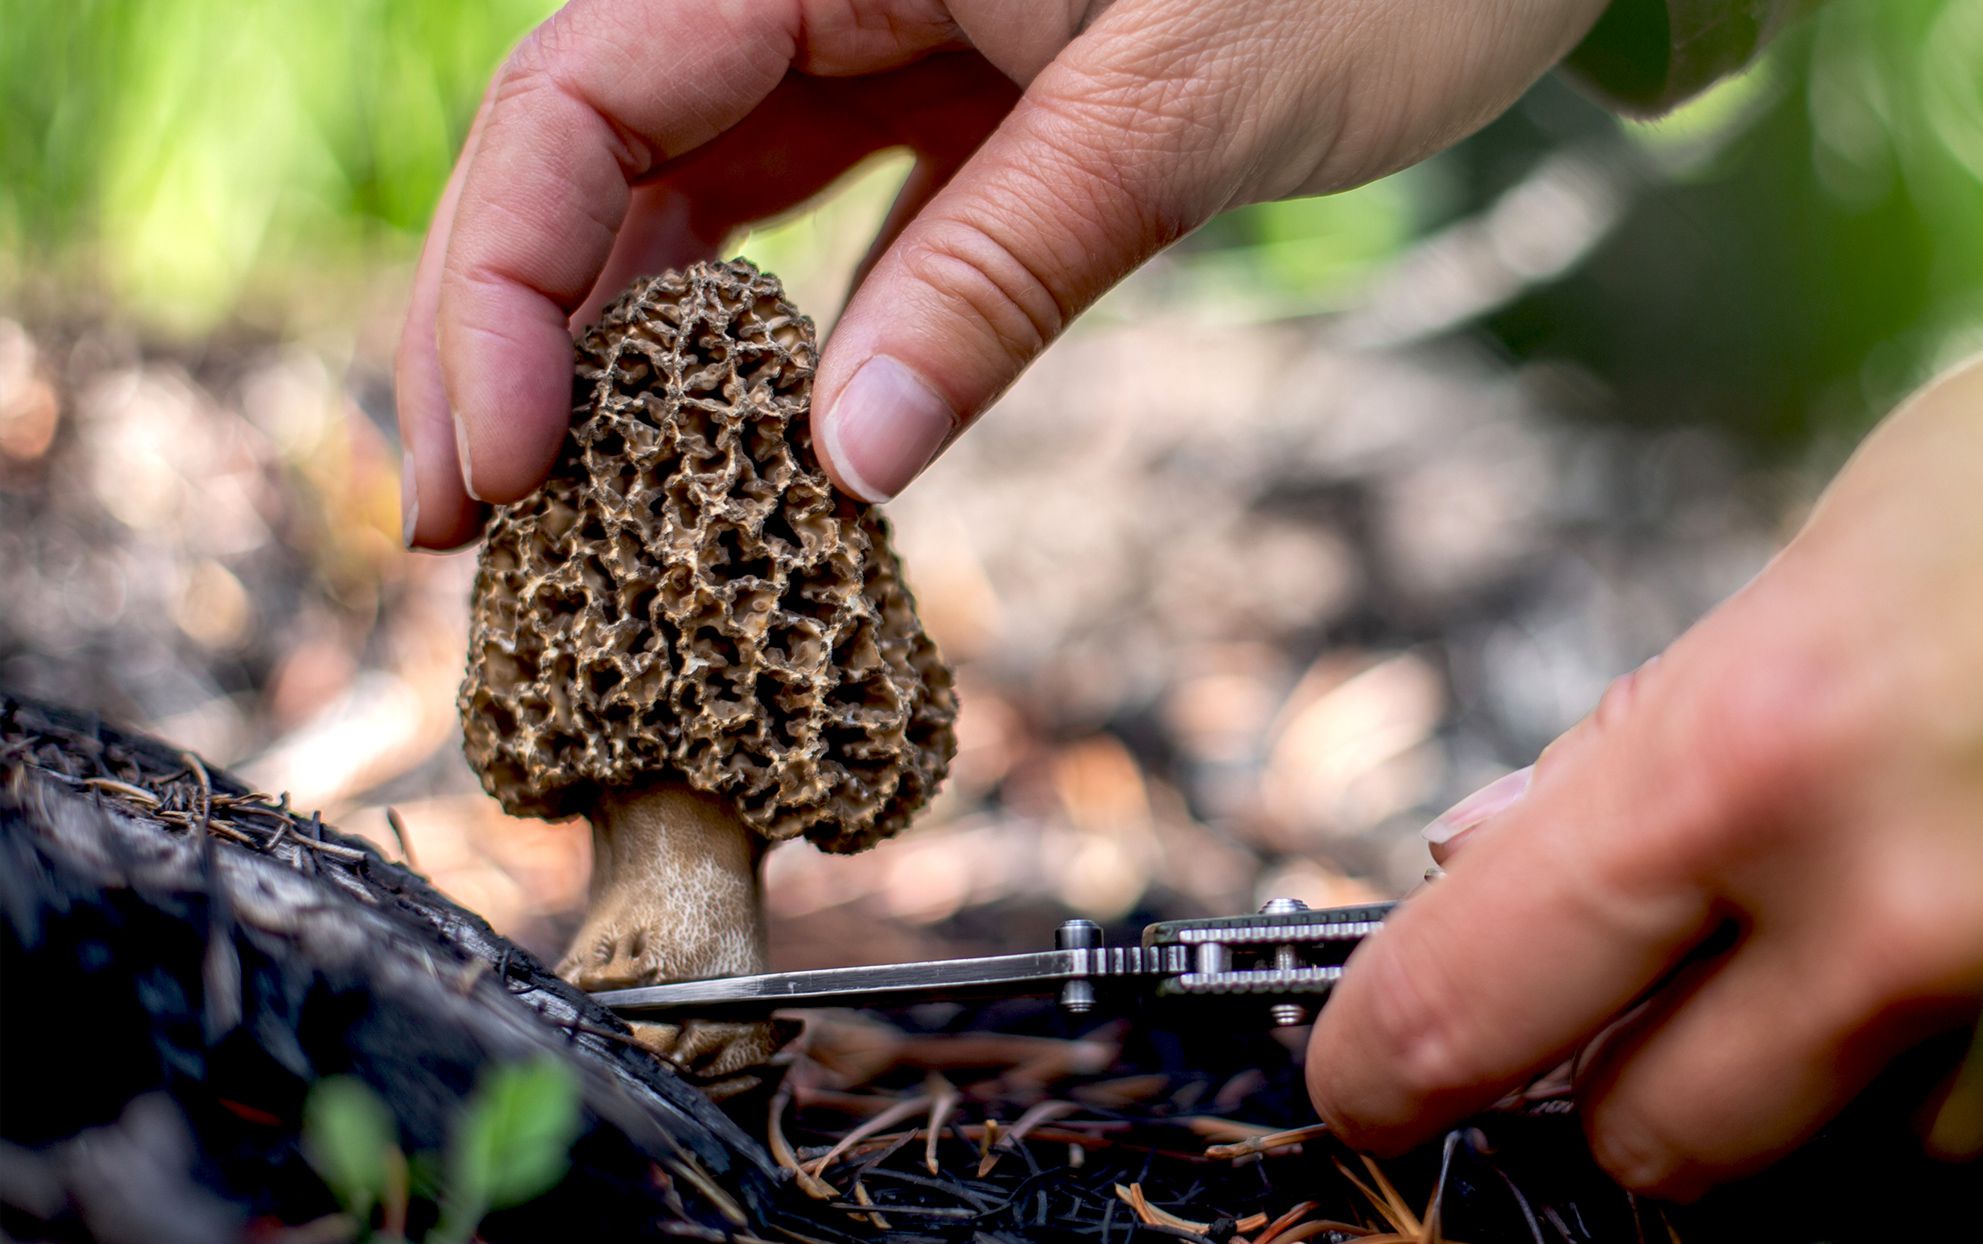
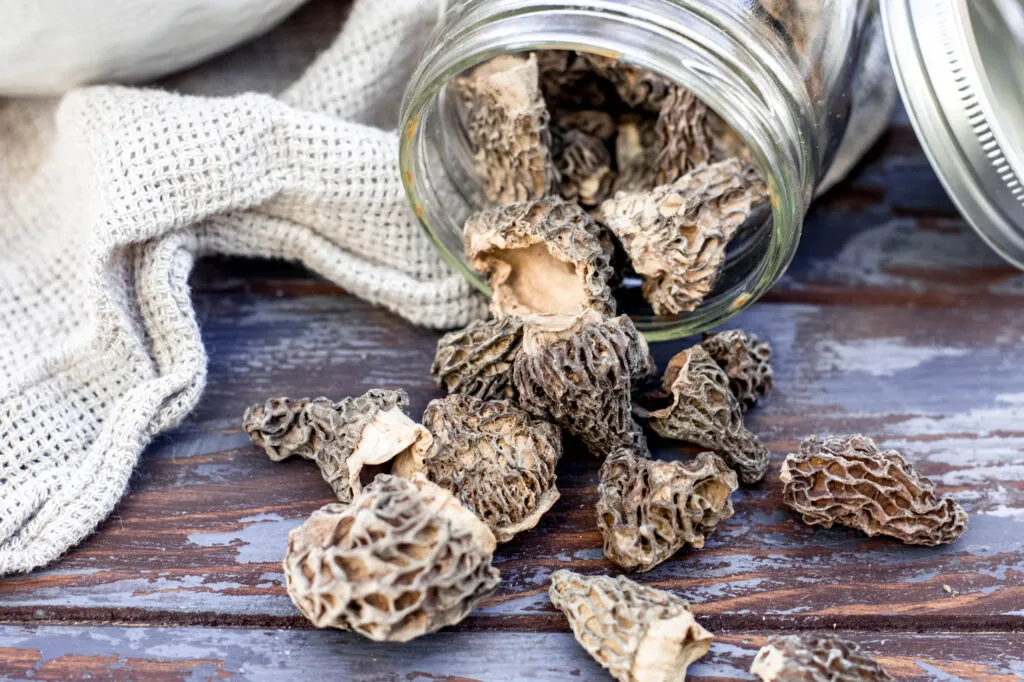
Beginning in mid-April, when all the snow has completely melted, the first mushrooms – morels – appear in the forest. They have an unusual appearance and a peculiar taste that make many gourmets value them even higher than white mushrooms.

Morels are one of the most popular types of mushrooms, which can be found in the forest or bought at the market. These mushrooms have a unique flavor and aroma, so they are often used in the preparation of various dishes. In this article, we will look at several ways to cook morels and give some recipes for dishes. Cooking morels mushrooms is an art that requires attention to detail and adherence to certain principles in order to have a true flavor experience.

Here are some principles and tricks to help you prepare delicious and flavorful morels mushrooms:

Picking morels mushrooms

Before you can cook morels mushrooms, they need to be harvested. You can find morels mushrooms in the fall, when it is their season. They grow on the edges of the forest, in bushes and in forest glades. Before picking mushrooms, you should make sure that they really are morels mushrooms, as some other types of mushrooms can be poisonous. Or they can simply be found on the shelves at the store.

Choosing the right mushrooms

Mushrooms are a very tasty and special ingredient, but at the same time can be dangerous to human health if you use a poor quality or not fresh product. Therefore, you need to choose only fresh, strong and without damage morels mushrooms. Be sure to check them for worms or rottenness.

Preparing morels

Before you start cooking morels, you need to know how to prepare them properly. First you need to clean the mushrooms of dirt and leaves, using a brush or a soft cloth. Then, the morels should be cut into pieces or sliced. If the mushrooms are very large, you can cut them into smaller pieces. It is important to remember that the morels are not recommended to soak in water, as they can absorb it and lose their flavor.

You can cook morels mushrooms using different methods, depending on what dish you want to use them in or prepare them as a separate appetizer.

1 Method: Roasting morels

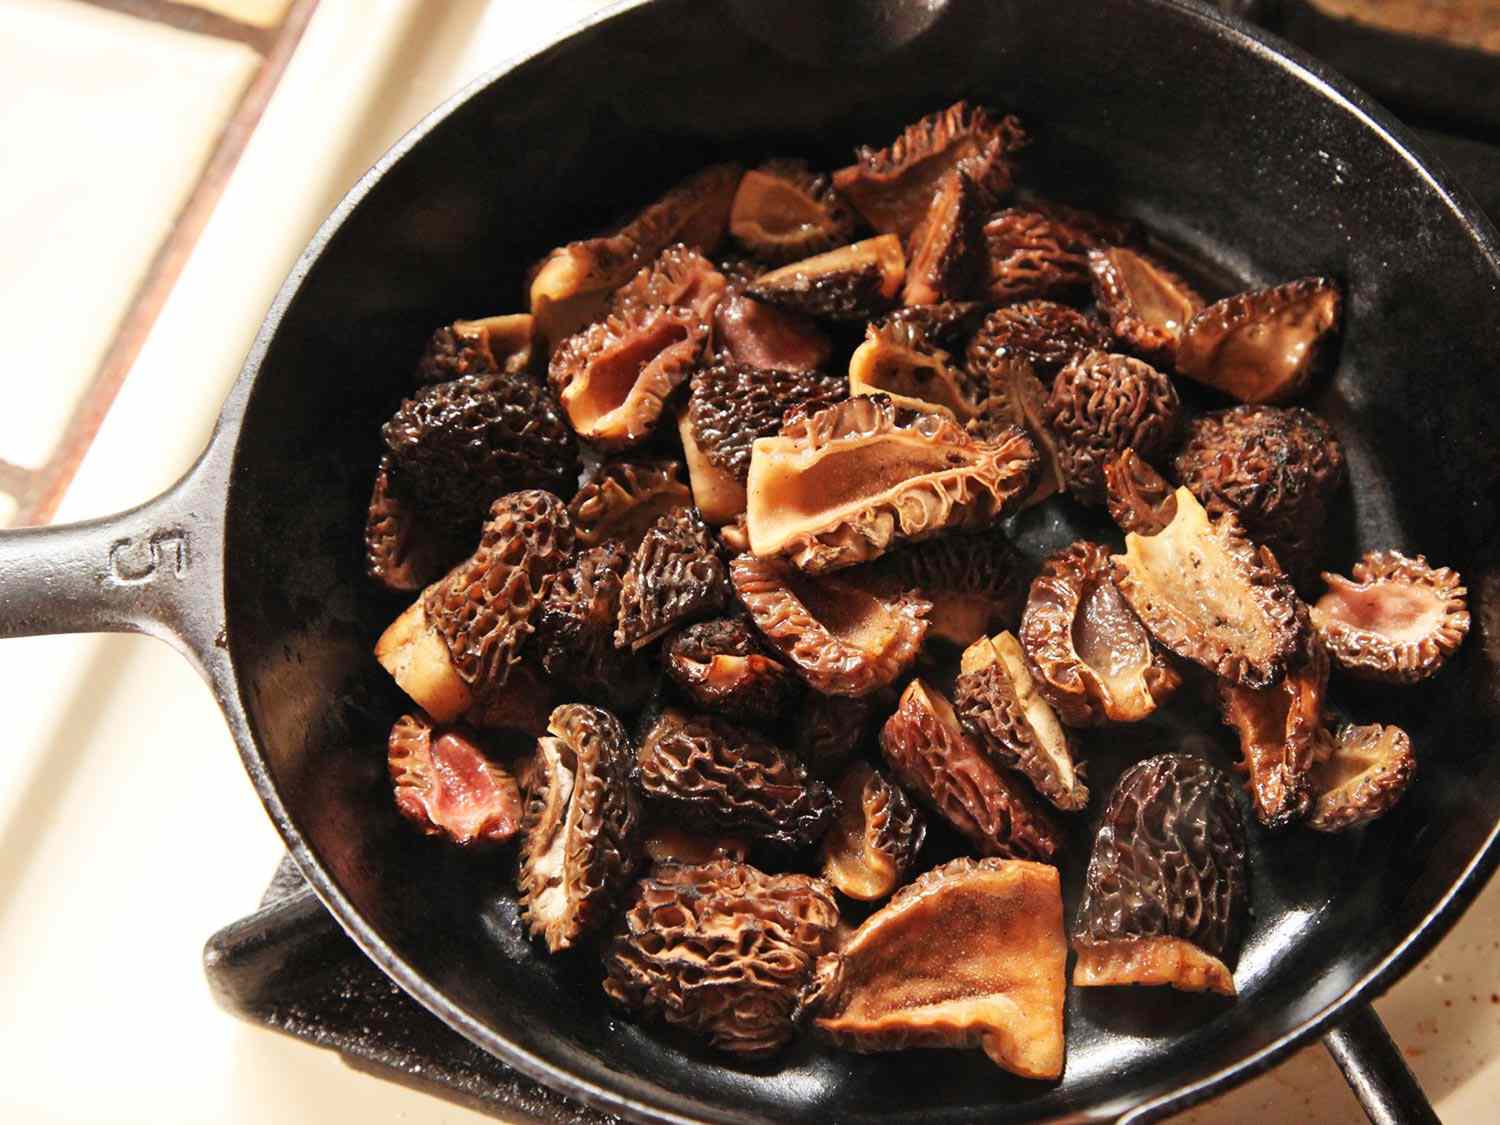
One of the easiest and fastest ways to cook morels is to roast them. To do this, you need to heat a frying pan with oil and place the sliced morels on it. Fry the mushrooms over medium heat until they are soft and beginning to brown. While frying you can add some salt, pepper and other spices such as garlic, thyme, basil, pepper. Аnd salt as well as sour cream, cream or soy sauce depending on your taste.

2 Method: Boiling morels

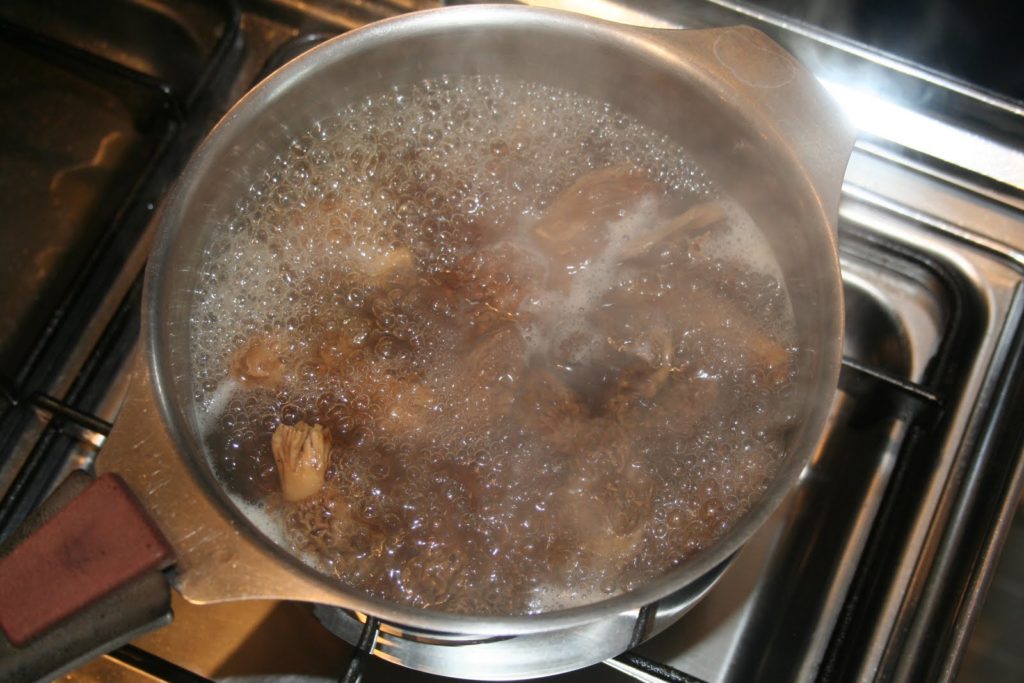
Slice the mushrooms into pieces. Put the mushrooms in a pot and fill with water. The water should cover the mushrooms by about 2-3 cm. Add salt to taste and a bay leaf if you like. The bay leaf will give the mushrooms a special flavor. Put the pot on the fire and bring to a boil. Reduce the heat to low and simmer the mushrooms for 15-20 minutes. If the mushrooms are large, the cooking time can increase to 30 minutes. Check the readiness of mushrooms, they should be soft, but not fall apart. After cooking, remove the morels in a colander and allow the excess moisture to drain.

Ready morels mushrooms can be used in soups, stews, on pizza and other dishes. Boiled mushrooms can also be frozen and used in the future.

3 Method: Baking the morels

Preheat the oven to 200 degrees. Transfer the sliced mushrooms to a large bowl. Add the crushed garlic, olive oil, salt and pepper to taste. Mix thoroughly so that the mushrooms are coated with the oil and seasonings. Arrange the mushrooms in a single layer on a baking tray lined with baking paper. Place the tray with the mushrooms in the preheated oven and bake for 20-25 minutes, stirring occasionally, until the mushrooms are golden and soft and juicy. After baking, garnish the dish with fresh parsley or other herbs to your liking. Serve the morel mushrooms hot as a side dish or as a separate dish.

Baked morel mushrooms go well with meat, fish and vegetables.

4 Method: Marinating the mushrooms

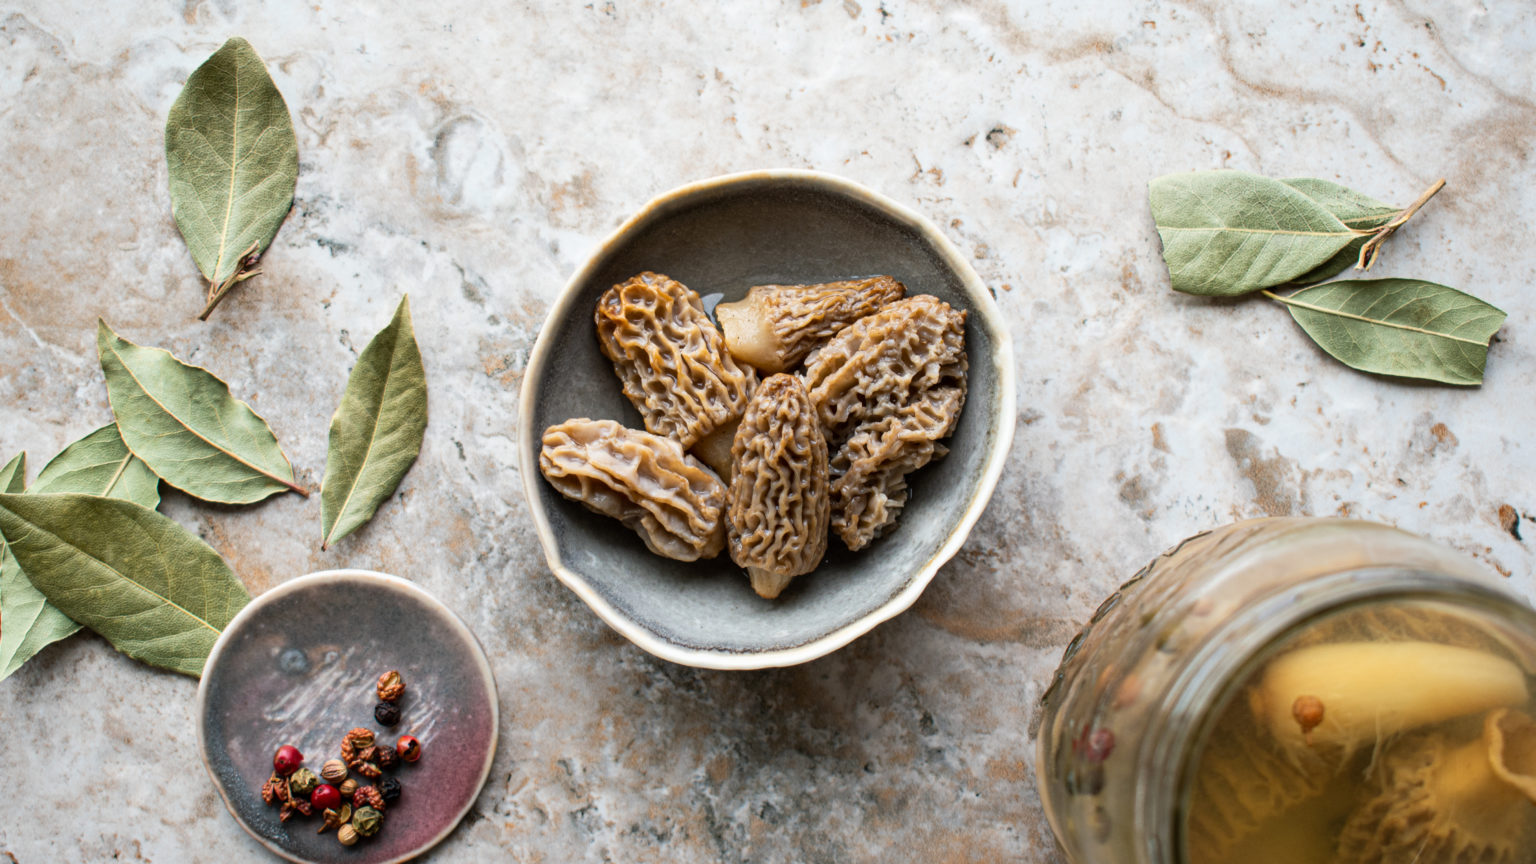
The morel mushrooms should be cut into large pieces and pour a marinade of vinegar, water, sugar, salt, spices and bay leaf. Then you need to leave the mushrooms for a few hours in the refrigerator to soak up the marinade. Pickled mushrooms can be used as an appetizer or added to salads.

5 Method: Drying

Drying morel mushrooms is another cooking option. The morels mushrooms should be cut into thin slices and dried in the sun or in the oven at 50-60 degrees. Dried morels mushrooms can be stored in glass jars or bags for long-term use in various dishes.

The preliminary preparations are complete, it’s time to move on to dishes with morels. I will tell you one of the many options where you can use mushrooms.

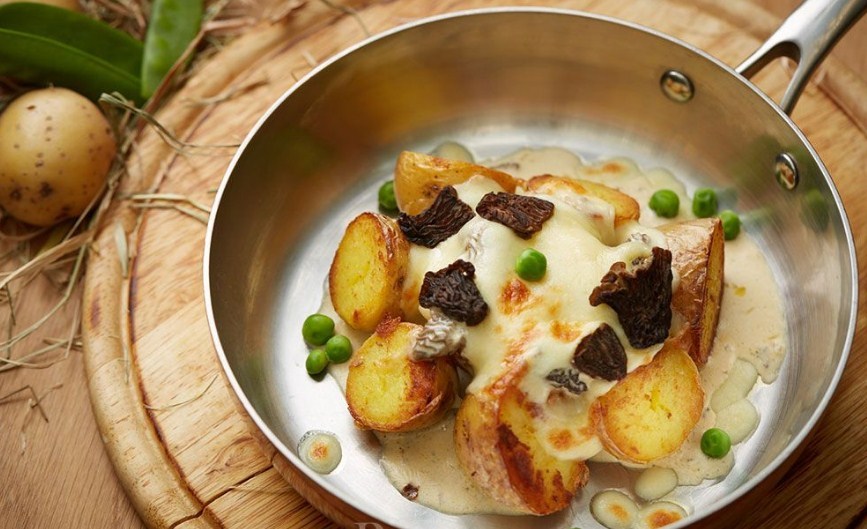
Morels Roasted with Potatoes

Forest mushrooms roasted with potatoes is probably the easiest recipe with mushrooms. The favorite root vegetable turns out delicious with a variety of species, and morels are no exception here.

Ingredients:

  • morels – 400 g
  • potatoes – 500 g
  • onions – 1 pc
  • vegetable oil – 60 ml
  • salt – to taste
  • black pepper – to taste
  • herbs – for serving

Method of preparation:

  1. Take previously prepared boiled mushrooms.
  2. Cut the mushrooms into several pieces or leave them intact if they are small.
  3. Peel and slice the potatoes into thin slices. Pat them dry with a paper towel.
  4. Peel the onion and cut into half rings. Pour vegetable oil in a heated frying pan and sauté the onions. Saute until golden.
  5. Place sliced potatoes. Saute without a lid over a medium heat for 5 minutes, then stir-fry.
  6. Add the morels to the pan, salt and pepper.
  7. Cover and roast for about 10-15 minutes until the potatoes are tender.

Serve the morels with the potatoes, sprinkled with chopped herbs.

We hope that our article will help you better understand how to cook morels, and inspire you to create new and original dishes.

Home › How to cook turkey wingsSkip Ahead to cook turkey wings

Turkey wings are a very tasty and nutritious part of poultry that can be used in many dishes. A great choice for poultry lovers who are looking for new recipes to make delicious dishes. This dish is easy to prepare and can be used as a party appetizer or a hot lunch dish.

Cooking turkey wings is a process that may seem complicated at first glance, but it is actually quite simple. To get juicy and delicious turkey wings, you need to follow a few important steps and keep a few cooking tricks in mind.

Prepare the turkey wings

Preparing turkey wings for cooking doesn’t require much skill and doesn’t take much time. Here are a few steps to help you properly prepare turkey wings for cooking:

  1. Separate the wings from the carcass. Use a sharp pair of scissors to cut the wings off the carcass. Typically, turkey wings are separated from the carcass at the hinge where the bone connects to the carcass.
  2. Remove the bones. Turkey wings contain two bones, a large one and a small one. To use the wings in dishes, you must remove the bones. To do this, take the wing and gently slide the bones to pull them out. You can also use a knife to gently cut the skin around the bones and remove them.
  3. Cut off the tips of the wings. Some recipes may require you to remove the wing tips to make them look more attractive. With a sharp pair of scissors, cut off the wing tips about 1 to 2 centimeters from the end.
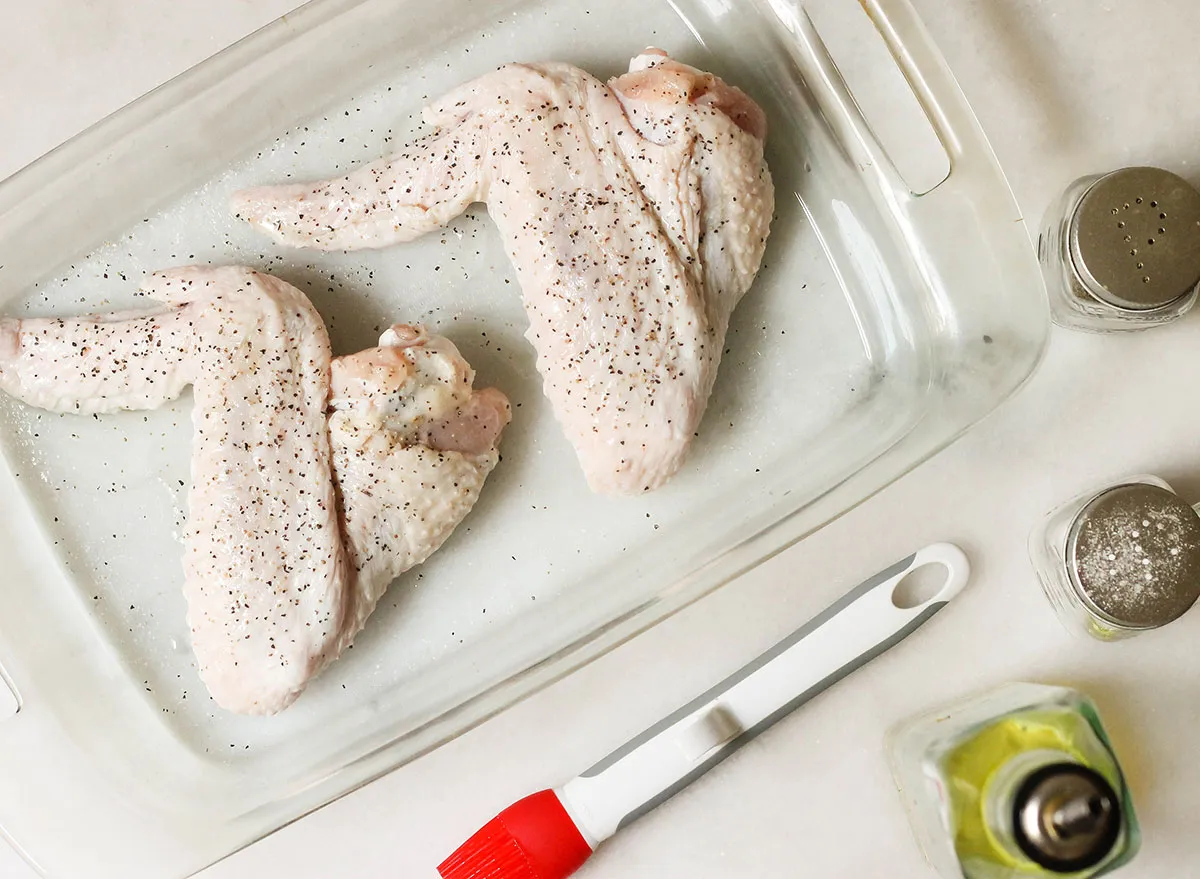
  4. Rinse the wings. Rinse the turkey wings under cold running water to remove any remaining bones, blood, and other debris. After you have washed the wings, you can dry them with a paper towel before using them.

Now you’re ready to use fresh and peeled turkey wings for a variety of dishes. Depending on the recipe, you can bake, roast or boil turkey wings to create a delicious and nutritious dish.
In this article, I’m going to tell you a few ways to cook turkey wings to make them juicy and delicious.

Method 1: Baked turkey wings in the oven

To prepare baked turkey wings, you will need:

  • 1 pound turkey wings.
  • 1 Tbsp. olive oil
  • 1 tbsp. red wine vinegar
  • 2 tsp. salt
  • 1 tsp. black pepper
  • 1 tsp. paprika
  • 1 tsp. dried thyme

Preparing the marinade

In a bowl with the wings, add olive oil, red wine vinegar, salt, pepper, paprika and thyme. Mix well so that the wings are evenly coated with the marinade. The optimal time to marinate is three hours.

Baking

Turn on the oven to 200 degrees. Place the turkey wings on a baking tray that has been pre-covered with foil or baking paper. Bake the wings for 40-45 minutes until golden brown.

Now for a little bit of cooking finesse

If you want to give your turkey wings a richer flavor, you can change the ingredients and seasonings when cooking. For example, you can add soy sauce, ginger and honey to the turkey wings to give them a sweet taste, or use tandoori or curry seasonings to get a more exotic flavor.

Method 2: Fried turkey wings

To prepare roasted turkey wings you will need:

  • 1 kg turkey wings
  • 1 tsp. salt
  • 1/2 tsp. black pepper
  • 1/2 tsp. garlic powder
  • 1/2 tsp. paprika
  • 1/2 tsp. turmeric
  • 1/2 cup flour
  • 1 egg
  • 1 cup breadcrumbs

Preparation of seasoning

Combine salt, pepper, garlic powder, paprika and turmeric in a bowl with the wings.

Preparing to roast

Sprinkle the turkey wings with the seasoning mixture and mix well so that each wing is coated evenly. Allow the wings to soak the seasonings in the meat for 10 minutes.

Coat in flour, egg and breadcrumbs

In a separate bowl, mix the egg, add a little water and whisk until smooth. In another bowl, pour the flour mixture. In a third bowl, dust the breadcrumbs.

Take the turkey wings, dip them in the flour, then in the egg, and then in the breadcrumbs. Each wing should be evenly coated with the breadcrumbs.

Frying

Heat a skillet with oil over medium heat. Add the turkey wings to the skillet and fry for 6-7 minutes on each side, until they are golden and crispy.

Finally, remember that turkey wings must be well cooked to be safe to eat. Make sure that the internal temperature of the meat has reached 75 degrees Celsius. Now that you know the ins and outs of cooking turkey wings, you can start cooking this delicious dish!

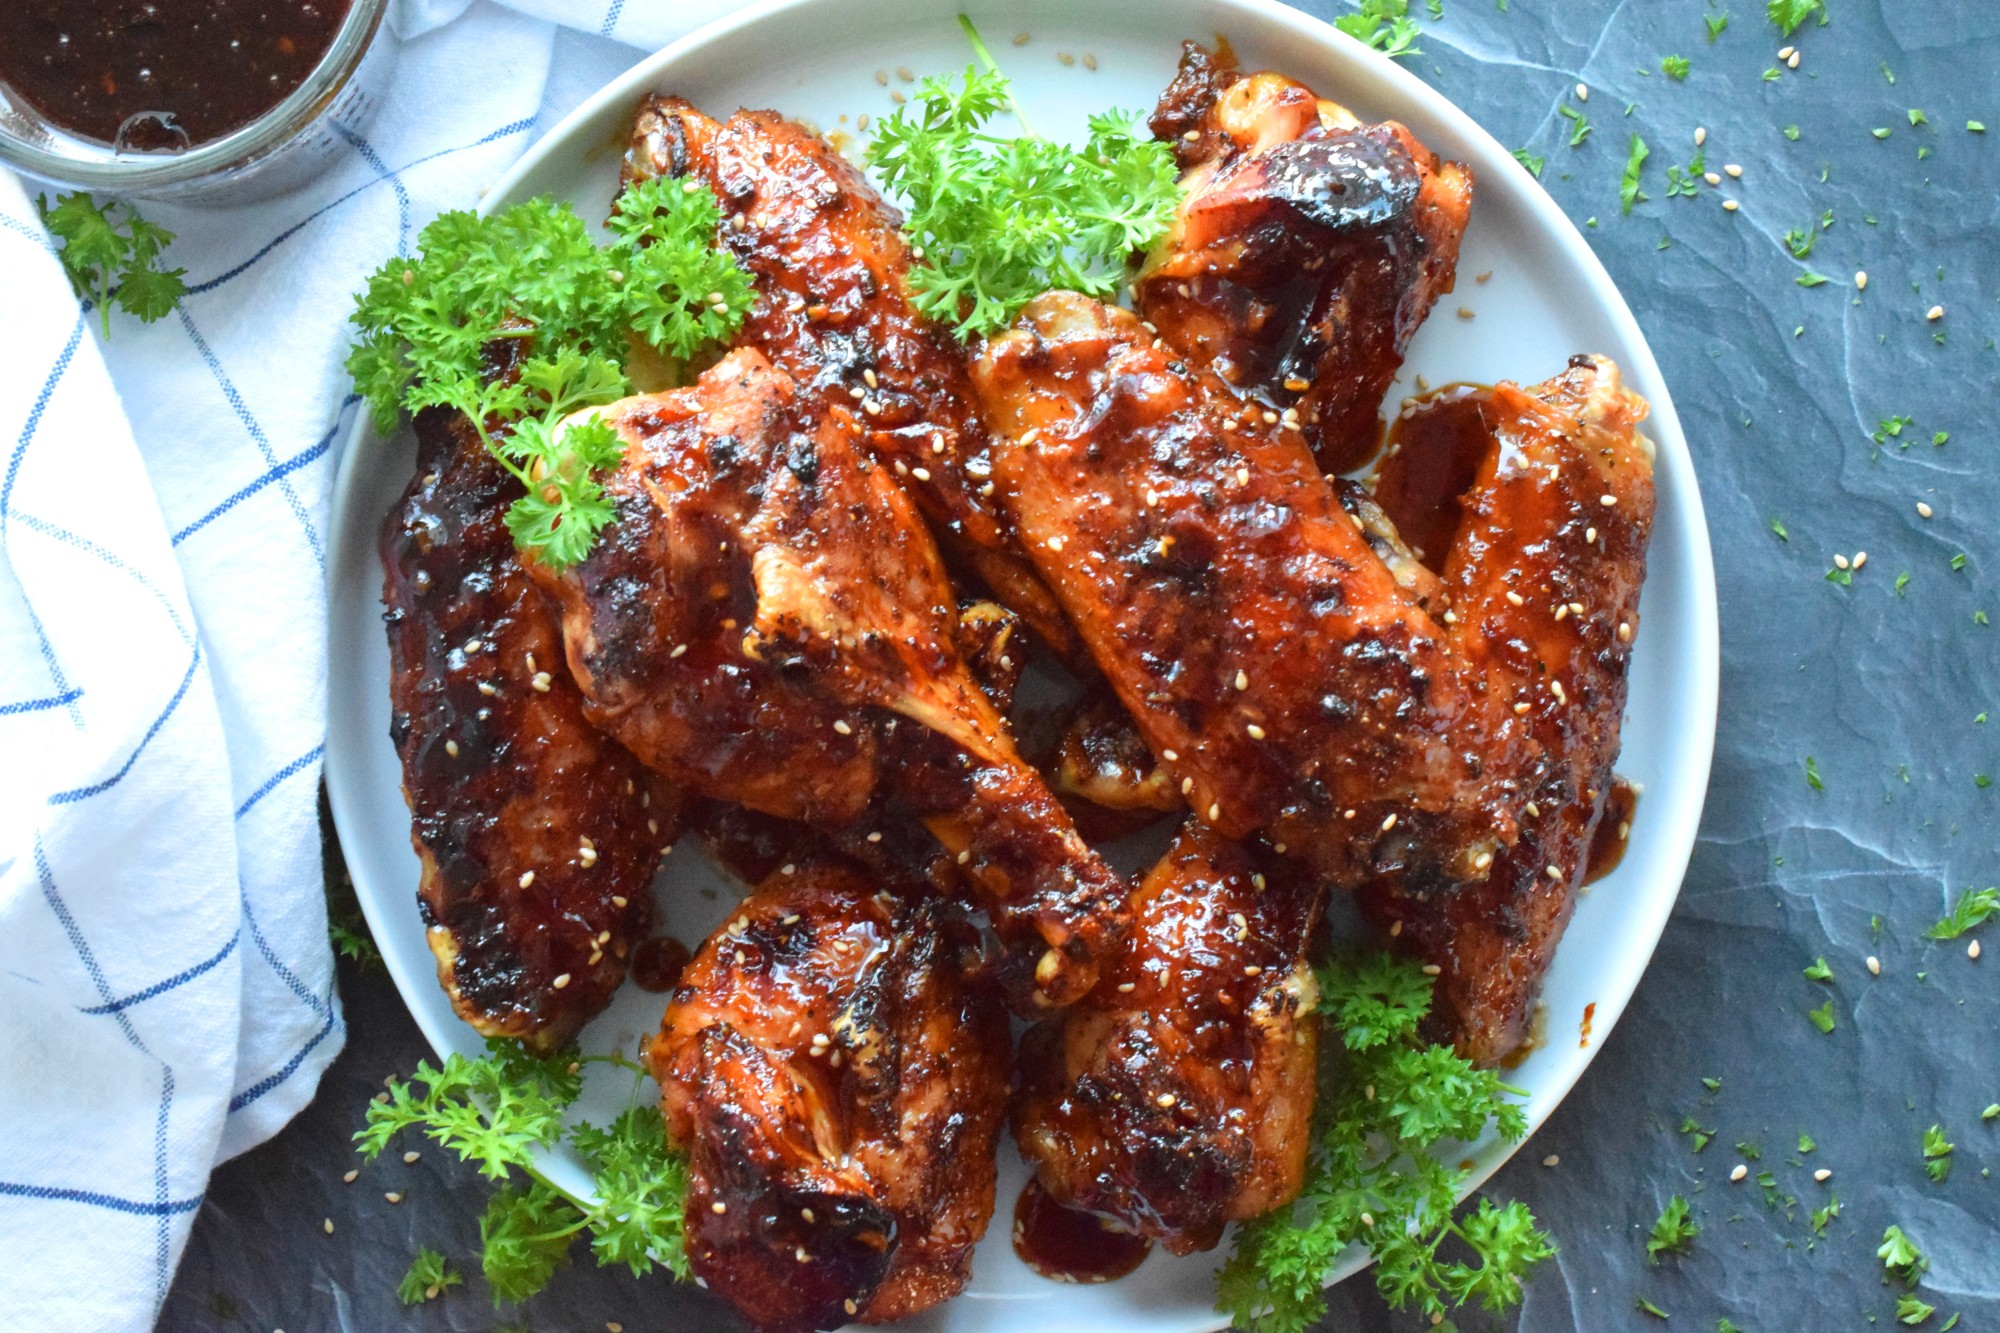
Also, turkey wings can be grilled or barbecued. To do this, you need to pre-marinate the turkey wings in any seasonings and then grill them until golden brown. This way, the turkey wings will get a unique flavor and aroma, as well as retain all the nutritional properties.

Allow turkey wings to cool

When the turkey wings are done, take them out of the oven and let them cool for a few minutes. This will allow the meat to distribute the juices and become more juicy.

Serve the turkey wings

When the turkey wings have cooled, serve them. If desired, you can add a small amount of fresh green herbs to give the dish a brighter flavor. Enjoy juicy, crispy and delicious turkey wings that are ready in minutes!

Either way, when cooking turkey wings, it’s important to watch the temperature and cooking time so they don’t dry out or overcook. Finished turkey wings can be served with a variety of sauces and toppings, such as vegetables, salads or mashed potatoes.

Enjoy the delicate and exquisite taste of turkey wings dishes. Bon appetit!

Home › How to cook ground turkeySkip Ahead to cook ground turkey

Turkey stuffing is a healthy and tasty alternative to beef or pork. Turkey stuffing is lower in calories and more digestible, making it an attractive choice for those watching their diet.

The benefits to eating it

There are many pros and benefits to eating it, including the following:

  1. Low Fat: Turkey stuffing contains less fat than regular ground meat, making it an ideal choice for those watching their diet. It also contains healthier fats such as polyunsaturated fatty acids.
  2. Plenty of Protein: Ground turkey is rich in protein, which is essential for healthy muscle growth and development. This is especially important for those who exercise or want to lose weight.
  3. Rich source of vitamins and minerals: Turkey contains B vitamins, zinc, iron and other minerals necessary for health and well-being.
  4. Low-calorie product: Turkey stuffing contains fewer calories than regular ground meat, so it’s great for people who want to control their weight and reduce the calories in their diet.
  5. Versatility: Turkey stuffing can be used in many dishes such as meatballs, burgers, meat patties, pie filling, etc. This makes it a versatile and convenient product for cooking a variety of dishes.

In addition, turkey minced meat has low cholesterol, which helps reduce the risk of cardiovascular disease, and is also considered a more easily digestible product than regular ground meat.

This article will show you how to make delicious and juicy turkey mince.

Before you start making mincemeat, you need to prepare all the necessary ingredients.

The ingredients

We will need:

  • 500 grams of turkey
  • 1 onion
  • 2 garlic cloves
  • 1 egg
  • 1/2 teaspoon cumin
  • 1/2 teaspoon paprika
  • A pinch of salt and pepper

Prepare the turkey

Before you start shredding the turkey, remove all bones and skin. Leave only the meat. Then cut the meat into small pieces to make it easier to mince. For the best flavor and mince quality, we recommend using the turkey breast, which is softer and juicier than other parts of the bird’s body.

Shred the turkey

After selecting the ingredients, you need to prepare them. You can use a meat grinder or blender to mince the turkey. If you have a meat grinder, pass the turkey pieces through its holes, using the fine mincing attachment. If you have a blender, cut the turkey pieces into smaller pieces and place them in the blender bowl. Then turn on the blender on low speed and slowly increase the speed to maximum until the turkey becomes a smooth mince.

Add spices

Add the cumin, paprika, salt and pepper to the turkey. Cut onion and garlic into small pieces and add them to the stuffing. Whisk the egg and add it to the stuffing. After that, add the bread crumbs and mix all the ingredients so that they mix well.

Your mincemeat is ready. You can use it in your favorite dishes, it will go perfectly with many recipes.

Choosing your spices

Choosing spices for turkey stuffing is very important because the right spices can give a dish a rich and unique flavor. Here are a few suggestions to help you choose the right spices for ground turkey:

  1. Use basic spices. Basic spices such as salt, pepper, paprika, oregano, and basil can help give ground turkey a richer flavor. They go with almost all dishes and are compatible with each other.
  2. Don’t go overboard with the amount of spices. If you add too many spices, it can overpower the natural flavor of the turkey. Start with a small amount and gradually add more if needed.
  3. Experiment with new spices. If you want to give your dish a unique flavor, try using unusual spices such as cardamom, ginger, coriander or turmeric. These spices will help create a unique and interesting flavor.
  4. Consider the compatibility of the spices. Some spices combine better than others. For example, ginger and cardamom combine well with turmeric, while paprika and red pepper can enhance each other.
  5. Don’t forget about flavor. Flavorful spices such as garlic, onions, celery and mint can help give a dish a rich and pleasant smell. They will also help make the dish more appetizing.
  6. Use fresh spices. Fresh spices have a brighter flavor and aroma than dried spices. If you are able to use fresh spices, feel free to do so.

Homemade turkey stuffing is a great base for the most delicious meat dishes.

What to cook with ground turkey?

The semi-finished product is suitable for making:

  • cutlets;
  • stuffed cabbage rolls;
  • sausages;
  • meatballs;
  • dumplings;
  • zraz;
  • pies with stuffing.

It can be used to make flotation pasta, gravy, or a tasty casserole. The main thing is that the stuffing should be juicy and soft. In fact, sometimes it can be stiff and dry.

The main reasons for the poor quality of the stuffing:

  • meat of old poultry is taken;
  • parts of the carcass are used for mincing;
  • a meat grinder has a large grate or blunt knife;
  • turkey minced meat may be tough if the meat was frozen several times before being chopped.

Preparing the minced meat

After the stuffing is formed, it needs to be cooked. low:

There are several ways to cook ground turkey, which we will discuss below:

  1. Turkey cutlets. Form minced meatballs and fry them in a pan. You can add various spices and herbs to the mince for a richer flavor.
  2. Stuff the turkey with vegetables. Fill the turkey with stuffing and vegetables, then bake in the oven. This dish will be especially delicious if you use fresh and juicy vegetables such as zucchini, carrots, bell peppers, onions, etc.
  3. Stuffed peppers. Fill stuffed turkey with fresh peppers, add rice, onions and tomato sauce, and bake in the oven. You will get a delicious and nutritious dish that can be served as a main dish or as a side dish to other dishes.
  4. Soup with stuffing. Add minced turkey to the boiling broth, season with spices, add chunks of vegetables and cook over low heat. This simple dish would make a great lunch or dinner for the whole family.
  5. Meat balls. Mix minced meat with egg, bread crumbs and spices, form meat balls and fry them in a pan. This dish can be served as a side dish to potatoes, vegetables or as a separate dish.
  6. Pies. Use ground turkey for pie filling. Add vegetables, cheese, herbs and other ingredients to taste. Bake in oven until golden crust.

This is just a small list of dishes you can make with ground turkey. Depending on your preferences and culinary skills, you can experiment with different recipes and create new delicious dishes.

If you’ve made ground turkey and you don’t need it yet, or if you didn’t use the whole mass in the cooking process, that’s no problem. Prepared turkey stuffing can be used in a variety of dishes or stored in the refrigerator or freezer for future use.

Storing

Turkey stuffing can be stored in the refrigerator for up to 3 days or frozen in the freezer for up to 3 months. If you want to freeze the stuffing, make sure it has cooled completely before packing and placing it in the freezer. Also, be sure to mark the freezing date on the package.

This was a quick and easy recipe for making ground turkey. Remember to pay attention to the quality of the meat when selecting it, and to hygiene and cooking temperatures when cooking it. Try this product and enjoy its taste in a variety of dishes!

Enjoy your appetite!

Home › How to make lemon waterSkip Ahead to make lemon water

Lemon is a fruit that contains a whole host of useful minerals and vitamins. This fruit is a bright representative of the citrus family and contains natural organic acids and dietary fiber, which supply the body with energy. The lemon is very popular because of these properties.

Water with lemon is a popular method to combine pleasure with health, it is often prescribed as a preventive therapy and people use it in everyday life. But in fact, does such a drink carries only benefits or there are “pitfalls”? Let’s understand in detail in the article.

The benefits of lemon water

Lemon water is actually rich in a huge number of beneficial substances, namely:

  • Vitamins of the group – A, E, D, P, B;
  • Substances – iron, calcium, zinc, copper, phosphorus, potassium, pectin, sodium, flavonoids, glycosides and phytoncides.

Such a treasure trove, entering the human body, has a beneficial effect on all organs and systems:

  1. Improves the digestive system, helps to eliminate toxins and impurities from the body;
  2. Water with lemon improves the quality of the skin, helps to produce natural collagen, which is an integral part of connective tissues;
  3. Strengthens the immune system and has antiviral and antipyretic effects;
  4. Helps reduce weight, often consumed when dieting, all because of the stimulation of the metabolism;
  5. Removes anxiety, calms and makes the nervous system stronger;
  6. Strengthens all bones;
  7. Lowers blood pressure;
  8. Helps to improve vision and helps fight dangerous eye diseases.

Lemon water is a great way to refresh and improve health in hot weather. This drink is easy to make at home and can be enjoyed at any time of day. In this article, we’ll go over a few simple steps to help you make fresh and delicious lemon water.

Classic Lemon Water

This method is the easiest and fastest way to prepare lemon water.

To make classic lemon water you will need:

  • 1 lemon
  • 1 liter of water
  • 1-2 spoonfuls of sugar (optional)
  • Ice

Preparing the lemon

Before you start making lemon water, you should wash the lemon well under running water. Then cut the lemon into halves and squeeze out the juice. If you want your lemon water to be less acidic, you can use only half a lemon. Remove the pips if there are any.

Mixing ingredients

Add freshly squeezed lemon juice to a glass or pitcher, then add water and stir. If you want the drink to be sweet, add a little sugar or other sweetener to taste.

Adding ice and toppings

To make lemon water refreshing, you can add ice cubes to your glass or pitcher. You can also add fresh herbs, such as mint leaves, to flavor your drink. Serve the lemon water with a slice of lemon or other fruit to garnish the drink.

Enjoy your drink!

Lemon water is ready to drink! Enjoy a fresh, cool drink any time of day. This drink is rich in vitamin C and other nutrients that will help boost your health and immunity.

Lemon water with berries

If you like to experiment, you can enhance the taste of classic lemon water with berries. This method of making lemon water adds additional flavors and aromas to the drink.
To make lemon water with berries you will need:
  • 1 lemon
  • 1 liter
  • 1/2 cup fresh berries (strawberries, raspberries, blueberries or other berries of your choice)
  • 1-2 spoonfuls of sugar (optional)
  • Ice

Preparation:

  1. Cut the lemon into slices and squeeze the juice out of it. Remove any pips, if there are any.
  2. Add the lemon juice, sugar and water to a large jug or water jug. Stir until the sugar dissolves.
  3. Add the berries and stir again.
  4. Add the ice
  5. Allow the drink to infuse in the refrigerator for a few hours or overnight to allow the flavors of ginger and honey to permeate the water.

Done! Your lemon water with berries is ready to drink.

Tips for making lemon water

To make your drink tasty, cooling and healthy, you should follow some simple tips for making lemon water:

  • Use fresh lemons to make lemon water. Fresh lemon juice has a brighter flavor and higher vitamin C content.
  • If you want to make sweeter lemon water, you can add more sugar or use syrups instead of sugar.
  • To make lemon water refreshing, add more ice and chill the drink before drinking.
  • If you want to give lemon water a more intense flavor, add more lemon juice or lemon slices.
  • Use filtered water to make lemon water. It has a cleaner taste and lack of impurities, which will give you a better tasting drink.</li

Preparation of lemon water does not require much time and effort, and the result will delight you with a fresh, fragrant and delicious drink. If you don’t like the strong sour taste of lemon water, you can try adding other ingredients to it, such as ginger or honey, to give your drink a new flavor.

Important to note

Lemon water can be good for your health, but it does not replace the need to drink enough water every day. It is recommended to consume 8 to 10 glasses of water a day to maintain proper water balance in the body.

Try this drink today and enjoy the taste and benefits to your health!

Home › How to make sun teaSkip Ahead to make sun tea

Solar tea is a great way to make tea without using electricity or gas. Instead, it uses energy from the sun to brew the tea, making it more environmentally friendly and healthy. On a sunny summer day, try making Solar Tea.

You won’t need to boil water or use the microwave, you actually don’t even need a teapot. A regular glass jar and 1 spoonful of tea leaves and sun of course is enough. It quenches your thirst, tastes good and requires no special culinary skills. The drink is also a great way to promote health and immunity.

The main question is: Why brew tea in the sun?

  1. Well first of all, sometimes there is simply no other way, when, for example, you do not have access to hot water. Imagine, you have a power outage in your dacha, and the gas is not connected to the house.
  2. Secondly, it’s unusual.
  3. Third, such tea is difficult to overcook, that is, overcook, and therefore spoil.

First, prepare the ingredients to make a classic sun tea. It is not necessary to spend a lot on products, because everything we will use can be found in everyone’s kitchen.

We will need:

  • 2 liters of water
  • 4 black tea bags
  • 1/2 cup sugar (you can use honey)
  • 1/2 lemon
  • 3 to 4 sprigs of mint

However, in order to get a tasty and strong drink, you need to take into account some of the subtleties and peculiarities of preparation.

Here are some methods and tips for those who want to learn how to brew delicious sun tea:

What are the best teas for making sun tea?

The best teas for making sun tea are green, black, and white. Puer is probably not suitable. You can also use herbal and fruit blends, either pure or flavored. However, if your blend contains more than just real tea, the brewing time will have to be extended.

Recommended teas:

  • Assam Organic Black Tea,
  • Yin Gow Mei (green tea),
  • Yunnan Grade 1. Black Tea,
  • White tea with additives,
  • African Rooibos (herbal tea),
  • African Rose (herbal tea).

In addition, you can use any classic black tea without additives and add fresh ingredients (berries, fruits) at your discretion.

Use only pure water

For brewing tea, take only fresh and clean water. If necessary, you can use filtered or bottled water.

Choose the right jug

It is best to use glass or plastic jugs with a lid to make sun tea. These jugs allow the sun’s rays to penetrate better, which helps the tea brew faster and more evenly.

Fill the jug properly

To brew sun tea, you need to fill the jug with water, leaving a little space on top. Usually 4-5 cups of water per sachet of tea or per 4-5 teaspoons of tea is enough.

Choose the right location

To brew sun tea, you need to choose a place where there is plenty of sunlight. The ideal place would be a terrace or outdoor balcony where you can put the jug in direct sunlight.

Don’t forget the measure. Don’t go overboard with the amount of tea or the brewing time, as this can lead to a bitter taste. Try to follow the recipe and experiment to find the best balance between amount of tea, brewing time, and water temperature.

How to prepare step by step

  1. Choose a large glass or plastic jug with a lid that you can put in the sun. Place tea leaves or sachets of tea, sliced lemon and mint in it. You can use any kind of tea for sun tea – black, green, fruit or herbal.
  2. Fill the jug with water, leaving about 5 cm of free space to the edge. Do not fill the jug completely, otherwise the tea will not brew properly. At the same time, grind the lemon and mint to extract the juice.
  3. Close the lid of the jug tightly and leave the jug in the sun for several hours. It usually takes 2 to 4 hours in direct sunlight to brew sun tea, depending on the intensity of the sunlight and air temperature. But don’t leave the jug in the sun for too long, as this can reduce the quality of the tea and lead to a bitter taste.
  4. When the tea is brewed, carefully remove the lid and remove the tea leaves or sachet. If you want to add sugar, honey, or other flavorings, this is best done after the tea is brewed.

How to serve tea correctly?

Refrigerate the tea in the refrigerator before serving. Once the tea is brewed, chill it in the refrigerator to make it cool and refreshing. If you want to serve the tea immediately after brewing, you can add a few ice cubes.

Some tips for making sun tea are more successful:

  • Use only pure water to make the tea to preserve the natural flavor.
  • Remember that tea will sour, so do not keep it in the sun for more than 4 hours.
  • The tea leaves should be blended every 30 minutes to distribute the aroma and flavor throughout the container.
  • Before serving, make sure the tea container is completely clean. You can use a dishwashing brush and vinegar to do this.

Taste the incredible sun tea

Pour the drink into iced glasses and enjoy its refreshing taste.

Sun tea is not only delicious, but also a healthy drink that can be enjoyed any time of year, and especially in the summer when it’s really hot outside. It’s a great way to cool down and perk up. In addition, sun tea offers a variety of flavors and aromas, allowing you to make a drink to your liking and savor it with friends and family. Sun tea will be a real delicacy and will add a twist to any celebration or banquet.

© 2022 All Rights Reserved