Home › How to cook ground turkeySkip Ahead to cook ground turkey
Turkey stuffing is a healthy and tasty alternative to beef or pork. Turkey stuffing is lower in calories and more digestible, making it an attractive choice for those watching their diet.
The benefits to eating it
There are many pros and benefits to eating it, including the following:
- Low Fat: Turkey stuffing contains less fat than regular ground meat, making it an ideal choice for those watching their diet. It also contains healthier fats such as polyunsaturated fatty acids.
- Plenty of Protein: Ground turkey is rich in protein, which is essential for healthy muscle growth and development. This is especially important for those who exercise or want to lose weight.
- Rich source of vitamins and minerals: Turkey contains B vitamins, zinc, iron and other minerals necessary for health and well-being.
- Low-calorie product: Turkey stuffing contains fewer calories than regular ground meat, so it’s great for people who want to control their weight and reduce the calories in their diet.
- Versatility: Turkey stuffing can be used in many dishes such as meatballs, burgers, meat patties, pie filling, etc. This makes it a versatile and convenient product for cooking a variety of dishes.
In addition, turkey minced meat has low cholesterol, which helps reduce the risk of cardiovascular disease, and is also considered a more easily digestible product than regular ground meat.
This article will show you how to make delicious and juicy turkey mince.
Before you start making mincemeat, you need to prepare all the necessary ingredients.
The ingredients

We will need:
- 500 grams of turkey
- 1 onion
- 2 garlic cloves
- 1 egg
- 1/2 teaspoon cumin
- 1/2 teaspoon paprika
- A pinch of salt and pepper
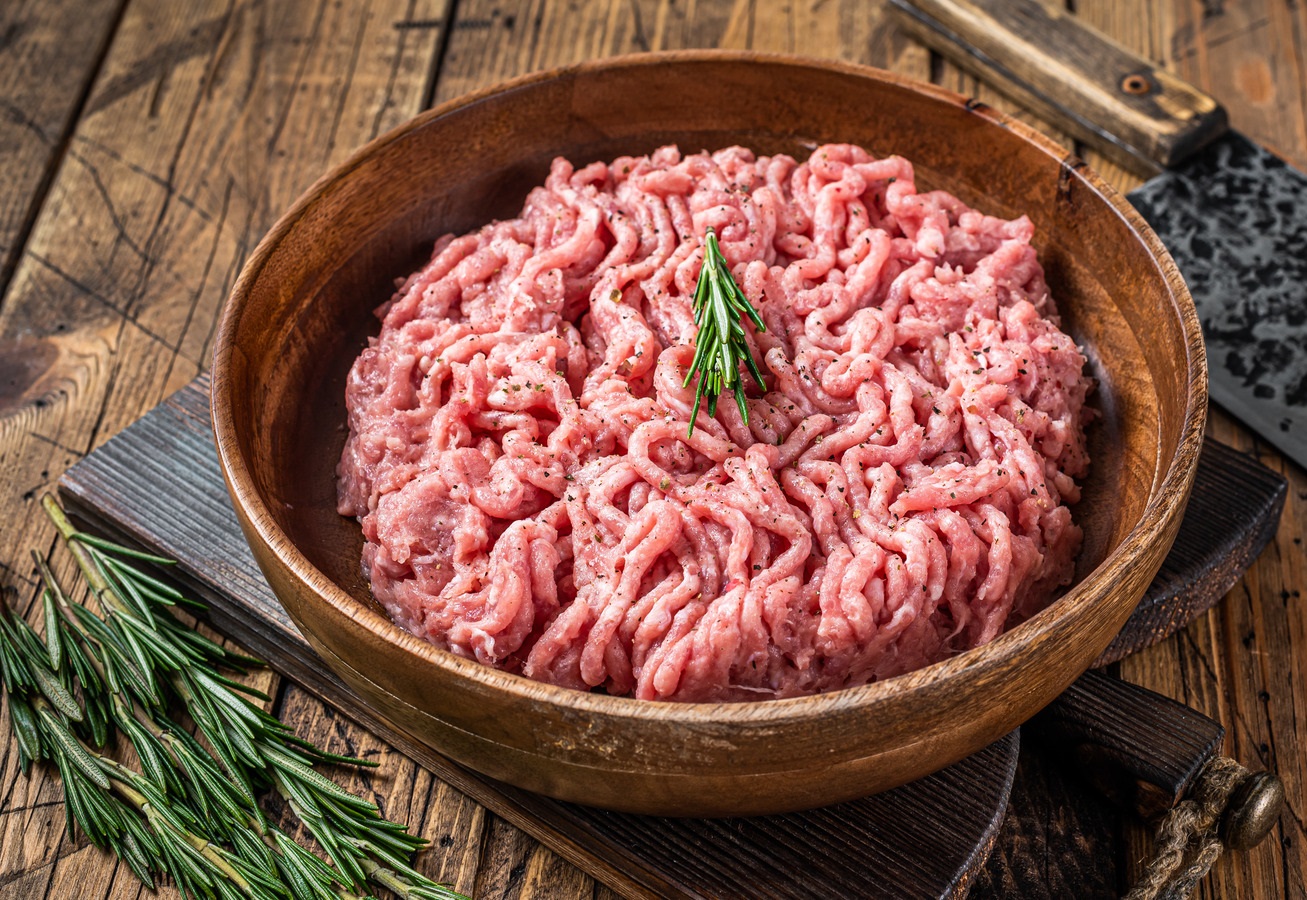
Prepare the turkey
Before you start shredding the turkey, remove all bones and skin. Leave only the meat. Then cut the meat into small pieces to make it easier to mince. For the best flavor and mince quality, we recommend using the turkey breast, which is softer and juicier than other parts of the bird’s body.
Shred the turkey
After selecting the ingredients, you need to prepare them. You can use a meat grinder or blender to mince the turkey. If you have a meat grinder, pass the turkey pieces through its holes, using the fine mincing attachment. If you have a blender, cut the turkey pieces into smaller pieces and place them in the blender bowl. Then turn on the blender on low speed and slowly increase the speed to maximum until the turkey becomes a smooth mince.
Add spices
Add the cumin, paprika, salt and pepper to the turkey. Cut onion and garlic into small pieces and add them to the stuffing. Whisk the egg and add it to the stuffing. After that, add the bread crumbs and mix all the ingredients so that they mix well.
Your mincemeat is ready. You can use it in your favorite dishes, it will go perfectly with many recipes.
Choosing your spices
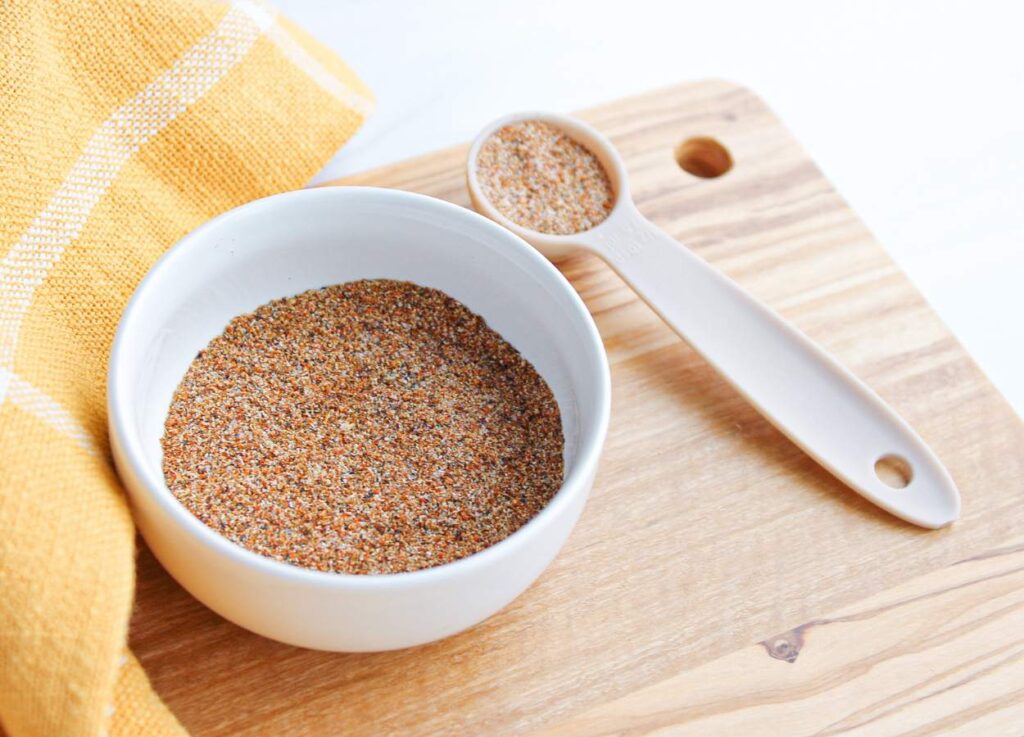
Choosing spices for turkey stuffing is very important because the right spices can give a dish a rich and unique flavor. Here are a few suggestions to help you choose the right spices for ground turkey:
- Use basic spices. Basic spices such as salt, pepper, paprika, oregano, and basil can help give ground turkey a richer flavor. They go with almost all dishes and are compatible with each other.
- Don’t go overboard with the amount of spices. If you add too many spices, it can overpower the natural flavor of the turkey. Start with a small amount and gradually add more if needed.
- Experiment with new spices. If you want to give your dish a unique flavor, try using unusual spices such as cardamom, ginger, coriander or turmeric. These spices will help create a unique and interesting flavor.
- Consider the compatibility of the spices. Some spices combine better than others. For example, ginger and cardamom combine well with turmeric, while paprika and red pepper can enhance each other.
- Don’t forget about flavor. Flavorful spices such as garlic, onions, celery and mint can help give a dish a rich and pleasant smell. They will also help make the dish more appetizing.
- Use fresh spices. Fresh spices have a brighter flavor and aroma than dried spices. If you are able to use fresh spices, feel free to do so.
Homemade turkey stuffing is a great base for the most delicious meat dishes.
What to cook with ground turkey?
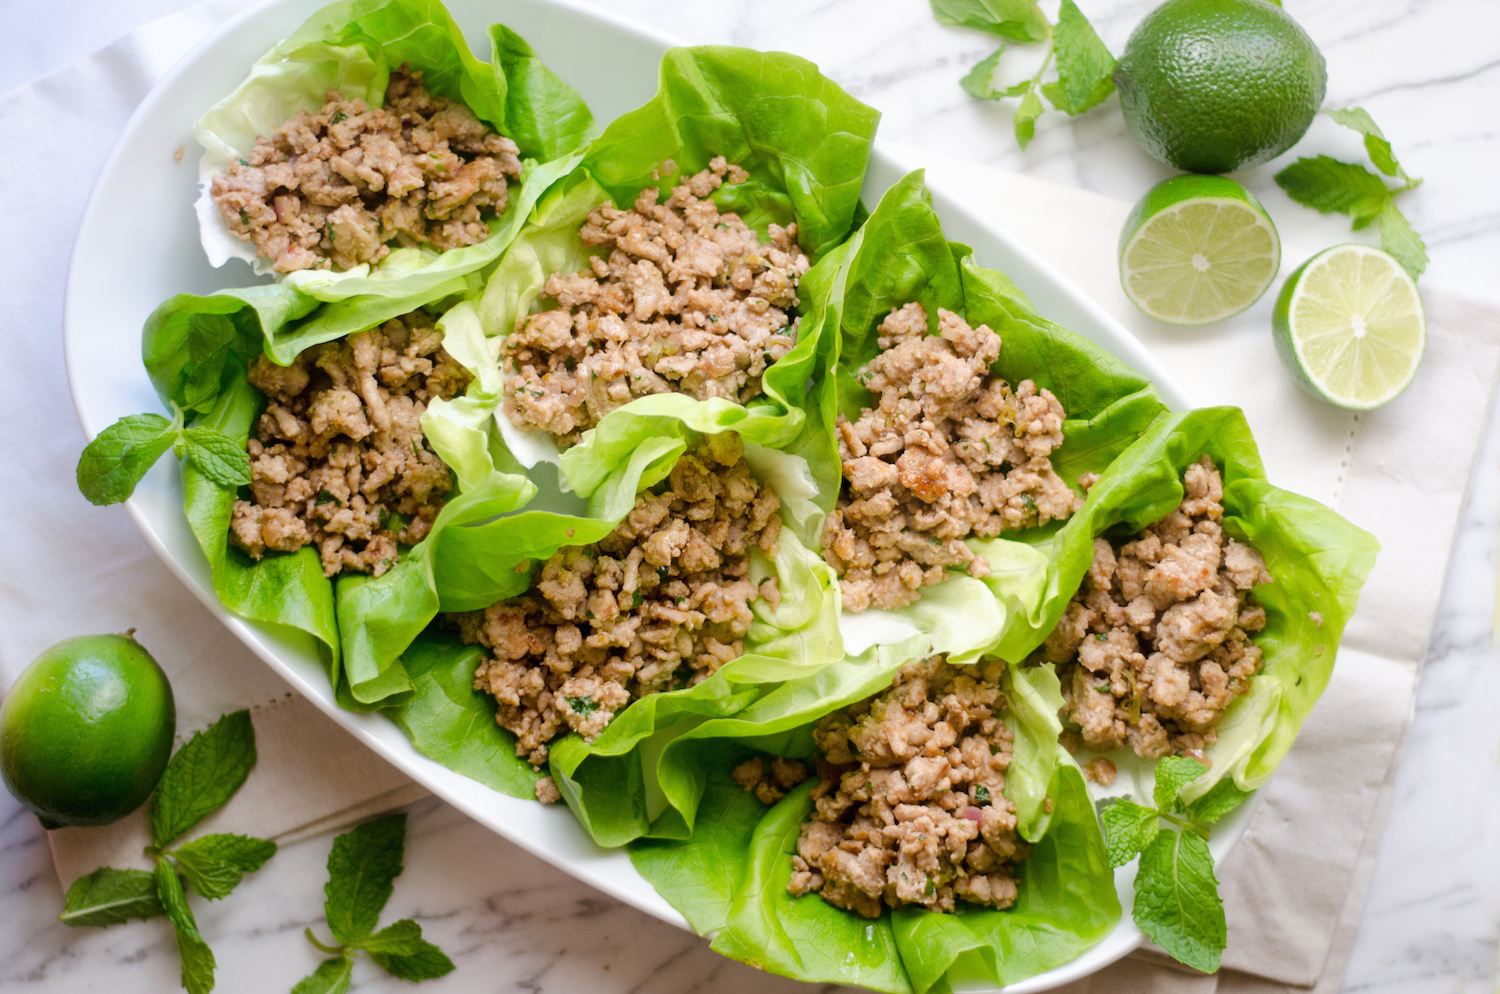
The semi-finished product is suitable for making:
- cutlets;
- stuffed cabbage rolls;
- sausages;
- meatballs;
- dumplings;
- zraz;
- pies with stuffing.
It can be used to make flotation pasta, gravy, or a tasty casserole. The main thing is that the stuffing should be juicy and soft. In fact, sometimes it can be stiff and dry.
The main reasons for the poor quality of the stuffing:
- meat of old poultry is taken;
- parts of the carcass are used for mincing;
- a meat grinder has a large grate or blunt knife;
- turkey minced meat may be tough if the meat was frozen several times before being chopped.
Preparing the minced meat

After the stuffing is formed, it needs to be cooked. low:
There are several ways to cook ground turkey, which we will discuss below:
- Turkey cutlets. Form minced meatballs and fry them in a pan. You can add various spices and herbs to the mince for a richer flavor.
- Stuff the turkey with vegetables. Fill the turkey with stuffing and vegetables, then bake in the oven. This dish will be especially delicious if you use fresh and juicy vegetables such as zucchini, carrots, bell peppers, onions, etc.
- Stuffed peppers. Fill stuffed turkey with fresh peppers, add rice, onions and tomato sauce, and bake in the oven. You will get a delicious and nutritious dish that can be served as a main dish or as a side dish to other dishes.
- Soup with stuffing. Add minced turkey to the boiling broth, season with spices, add chunks of vegetables and cook over low heat. This simple dish would make a great lunch or dinner for the whole family.
- Meat balls. Mix minced meat with egg, bread crumbs and spices, form meat balls and fry them in a pan. This dish can be served as a side dish to potatoes, vegetables or as a separate dish.
- Pies. Use ground turkey for pie filling. Add vegetables, cheese, herbs and other ingredients to taste. Bake in oven until golden crust.
This is just a small list of dishes you can make with ground turkey. Depending on your preferences and culinary skills, you can experiment with different recipes and create new delicious dishes.
If you’ve made ground turkey and you don’t need it yet, or if you didn’t use the whole mass in the cooking process, that’s no problem. Prepared turkey stuffing can be used in a variety of dishes or stored in the refrigerator or freezer for future use.
Storing
Turkey stuffing can be stored in the refrigerator for up to 3 days or frozen in the freezer for up to 3 months. If you want to freeze the stuffing, make sure it has cooled completely before packing and placing it in the freezer. Also, be sure to mark the freezing date on the package.
This was a quick and easy recipe for making ground turkey. Remember to pay attention to the quality of the meat when selecting it, and to hygiene and cooking temperatures when cooking it. Try this product and enjoy its taste in a variety of dishes!
Enjoy your appetite!